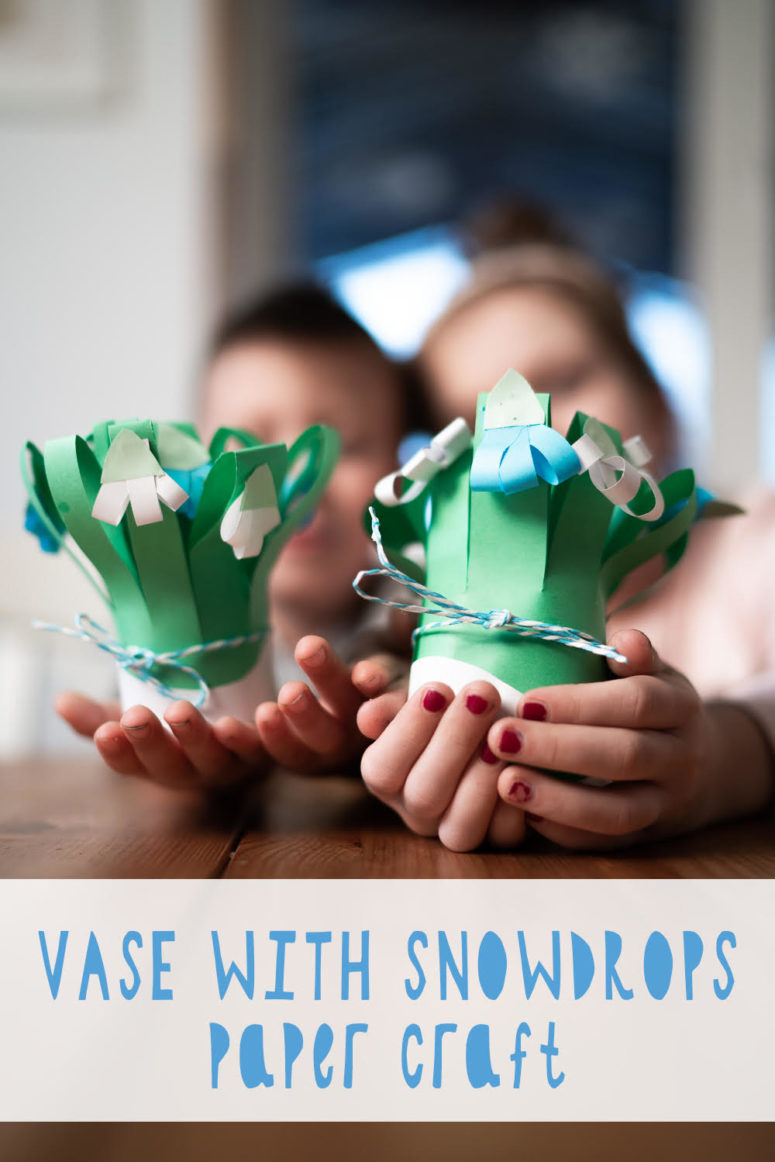
Spring isn’t that far and first spring blooms will appear soon. Why not remind your kids of that creating some pretty vases with snowdrops? These little vases are rather easy to make and you may invite your children to participate or even let them craft themselves.
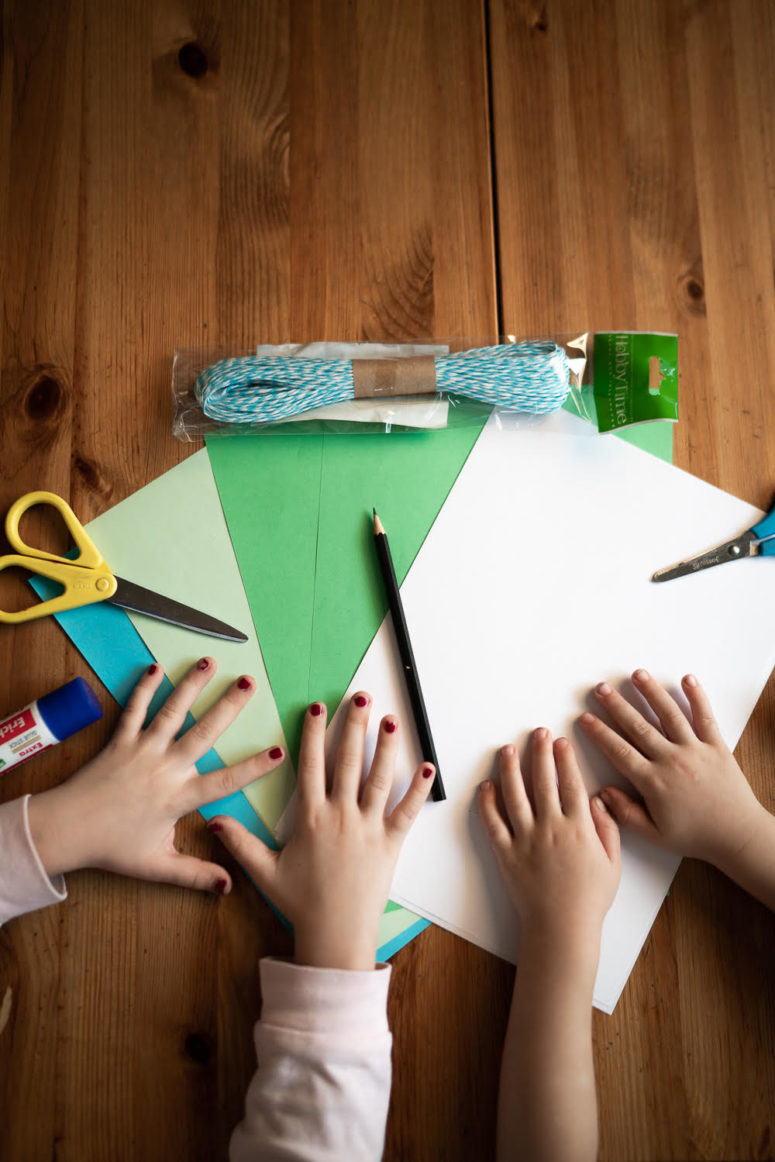
The Supplies You’ll Need
- colored paper
- scissors
- colorful twine
- a glue stick.
Directions To Make Paper Vases With Snowdrops
Let’s start from the vases.
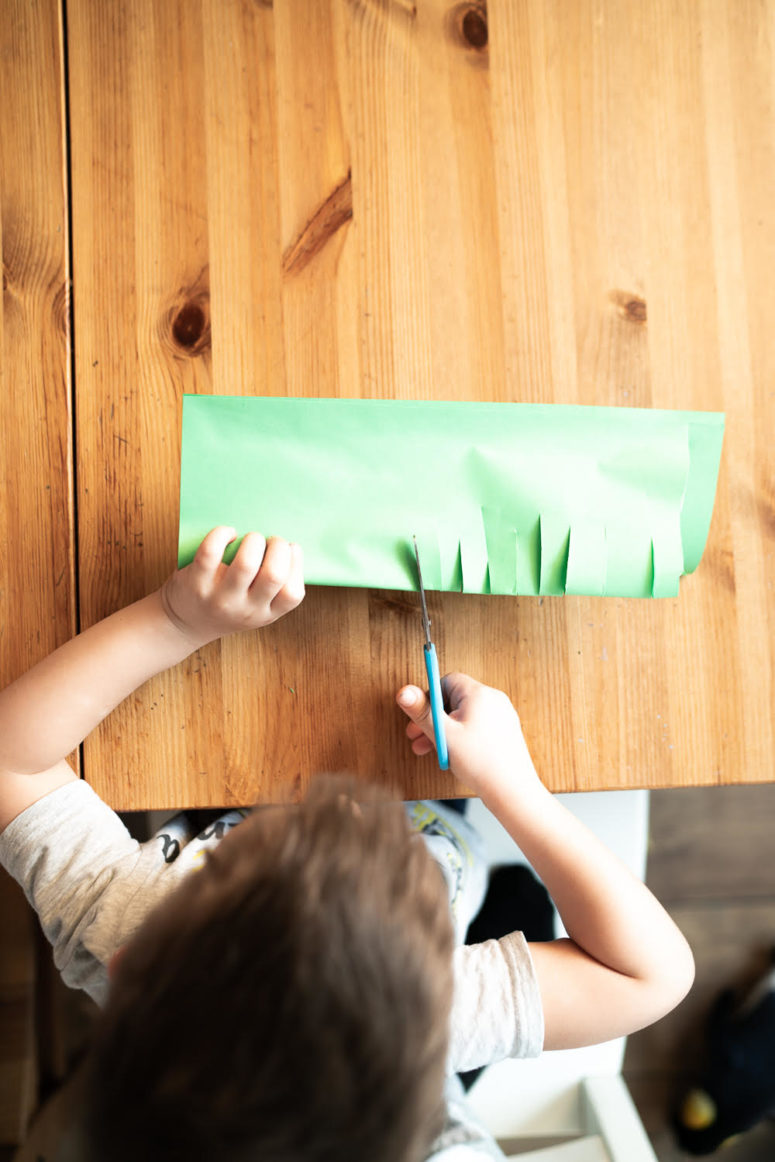
Take green paper and fold it, then glue the edges to each other using a glue stick. Cut some wide ‘fringe’ along the whole sheet of colored paper using scissors.
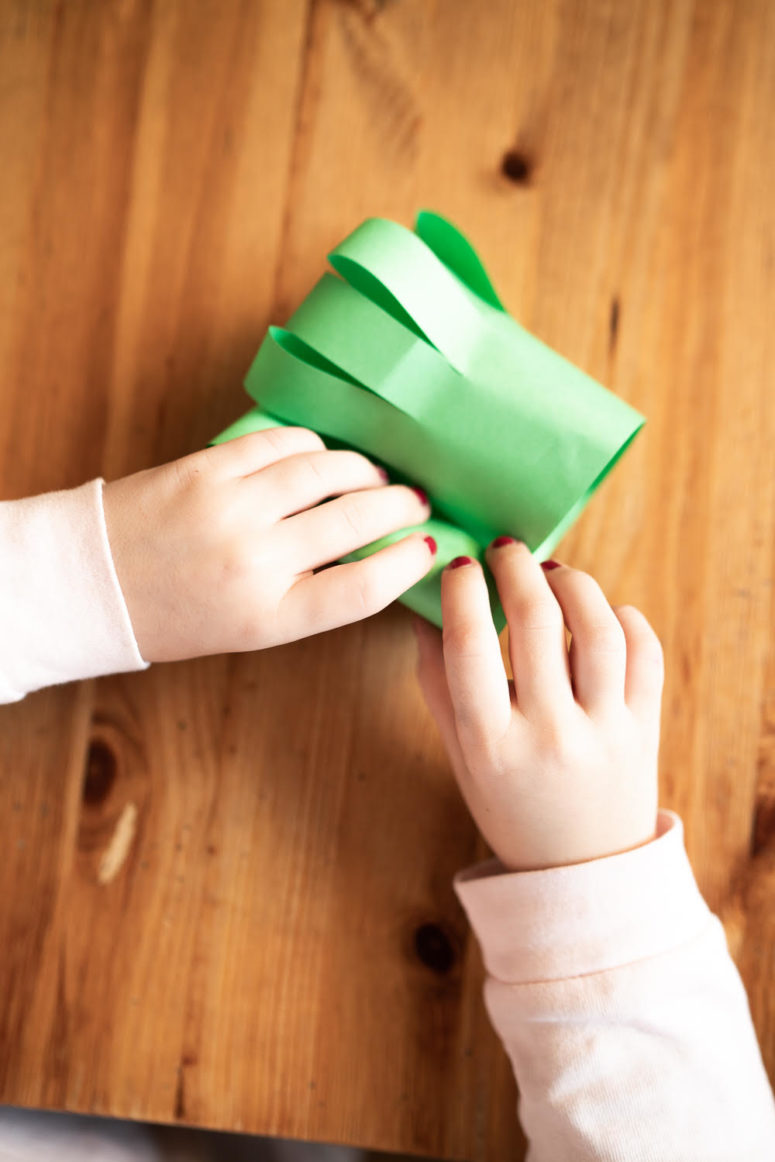
Now roll up the whole piece forming two rows of fringe and secure this pretty vase with your glue stick.
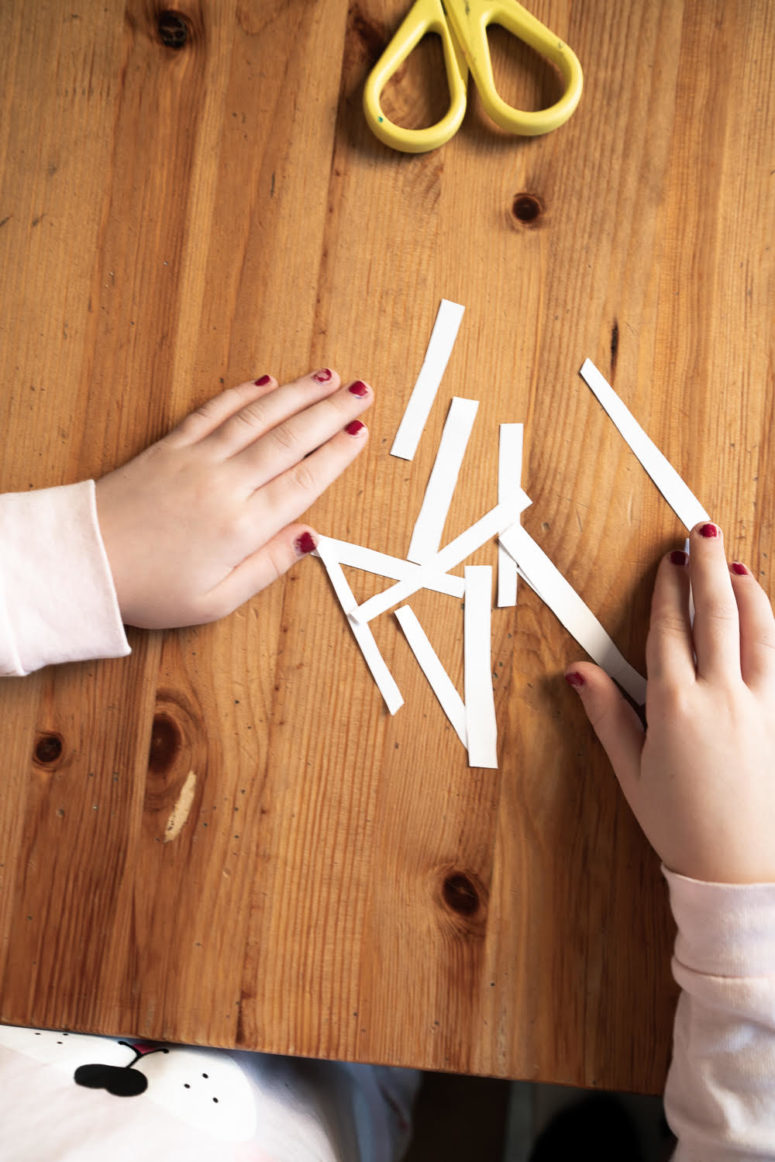
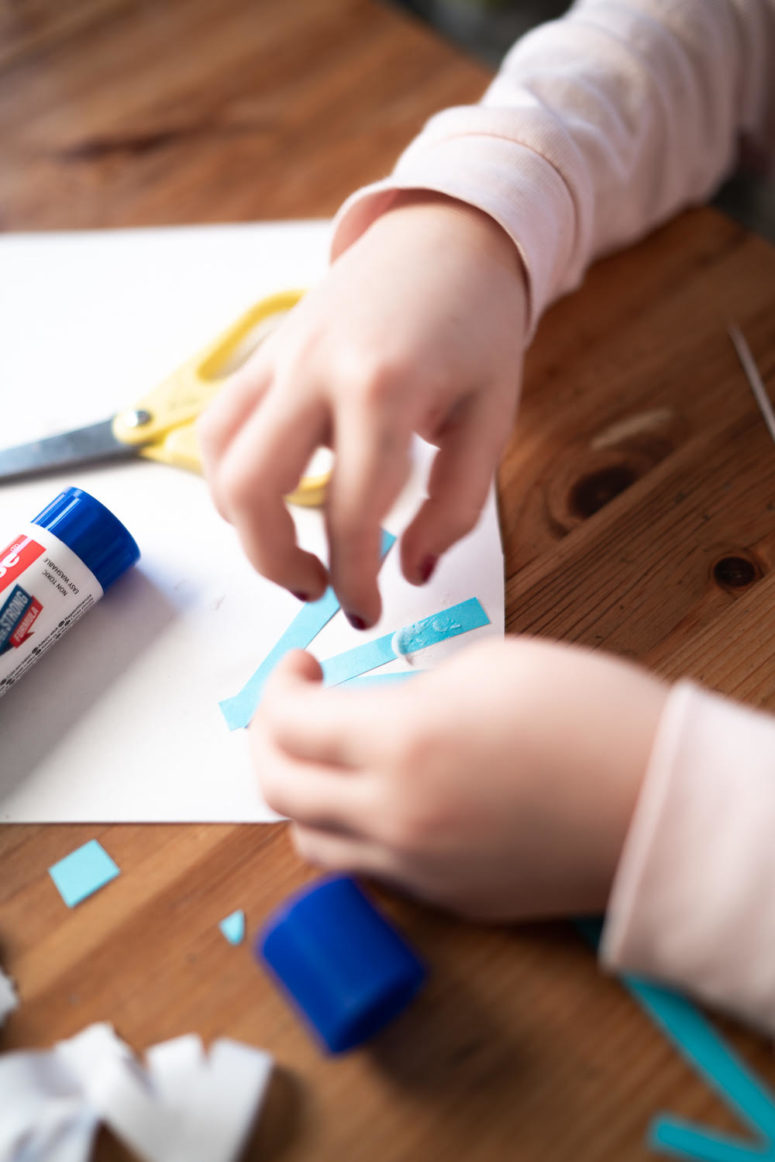
Now let’s make some snowdrops! Take white paper and cut off some strips. Take three strips and glue the edges to each other, then fold them all and glue again to secure the piece.
The same is to be done with blue paper.
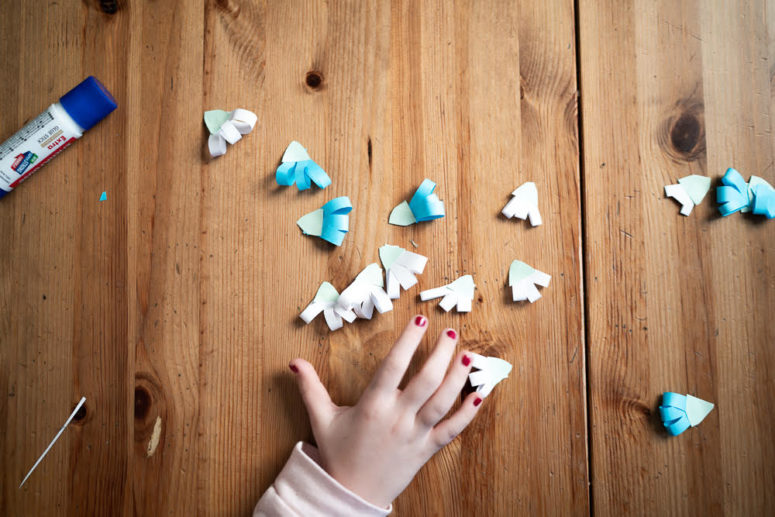
Here are your pretty snowdrops!
Continue crafting the blooms: take green paper and cut off a strip. Fold it several times and then cut to form something resembling a triangle with curved sides. Glue these triangles to the blooms – two pieces for each flower. Now glue these blooms to the vase, to its both rows to achieve a desired look. Cut out a curvy piece of white paper to form snow and glue it along the whole vase. Secure your snowdrop vase with a cute bow of colorful twine and voila, you are done!
