DIY Paper Olaf And Elsa From Frozen For Kids

diy paper elsa olaf

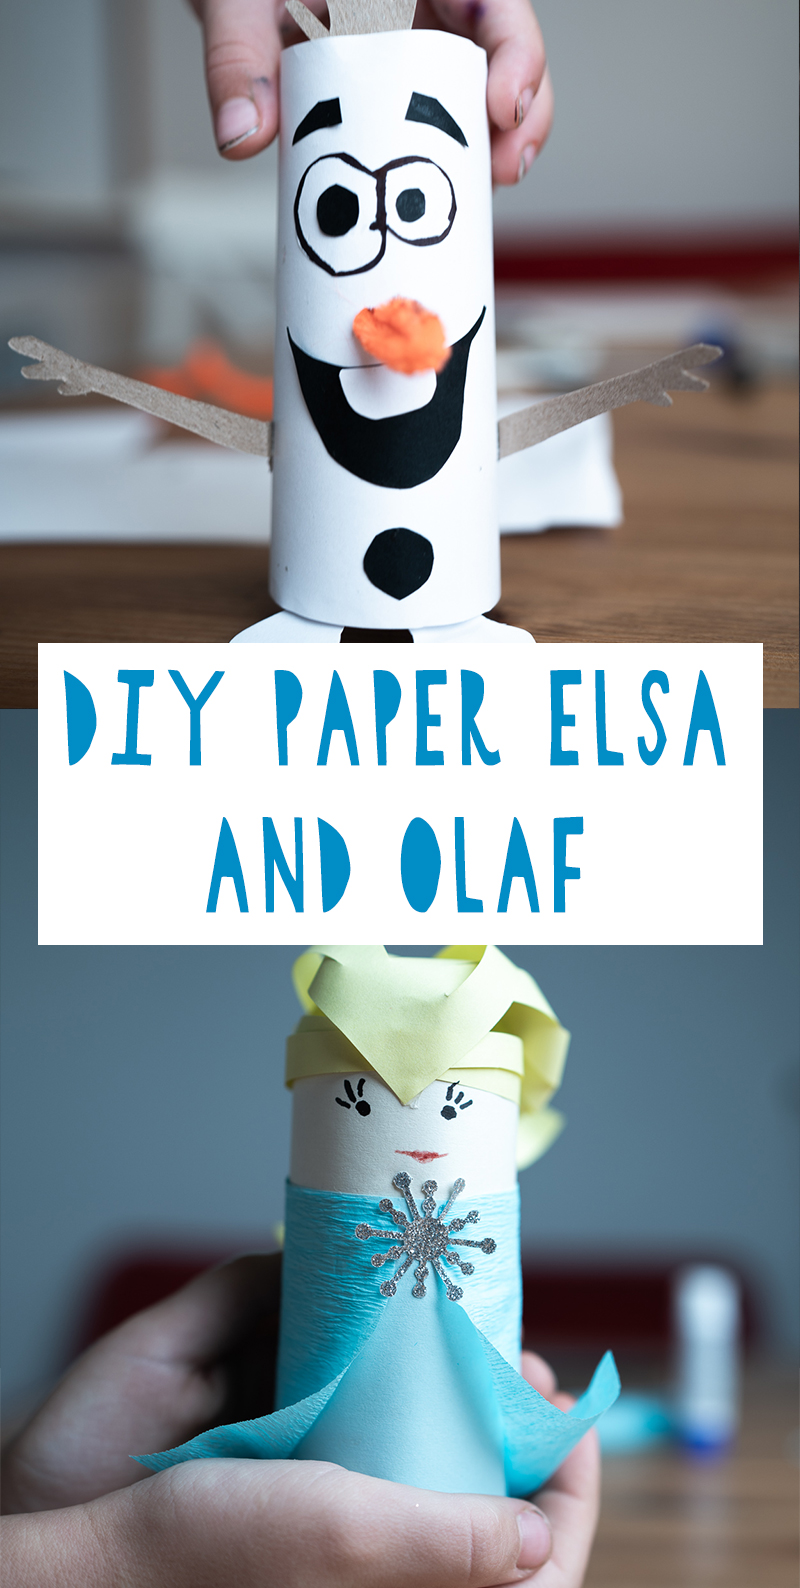
Frozen is a super popular 3D computer-animated musical fantasy film that made us all crazy about it – everyone, both kids and adults! Those beautiful sceneries and gorgeous characters are so fairy-tale like that I’m sure – even if you didn’t watch them, you already love Elsa, Olaf and others. As we’ve just seen Frozen 2 (I hope you too!), we are all about this gorgeous fantasy drama again. It’s high time to excite your kids even more with cool Frozen-inspired crafts. We offer you to make Olaf and Elsa easily and fast, take a look at the crafts!

Olaf

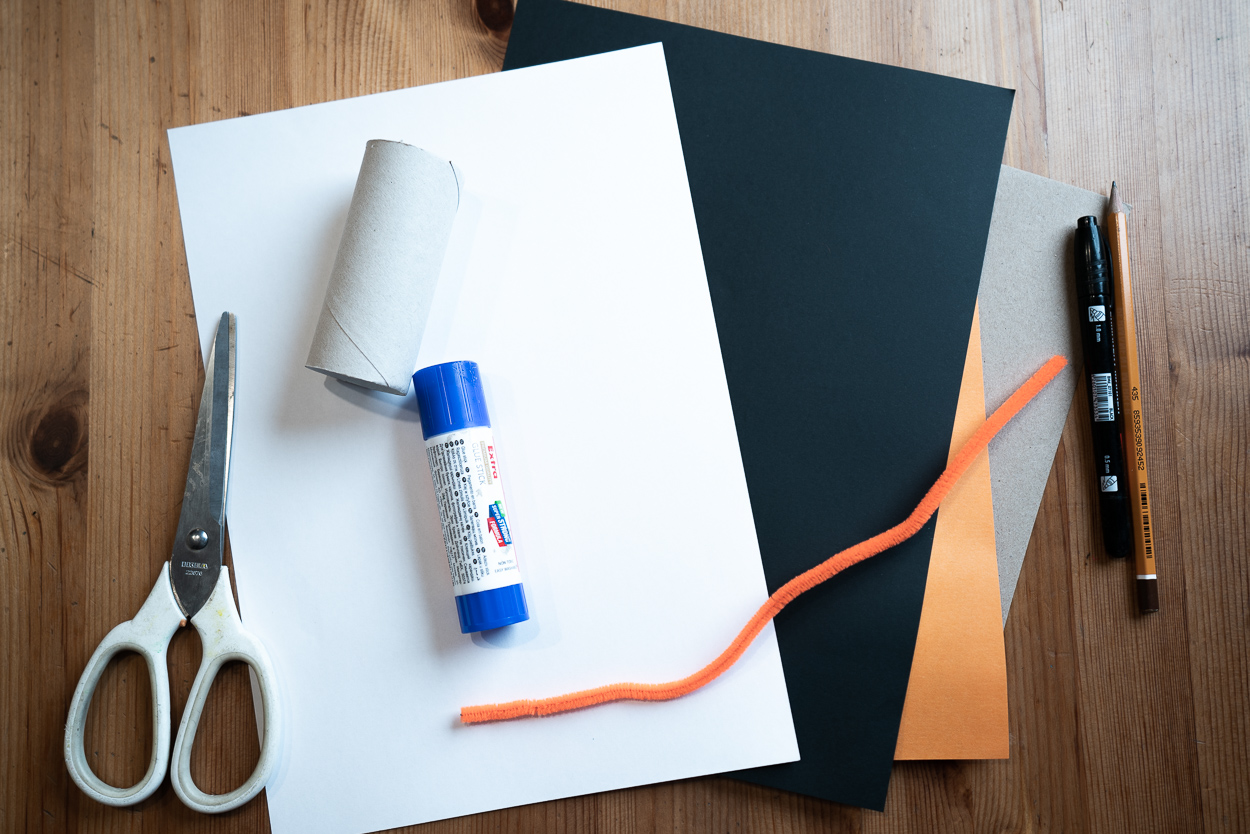
The supplies are a toilet paper roll, black, white and brown paper, orange chenille wire, a marker, glue, scissors and a pencil.

The supplies are a toilet paper roll, black, white and brown paper, orange chenille wire, a marker, glue, scissors and a pencil.

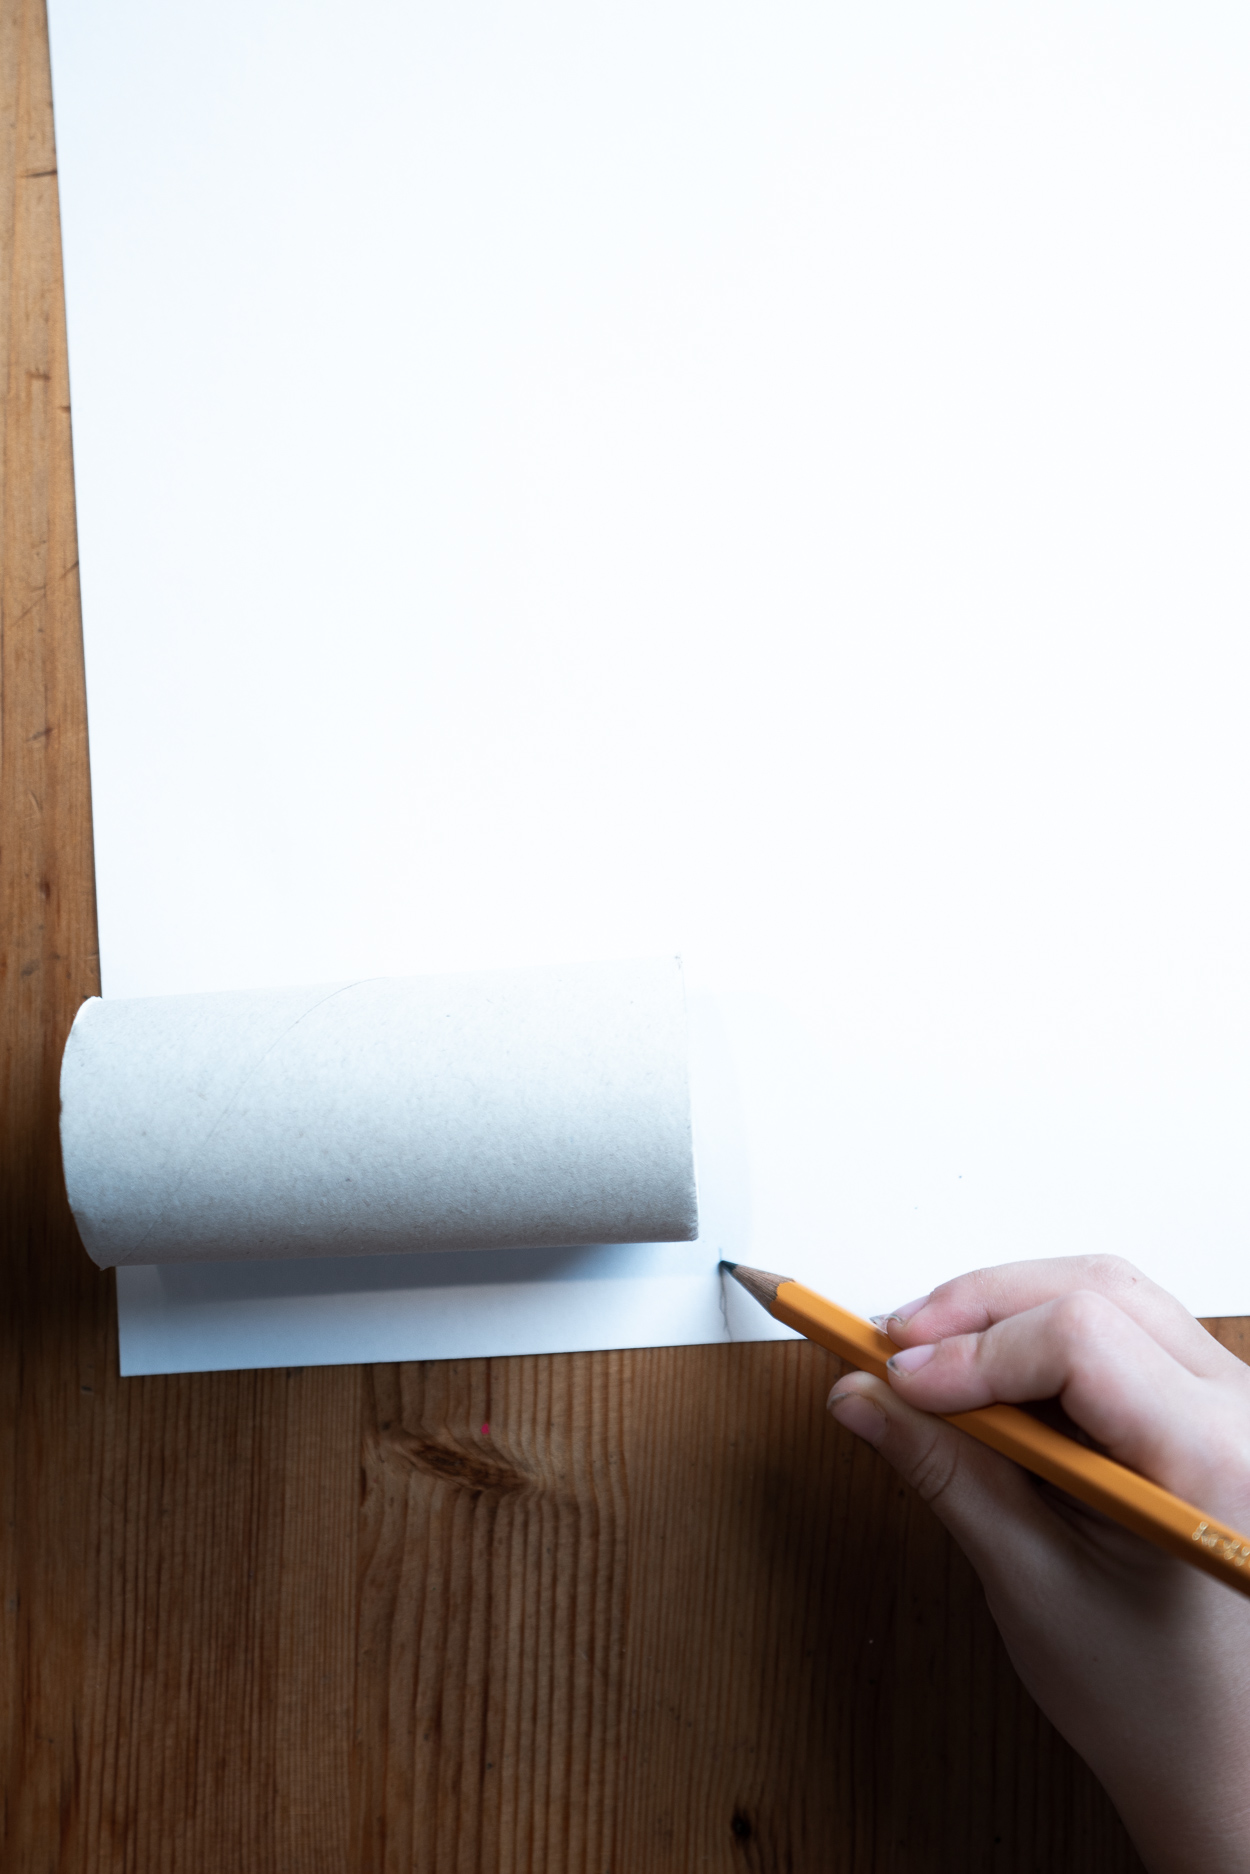
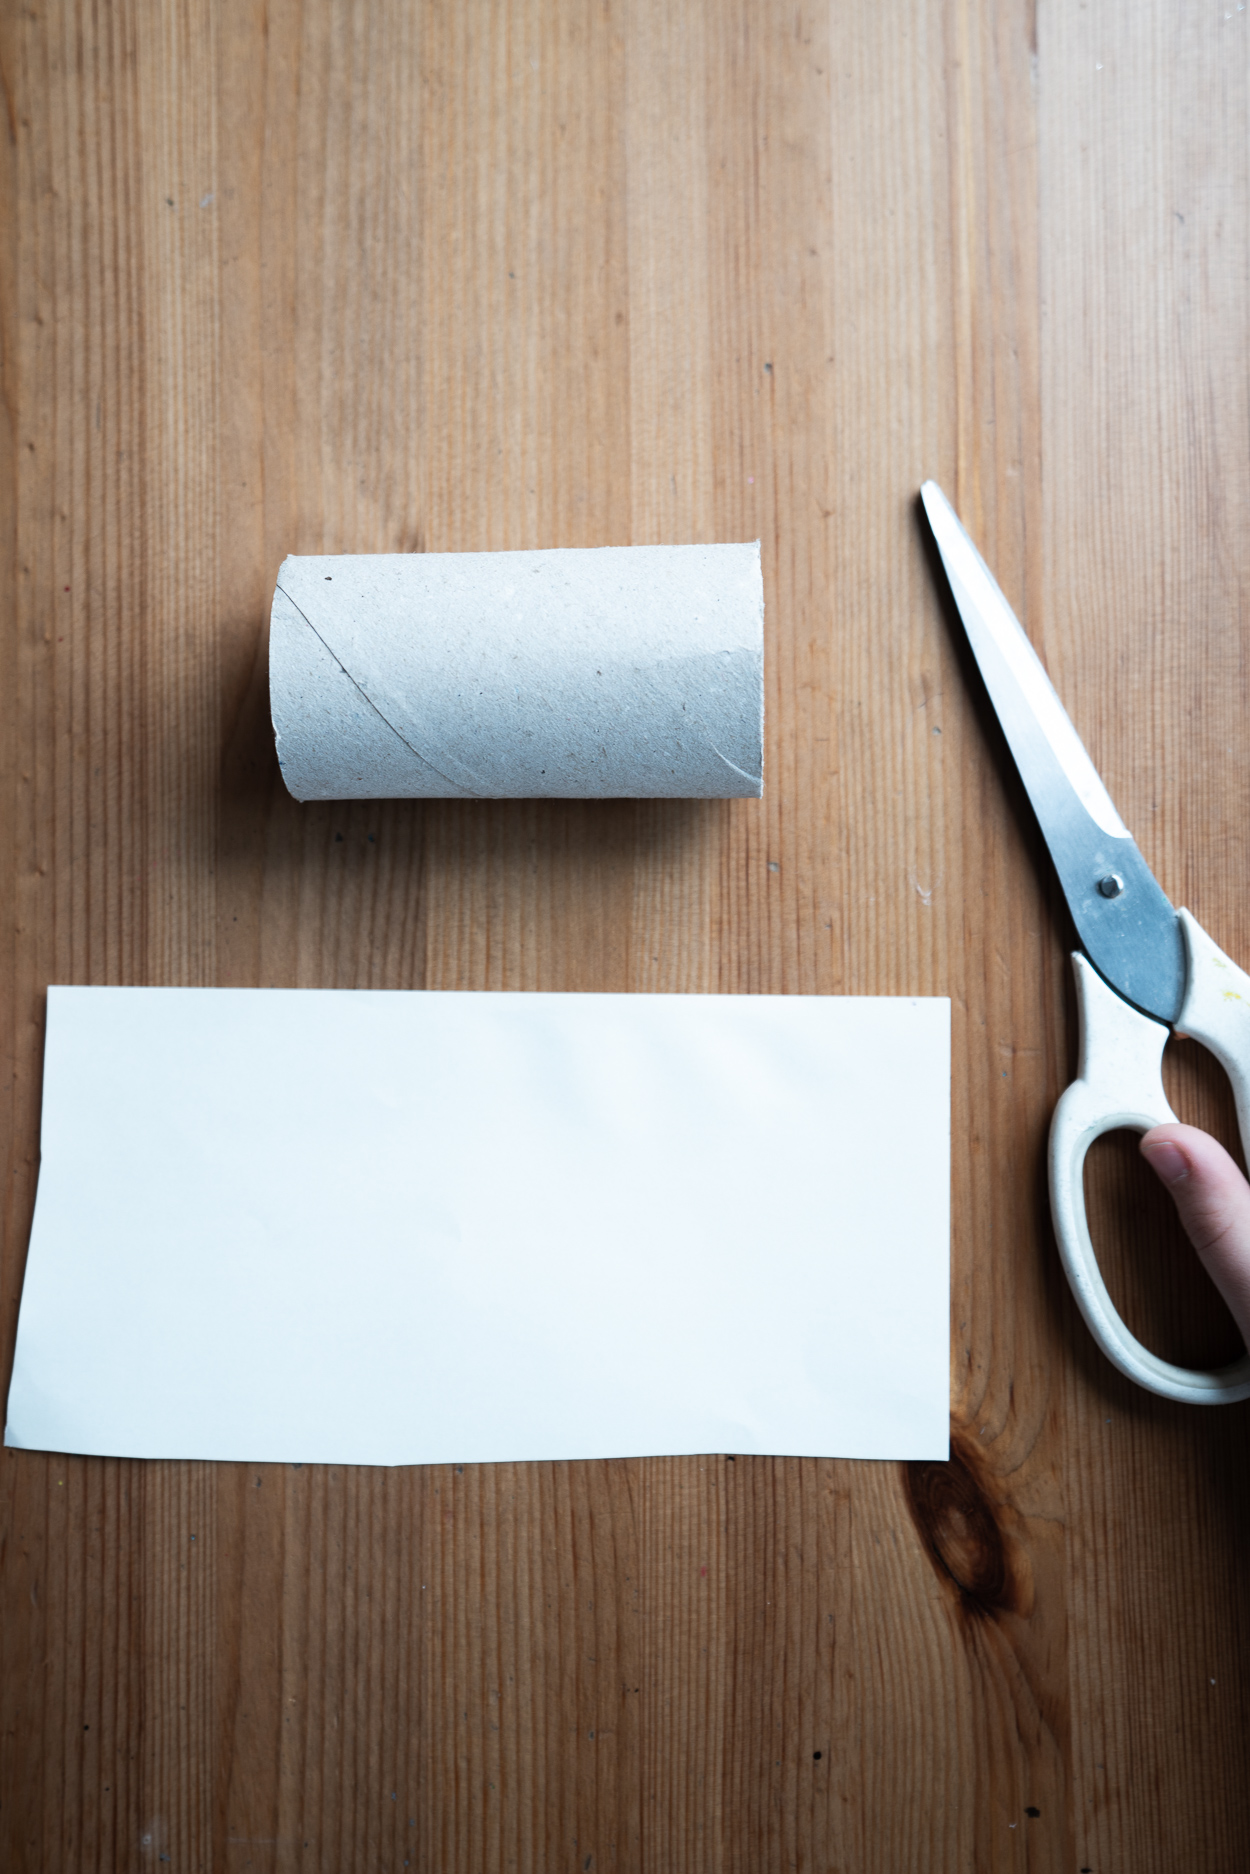
First, cut out a rectangle of white paper making it of the same height as the toilet paper roll, and its length should be enough to wrap it completely.

First, cut out a rectangle of white paper making it of the same height as the toilet paper roll, and its length should be enough to wrap it completely.

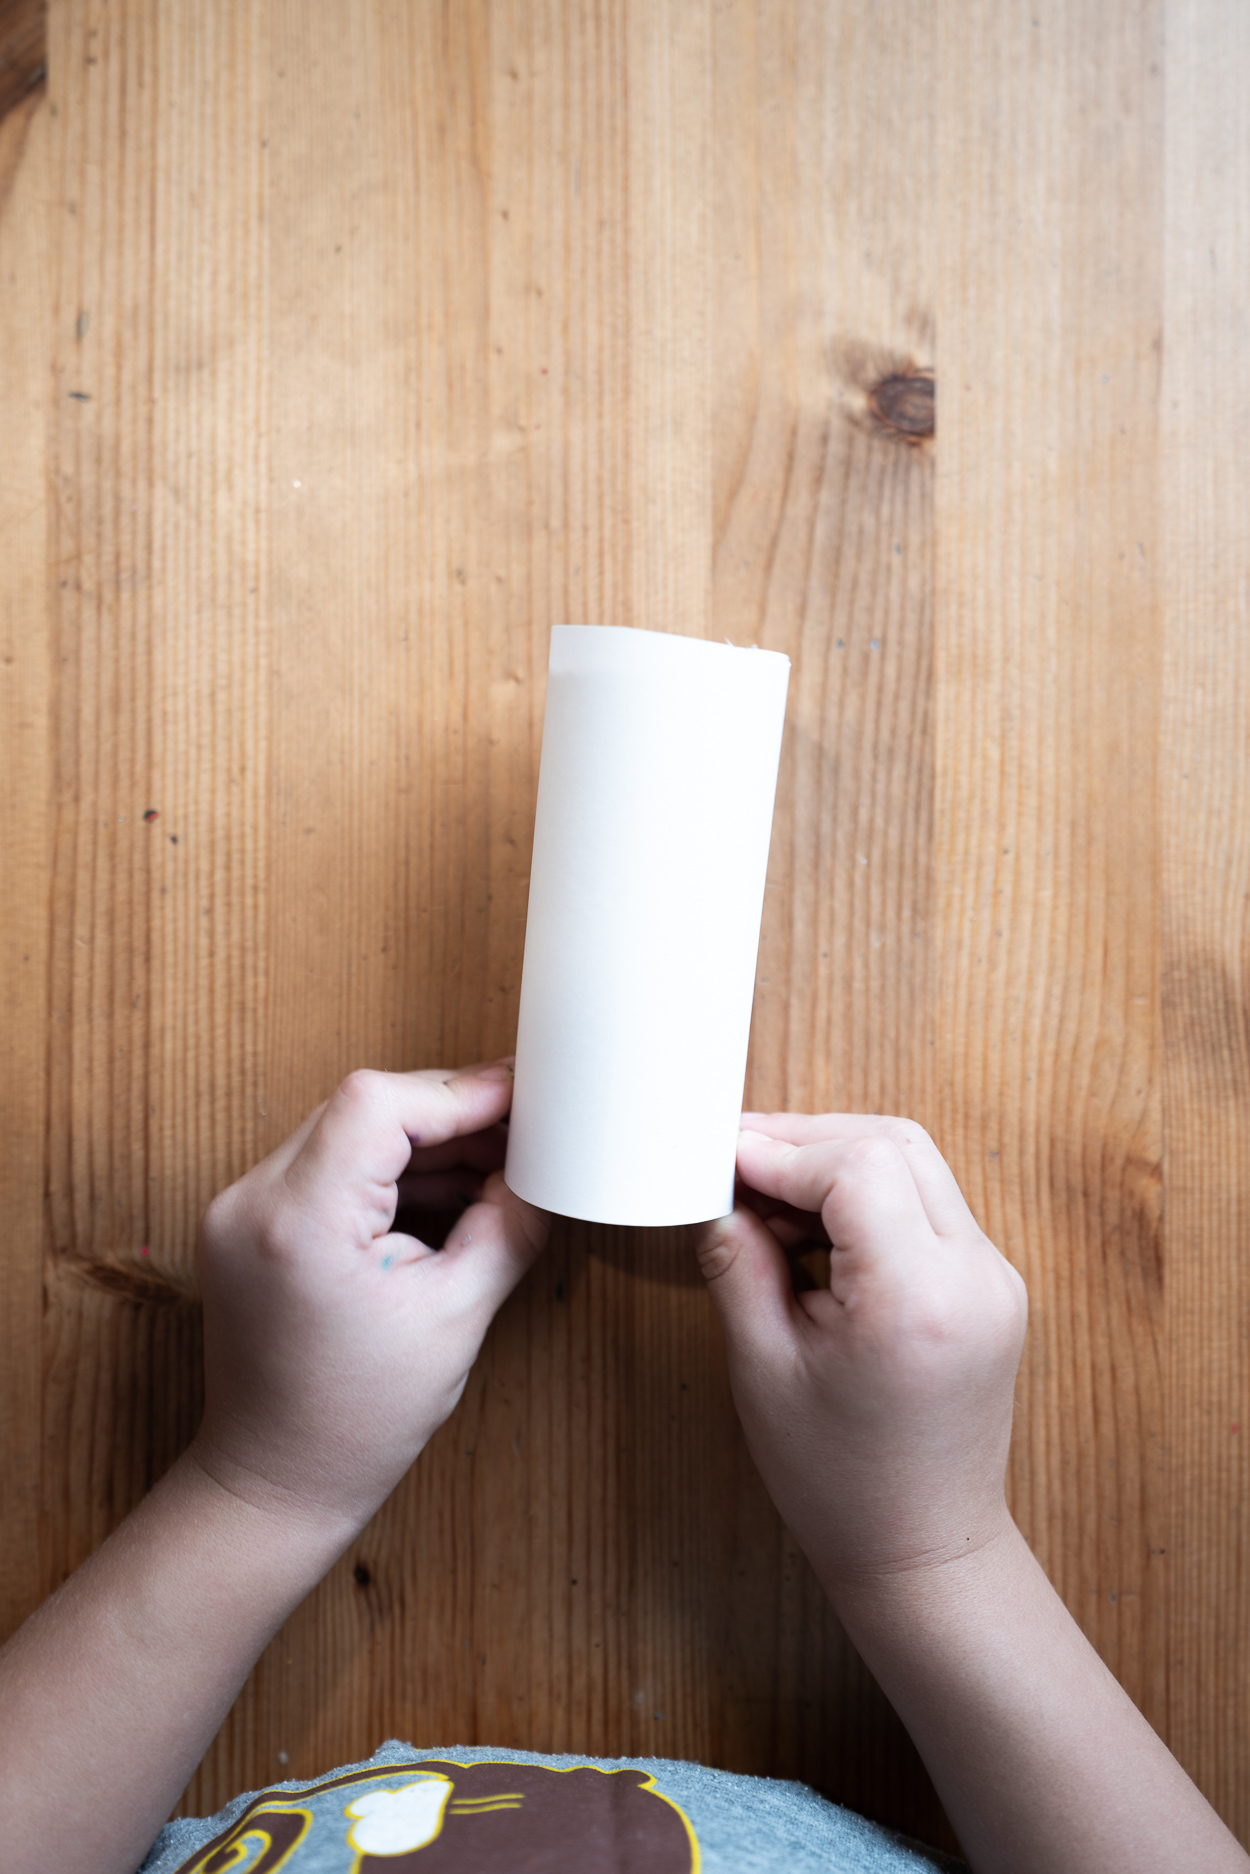
Glue it.

Glue it.

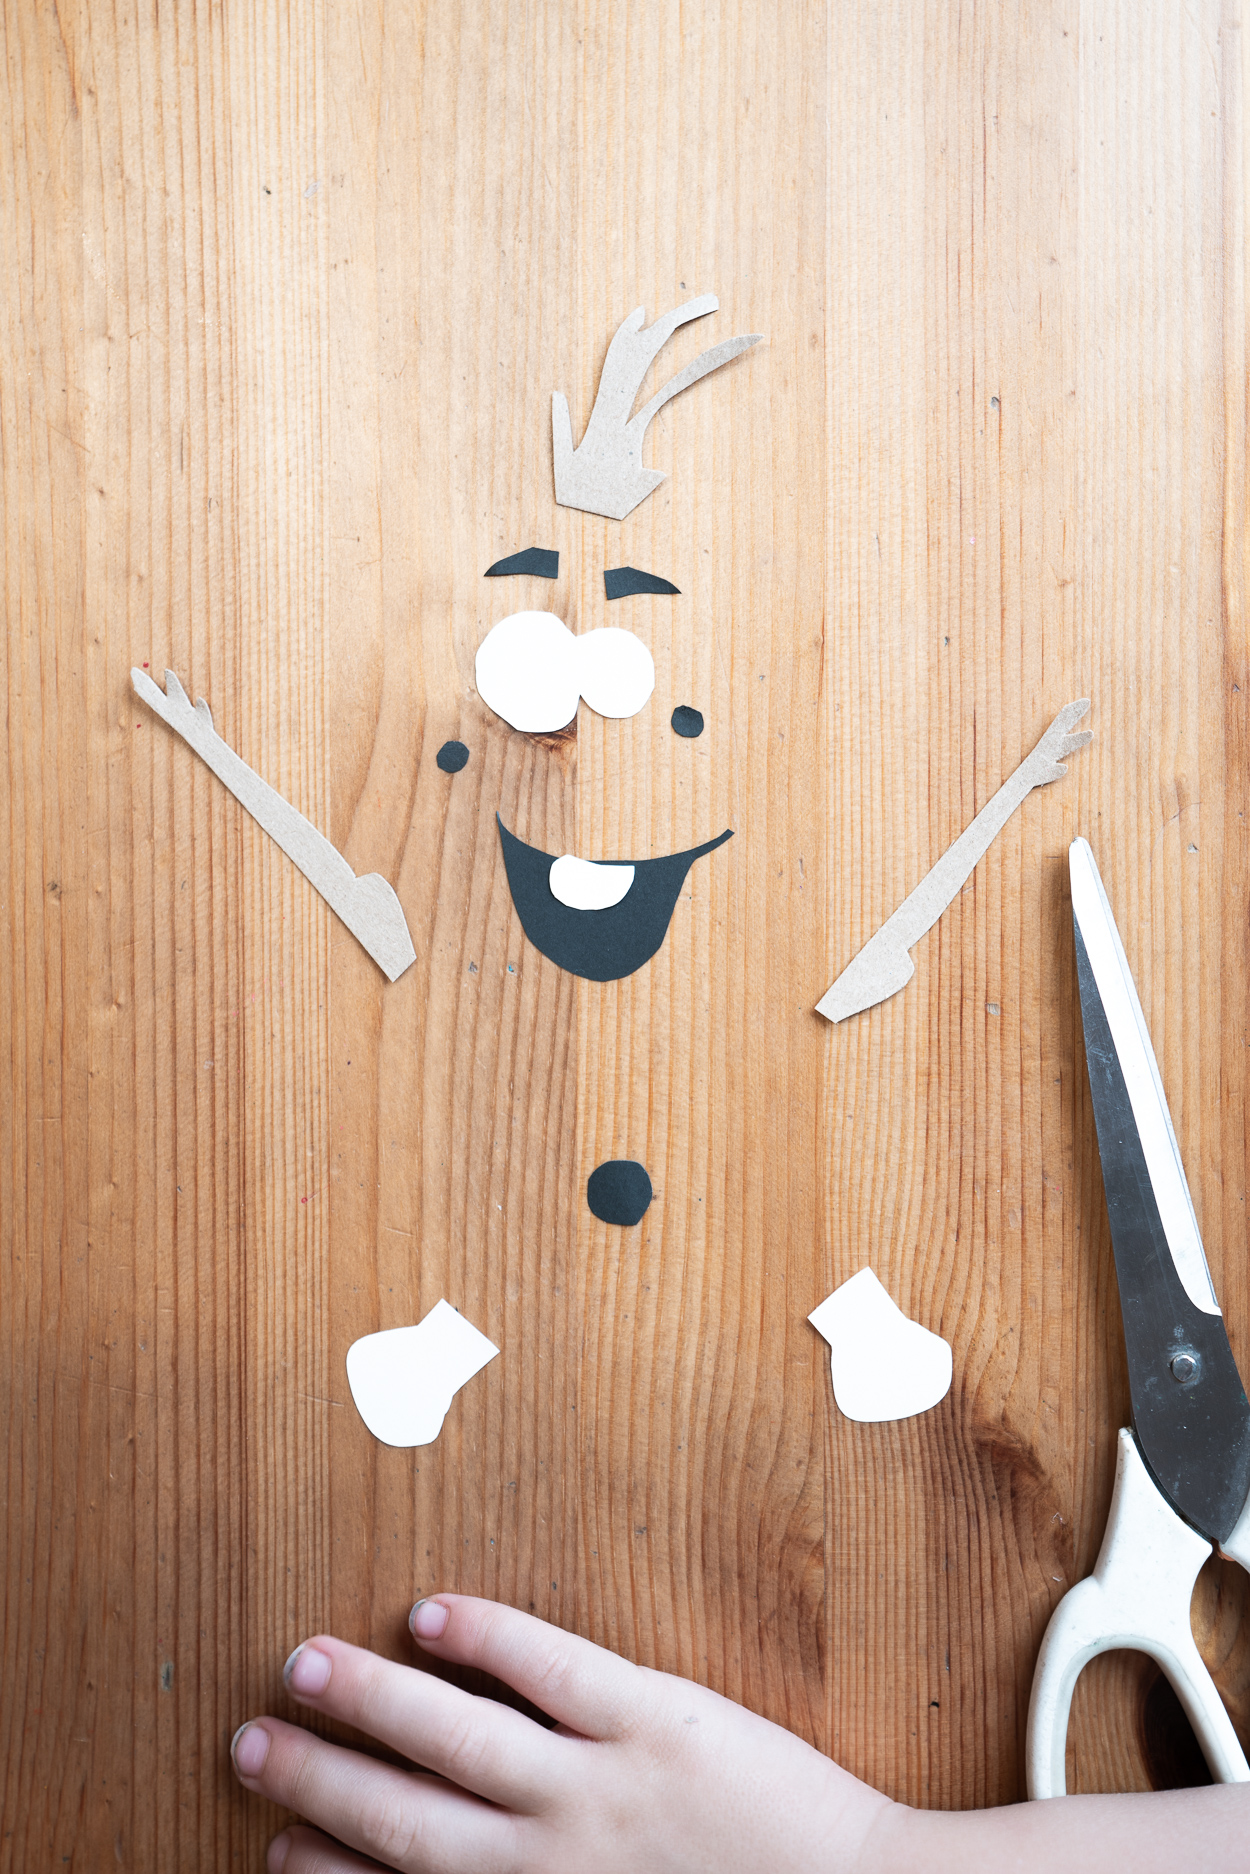
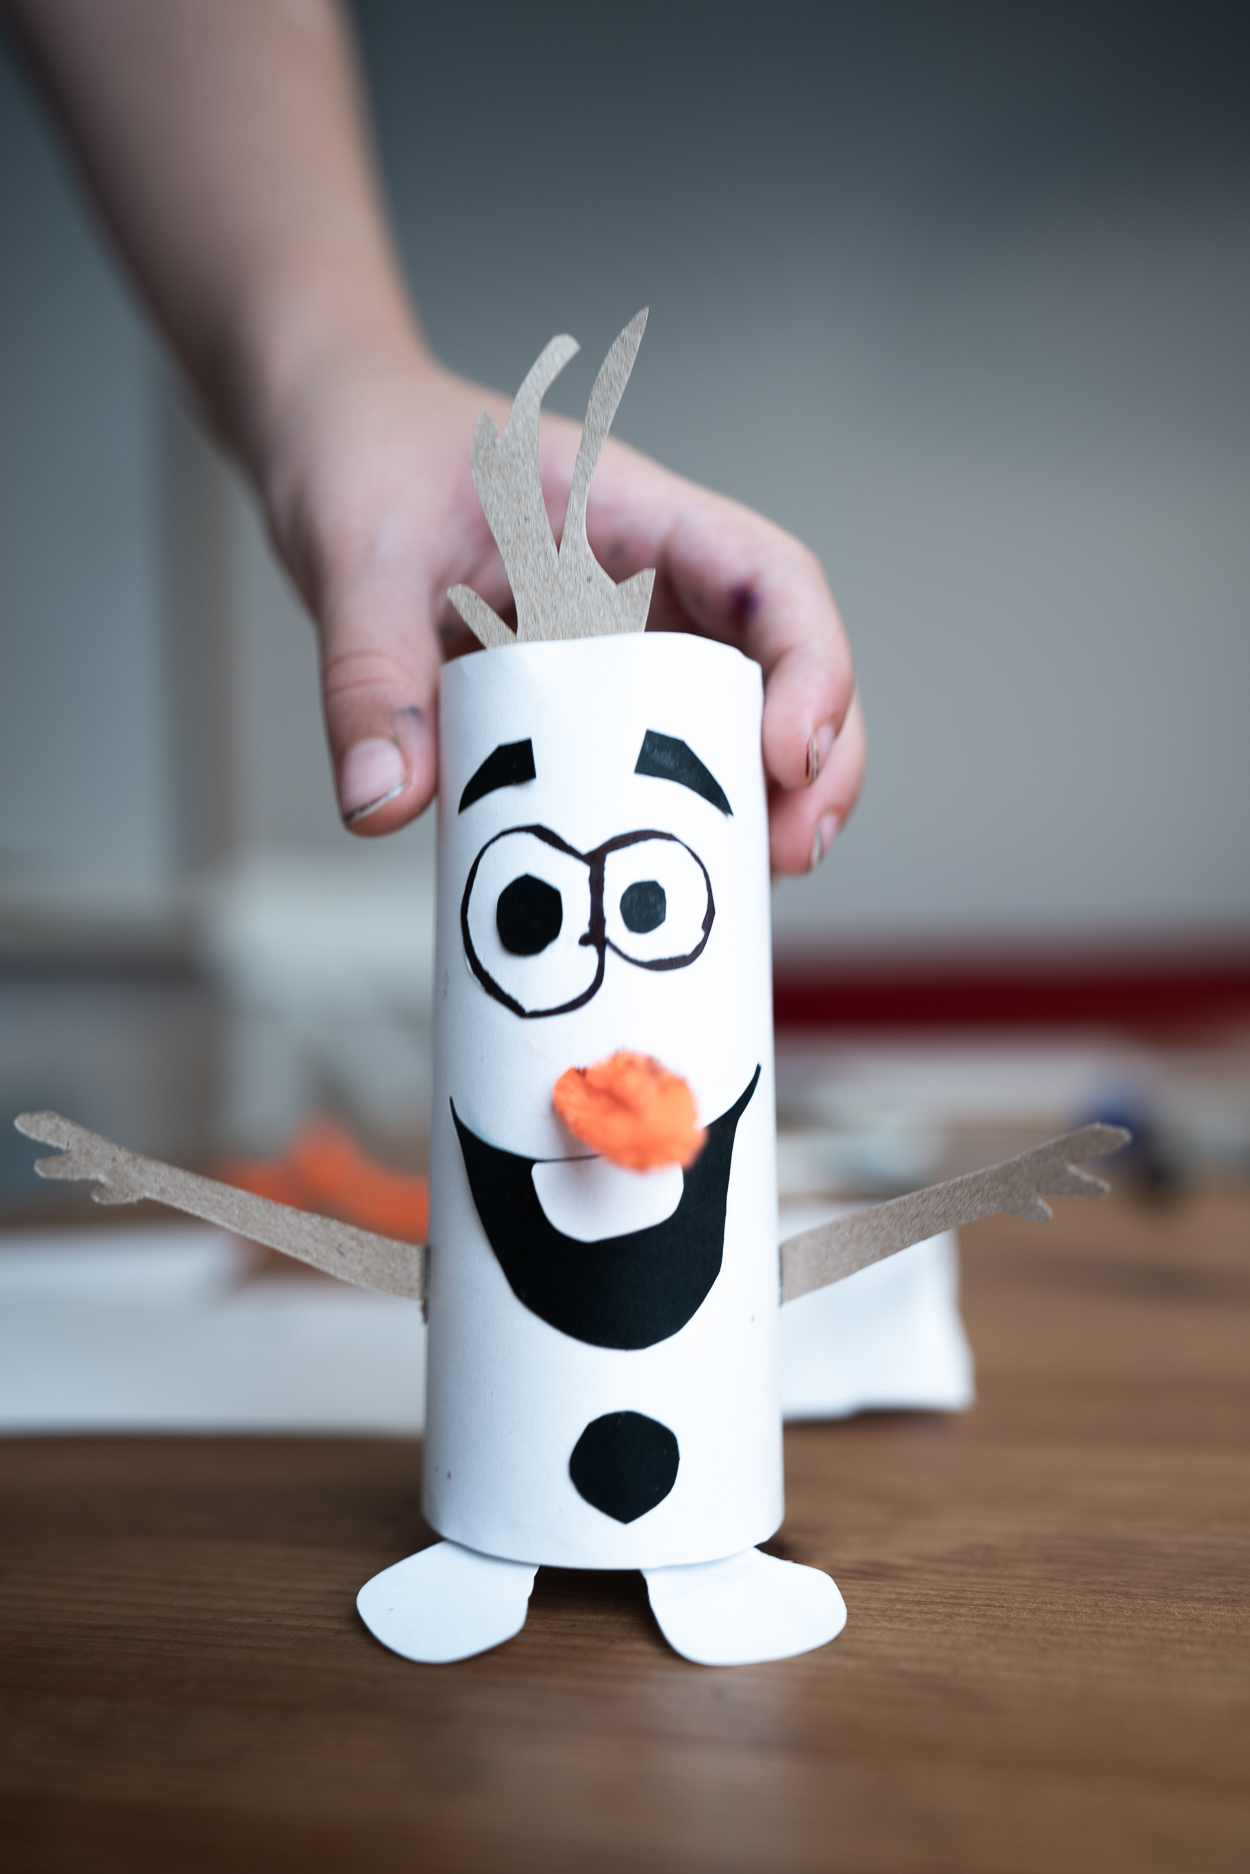
Cut out the remaining parts of the snowman's body: white eyes and a tooth, black eye apples, eyebrows and a mouth. Cut out sticks for arms and hair from brown paper.

Cut out the remaining parts of the snowman's body: white eyes and a tooth, black eye apples, eyebrows and a mouth. Cut out sticks for arms and hair from brown paper.

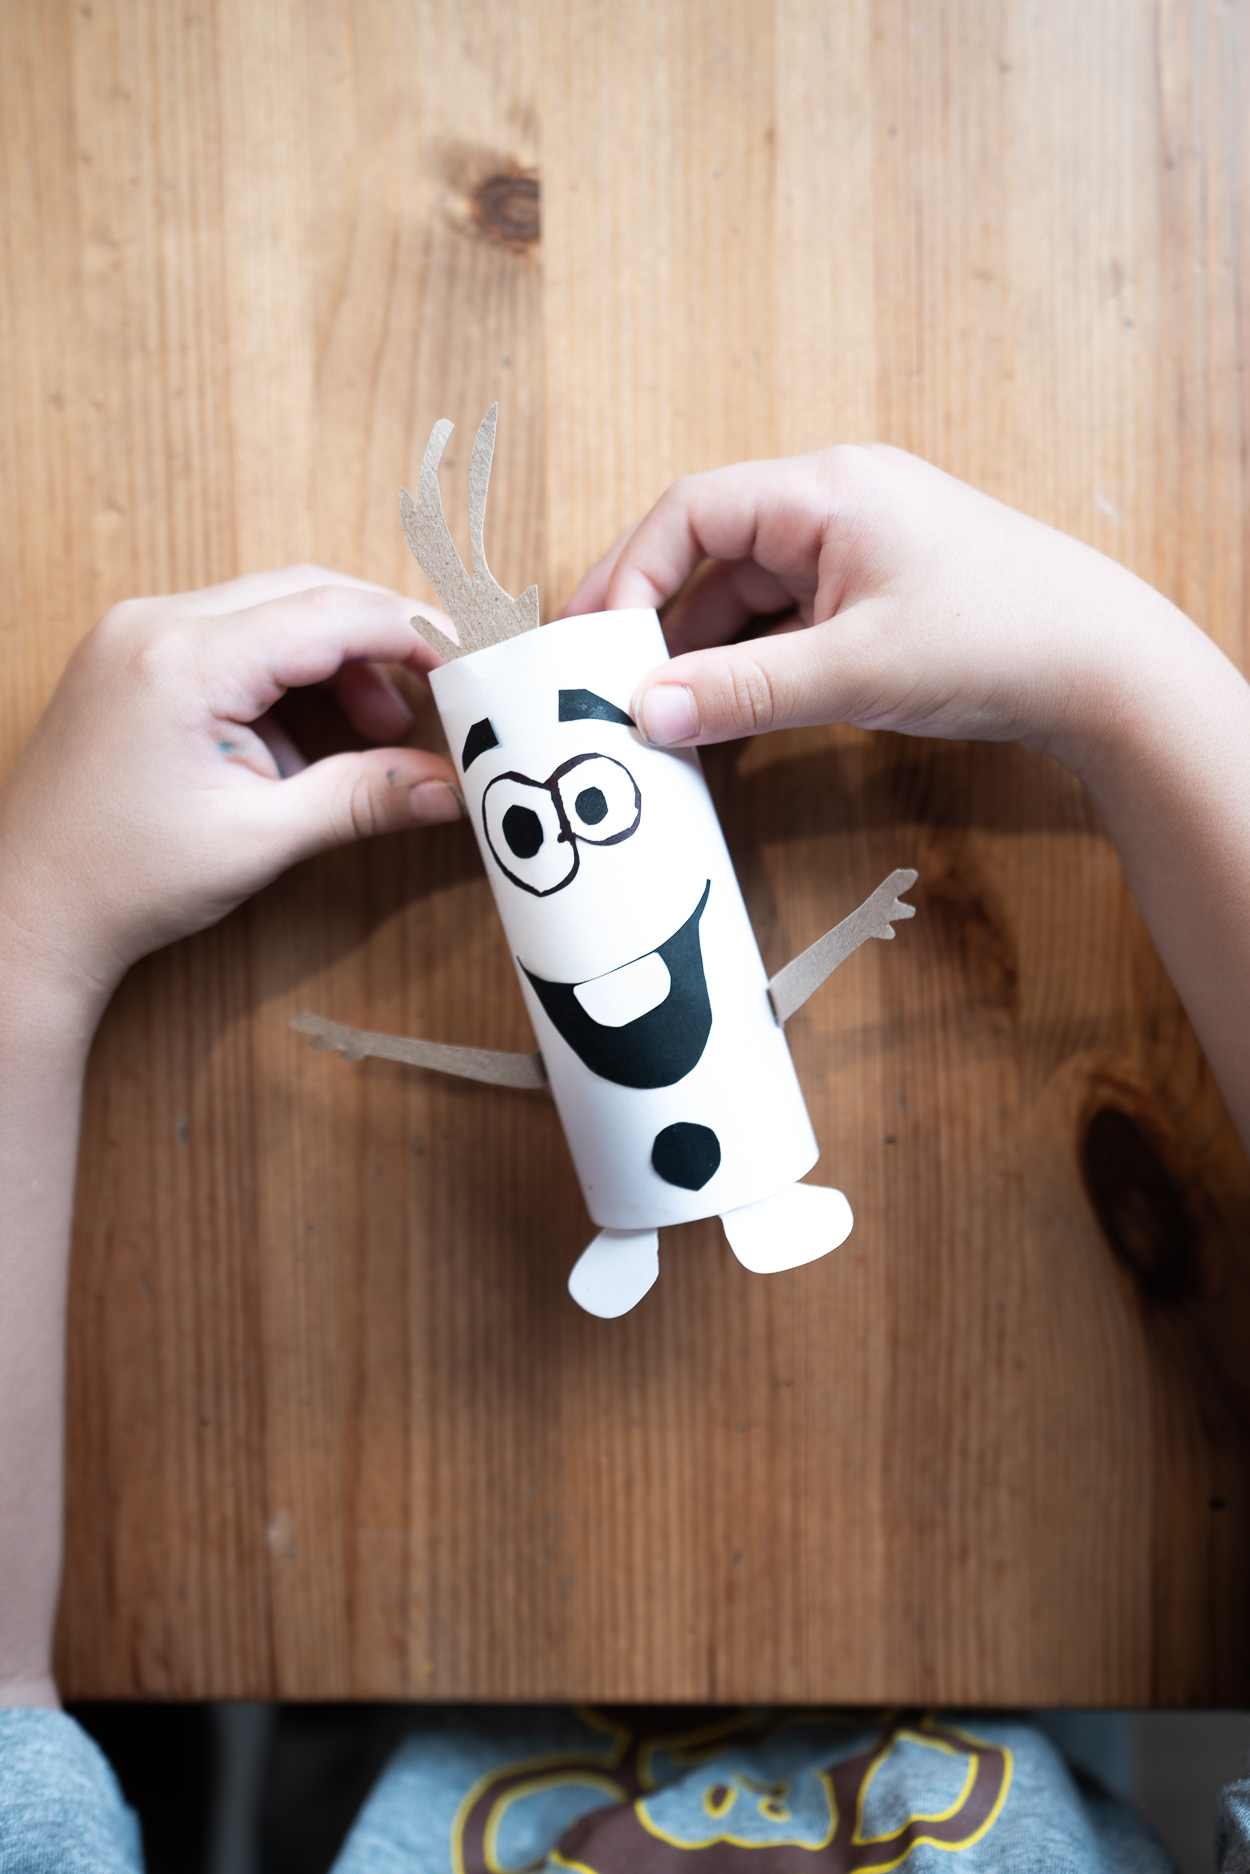
Line up the eyes with a black marker and glue all the parts onto the white paper roll — Olaf’s body.

Line up the eyes with a black marker and glue all the parts onto the white paper roll — Olaf’s body.

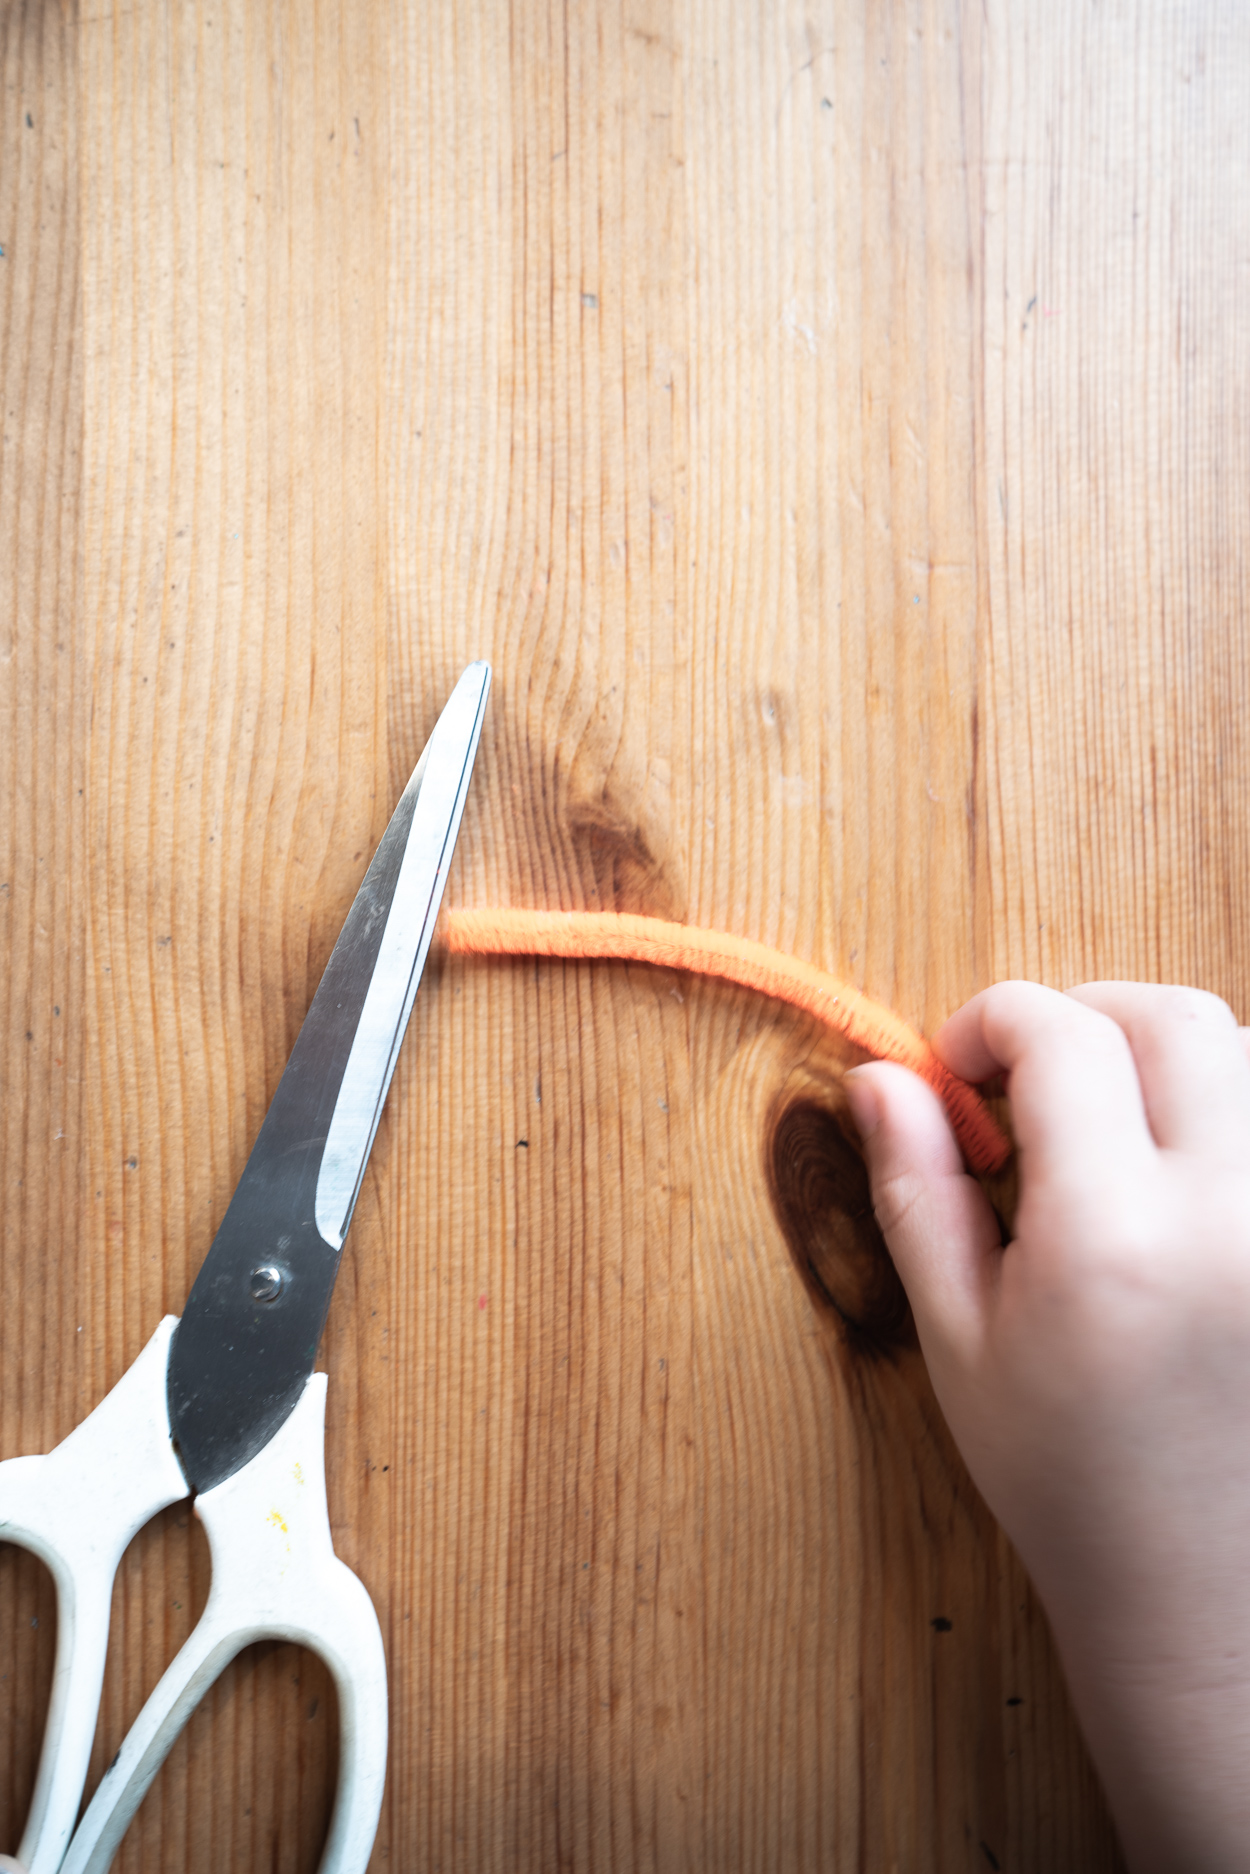
Cut off a small piece of chenille wiring, fold it in half and draw stripes with a marker to make it look like a carrot.

Cut off a small piece of chenille wiring, fold it in half and draw stripes with a marker to make it look like a carrot.

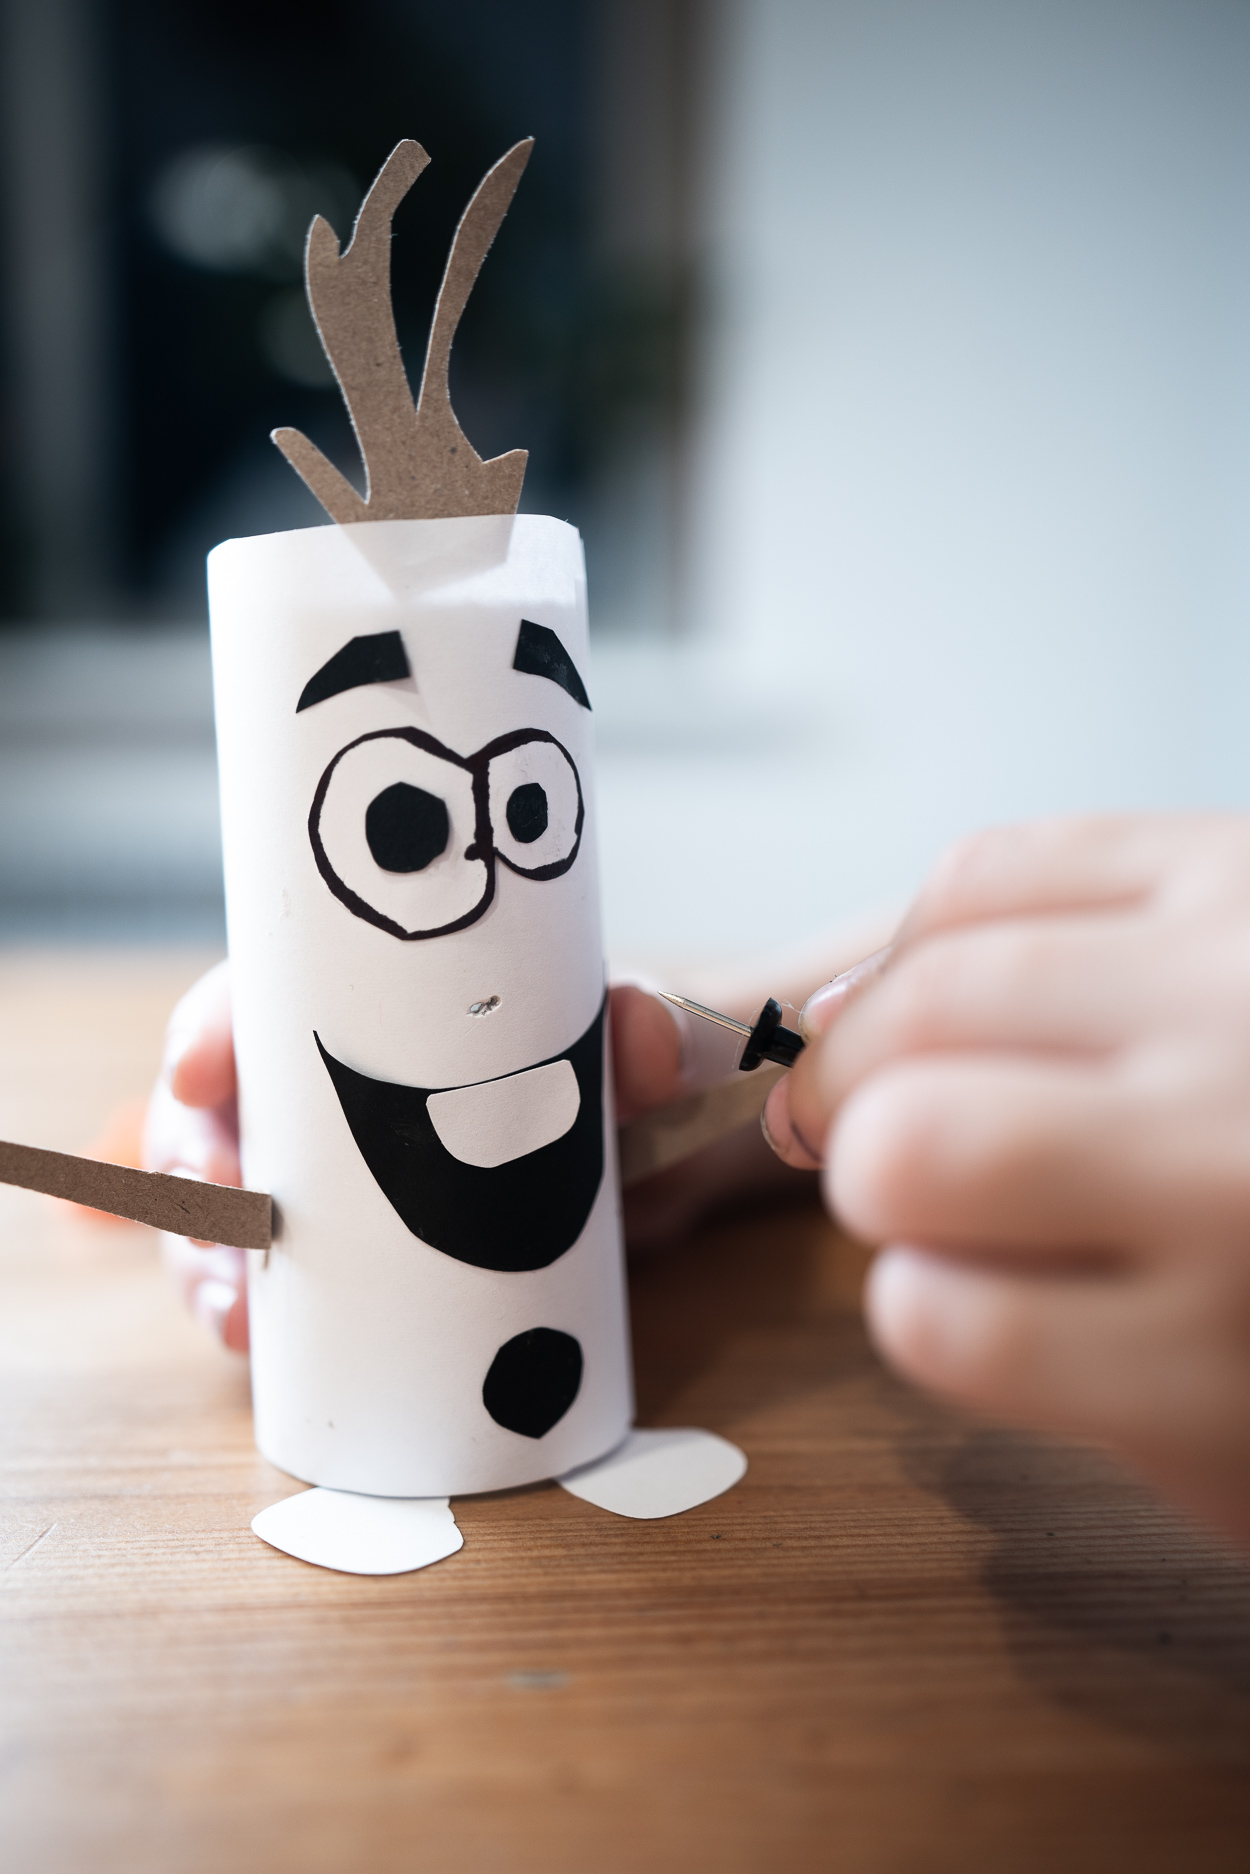
Make a hole in the body of the snowman and insert the resulting nose. Done.

Make a hole in the body of the snowman and insert the resulting nose. Done.

If you want, you can add highlights to Olaf's eyes by gluing small white circles of paper.

If you want, you can add highlights to Olaf's eyes by gluing small white circles of paper.

Elsa

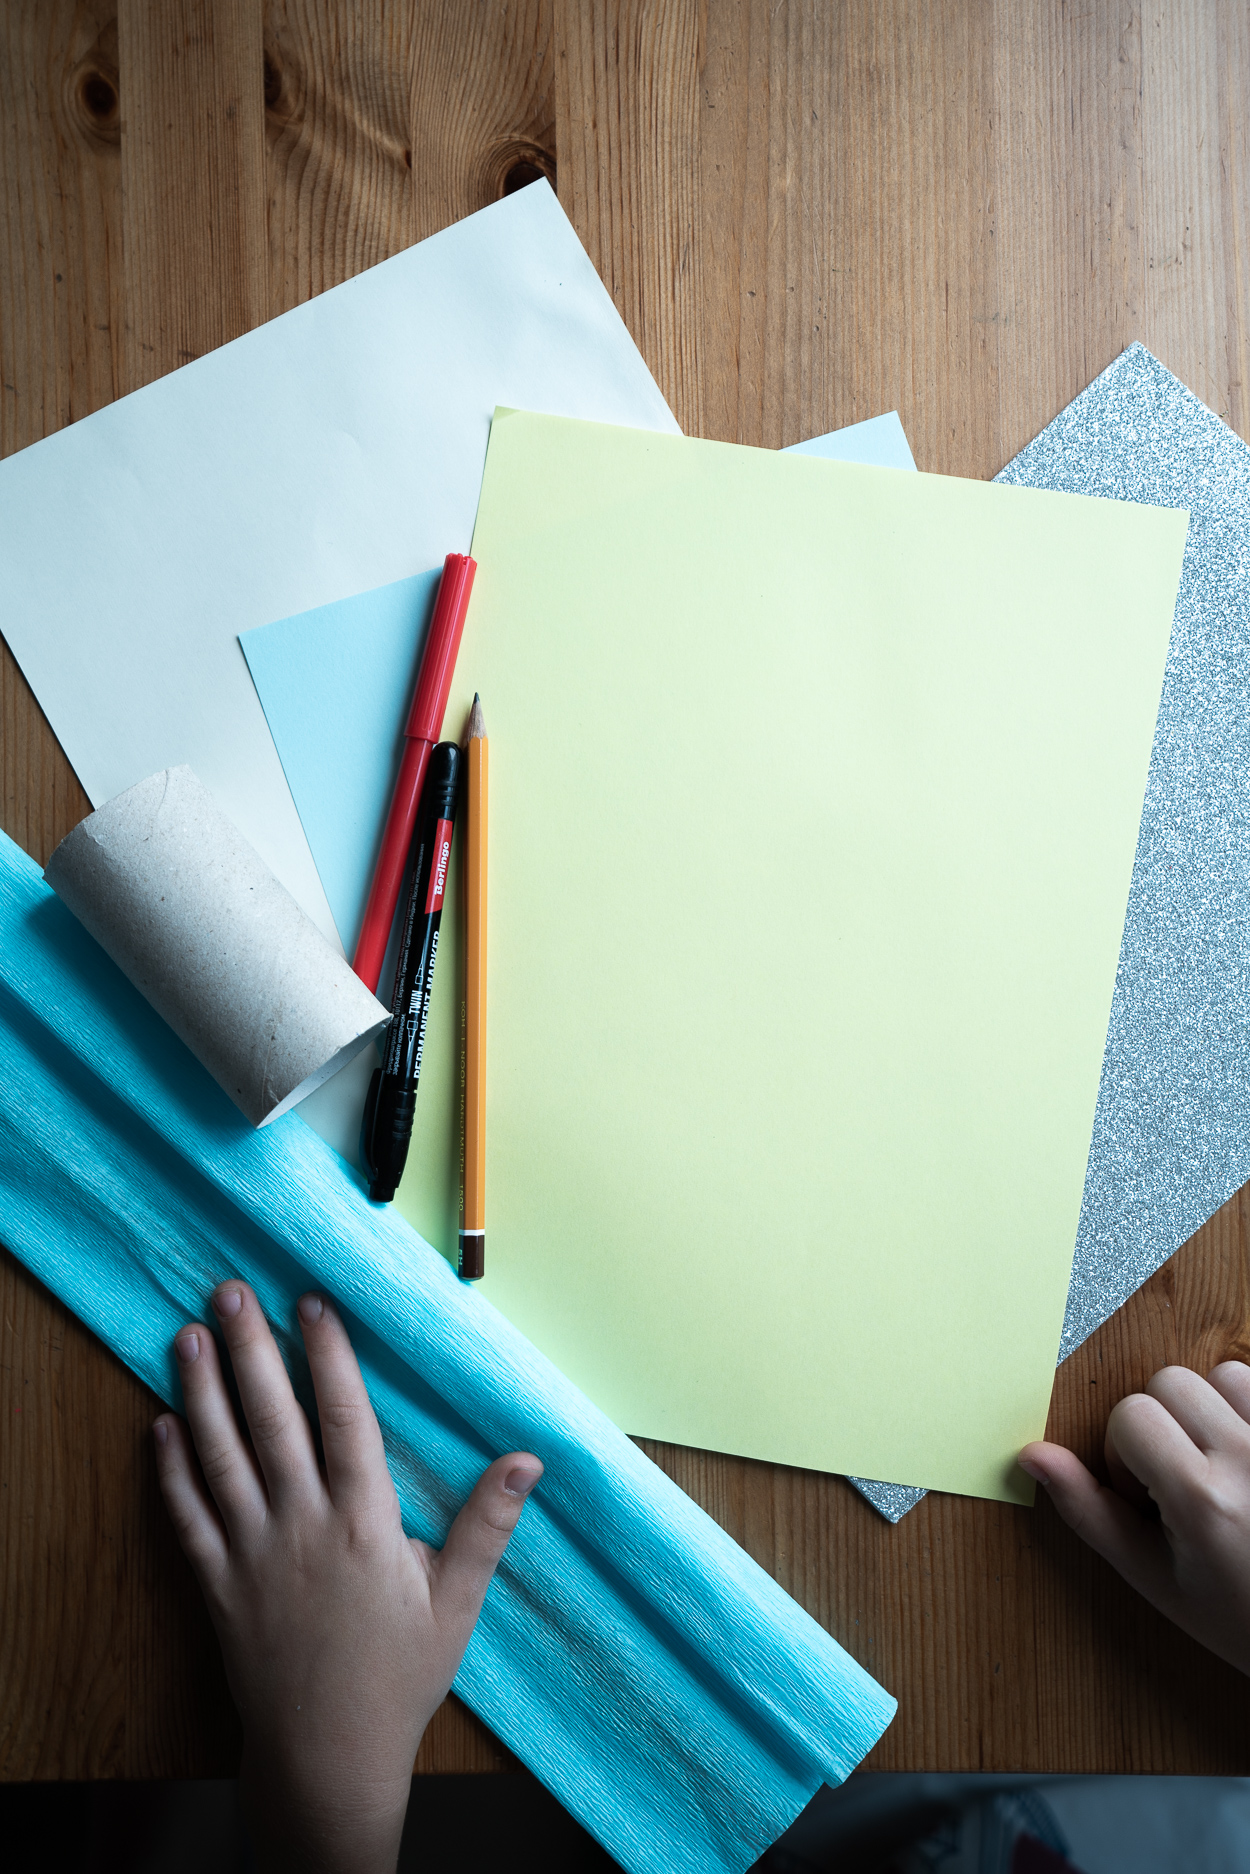
The supplies are a toilet paper roll, blue, beige, yellow paper, blue crepe paper, silver paper, glue, scissors, a pencil, red and black felt-tip pens.

The supplies are a toilet paper roll, blue, beige, yellow paper, blue crepe paper, silver paper, glue, scissors, a pencil, red and black felt-tip pens.

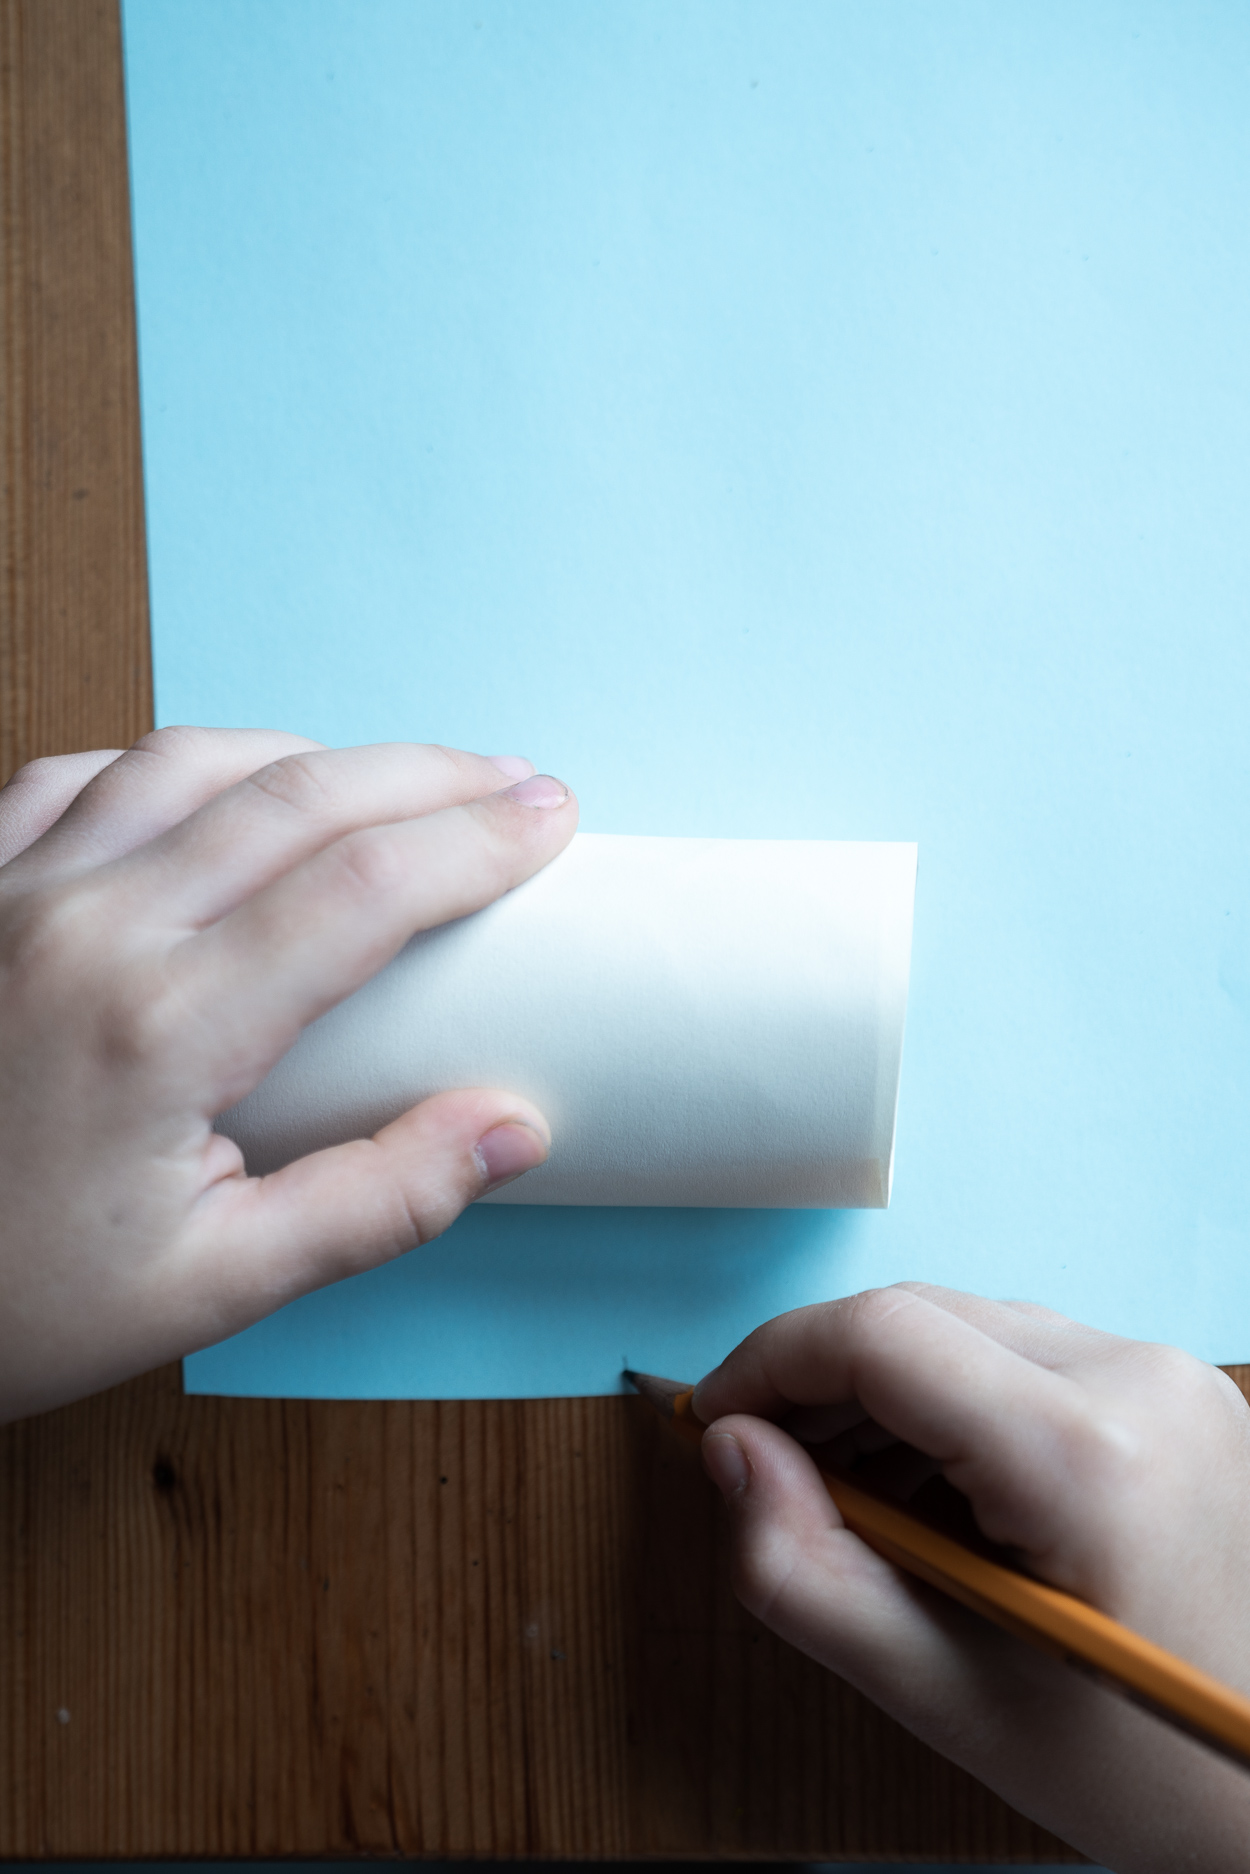
Measure out light beige paper and glue it around the roll.

Measure out light beige paper and glue it around the roll.

Take a sheet of blue paper and measure about 2/3 of the roll in height, cut out a rectangle and glue to the roll. Here you get Elsa's face and dress.

Take a sheet of blue paper and measure about 2/3 of the roll in height, cut out a rectangle and glue to the roll. Here you get Elsa's face and dress.

For hair, you’ll need two thin strips and a square of yellow paper.

For hair, you’ll need two thin strips and a square of yellow paper.

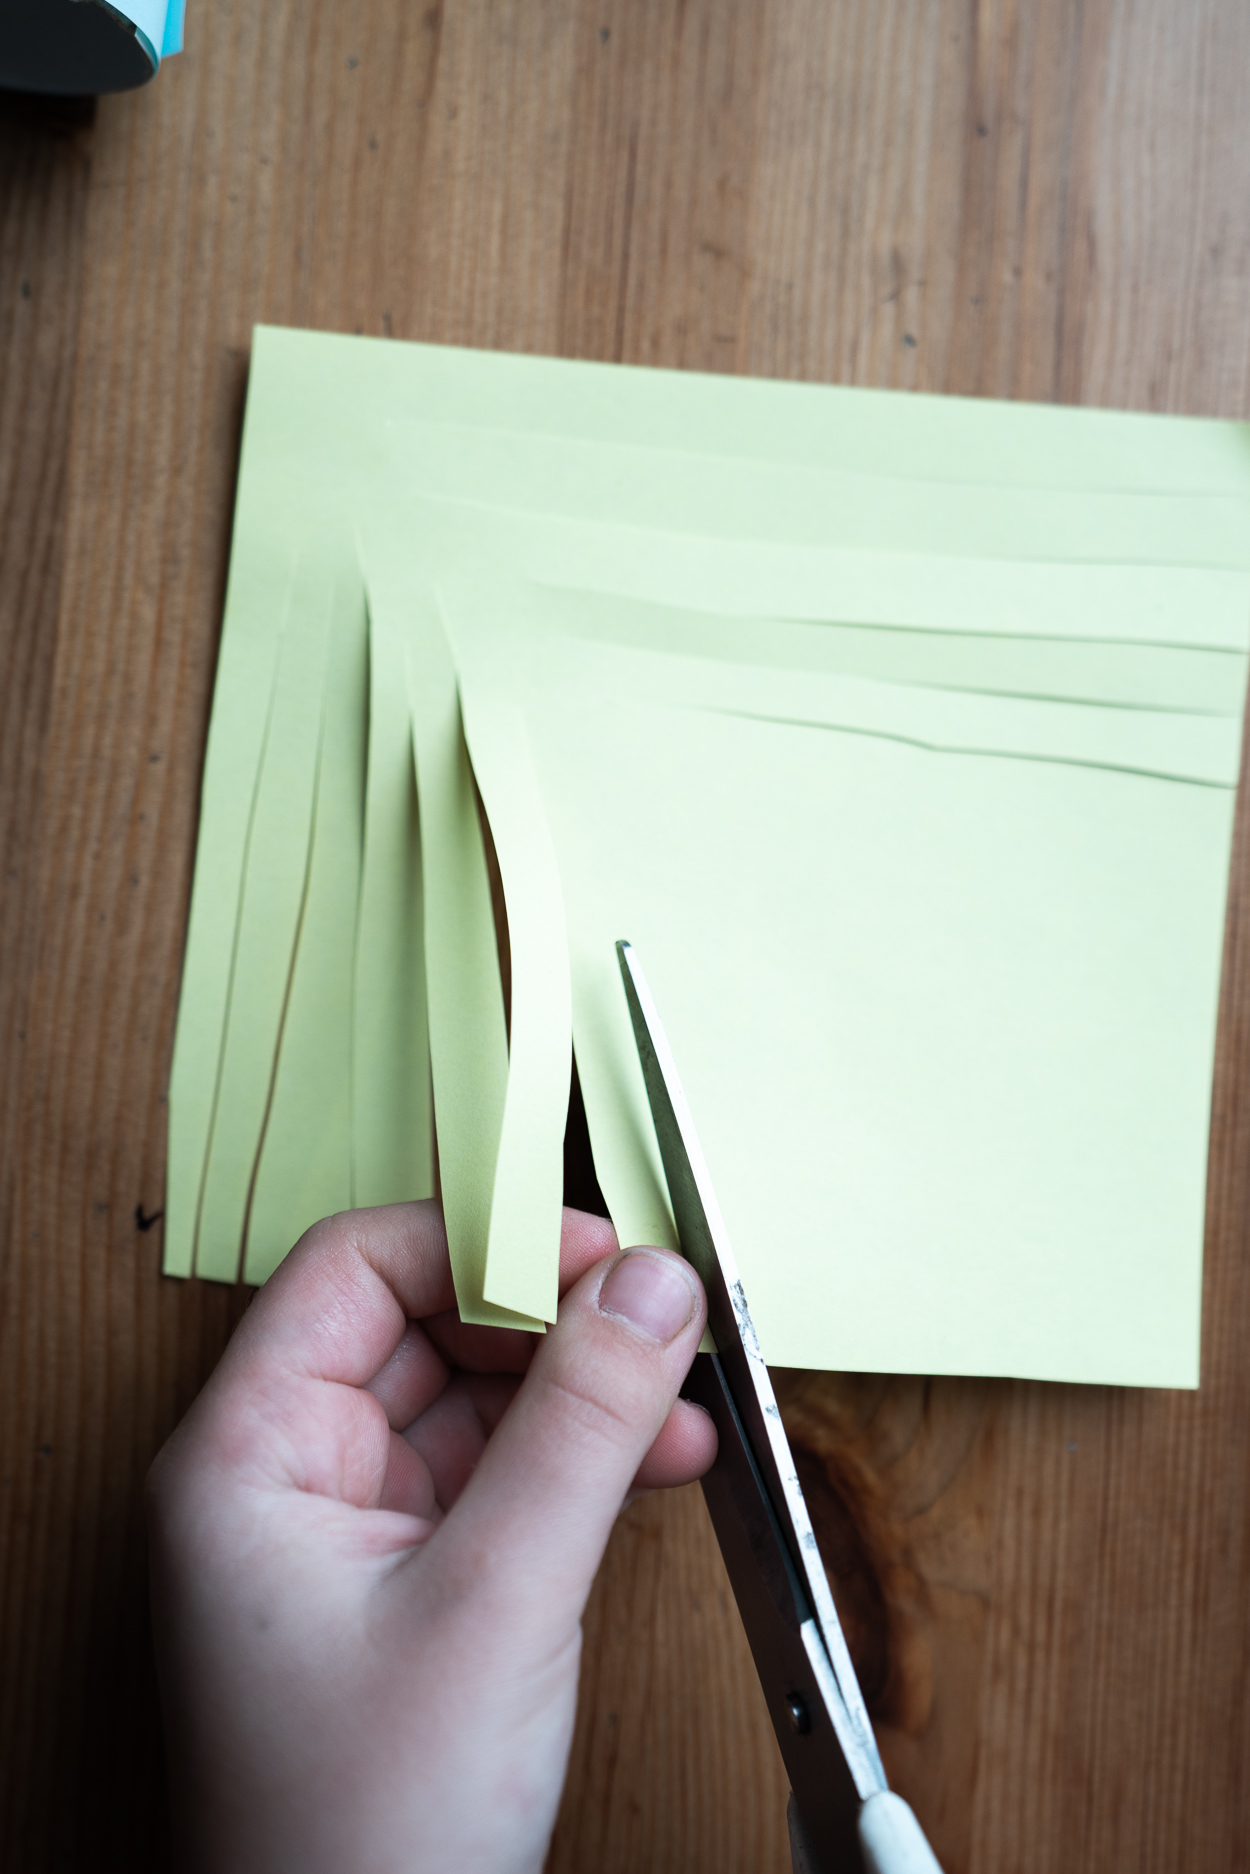
Make cuts in the square imitating hair.

Make cuts in the square imitating hair.

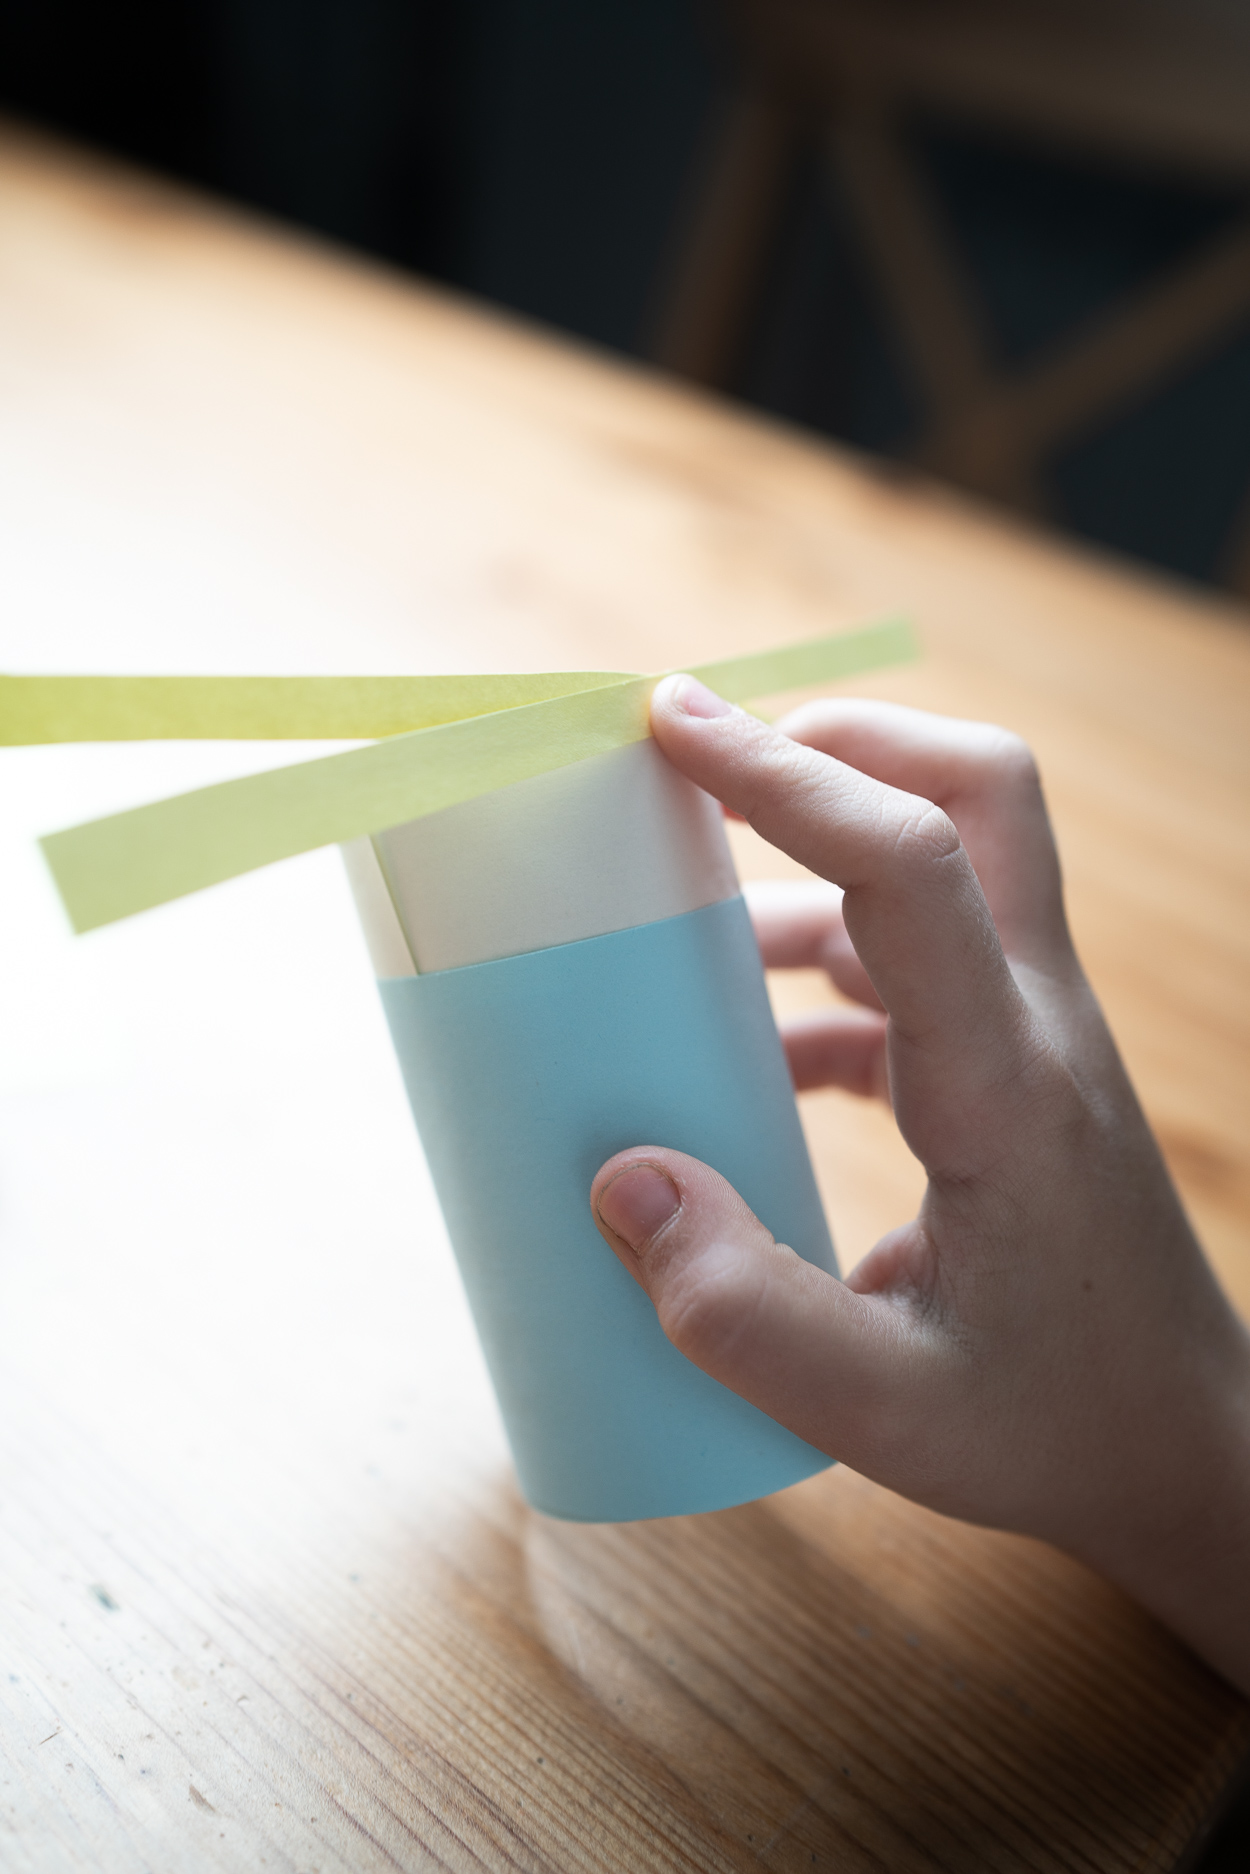
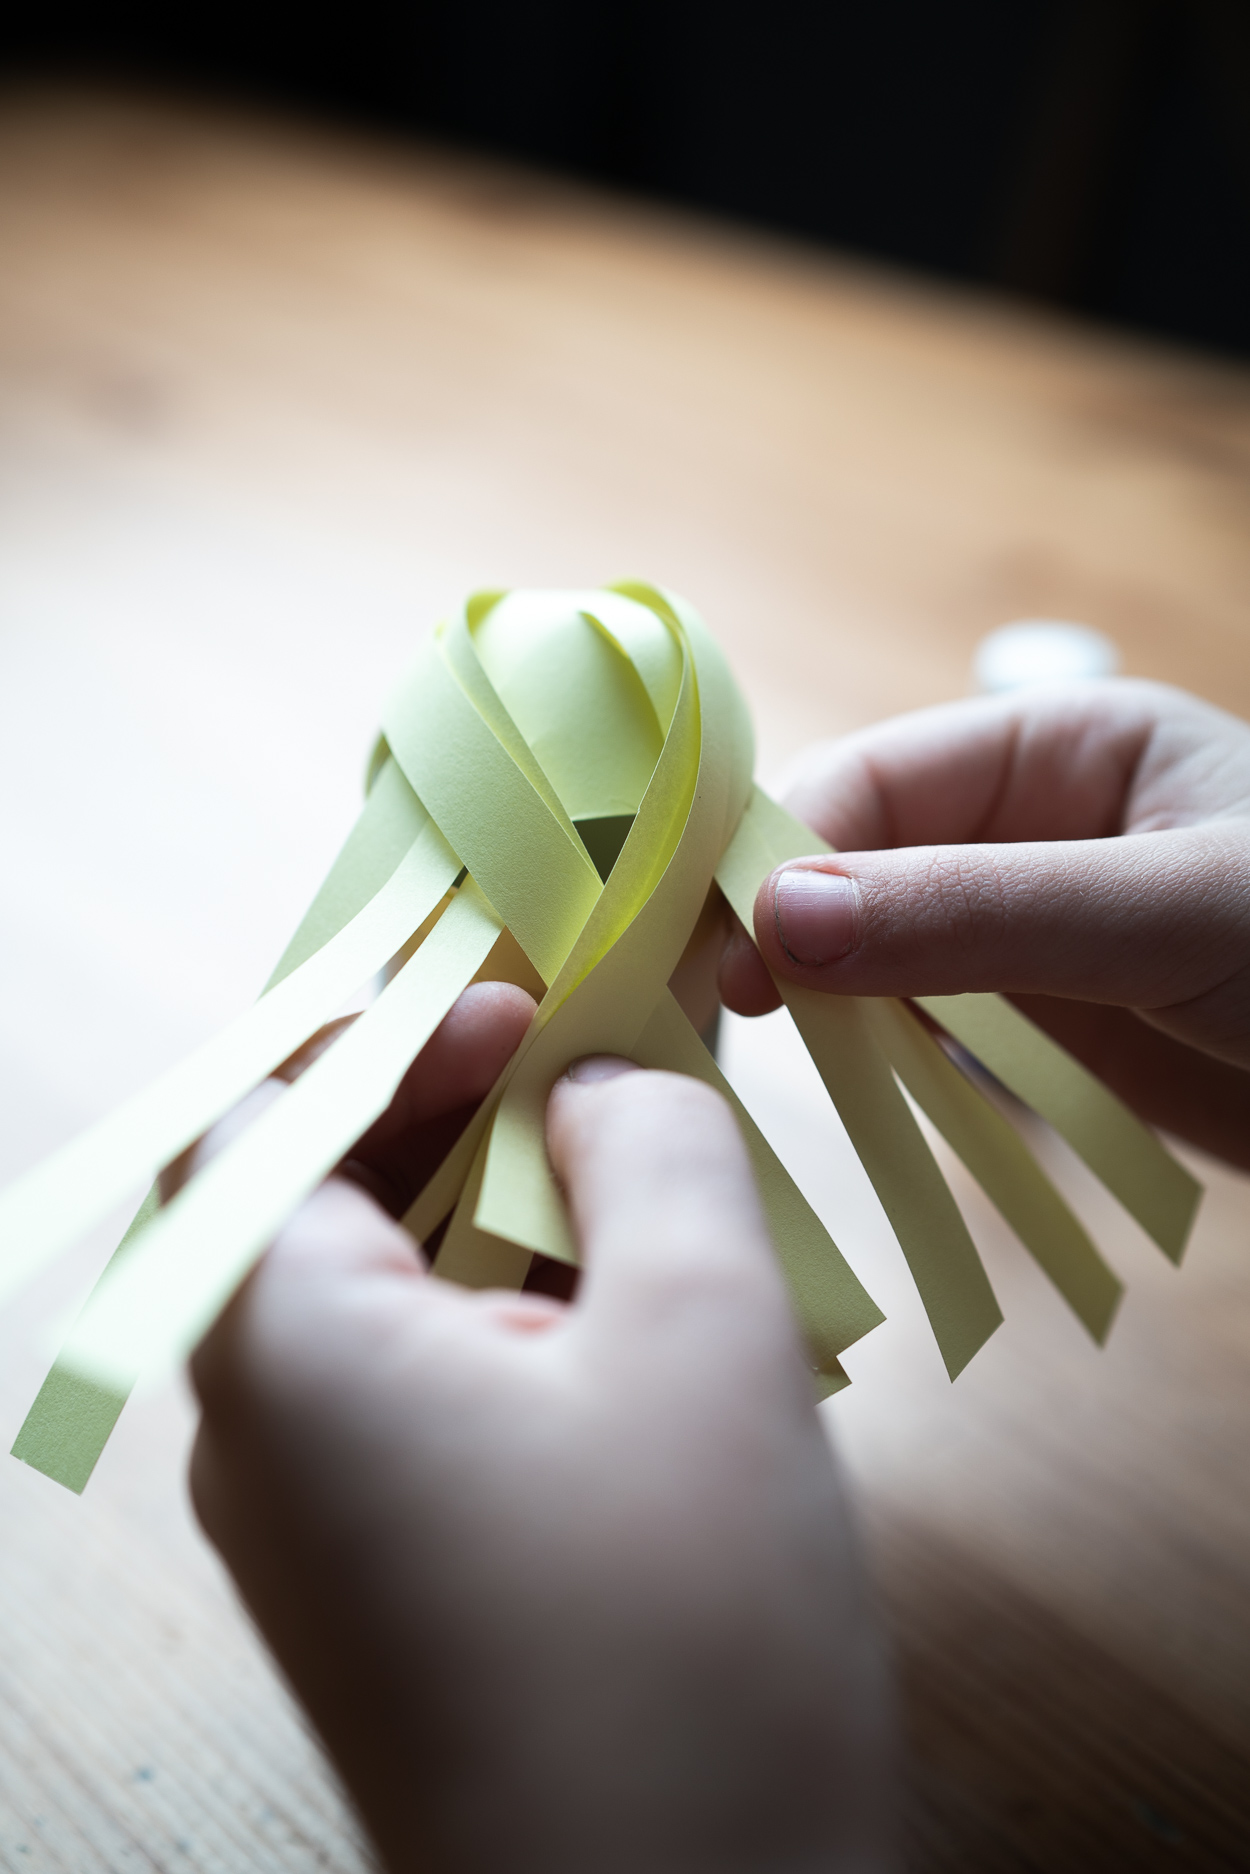
Glue two yellow strips to Elsa's head, first, and then your yellow square. Braid the hair, if necessary, fix it with glue.

Glue two yellow strips to Elsa's head, first, and then your yellow square. Braid the hair, if necessary, fix it with glue.

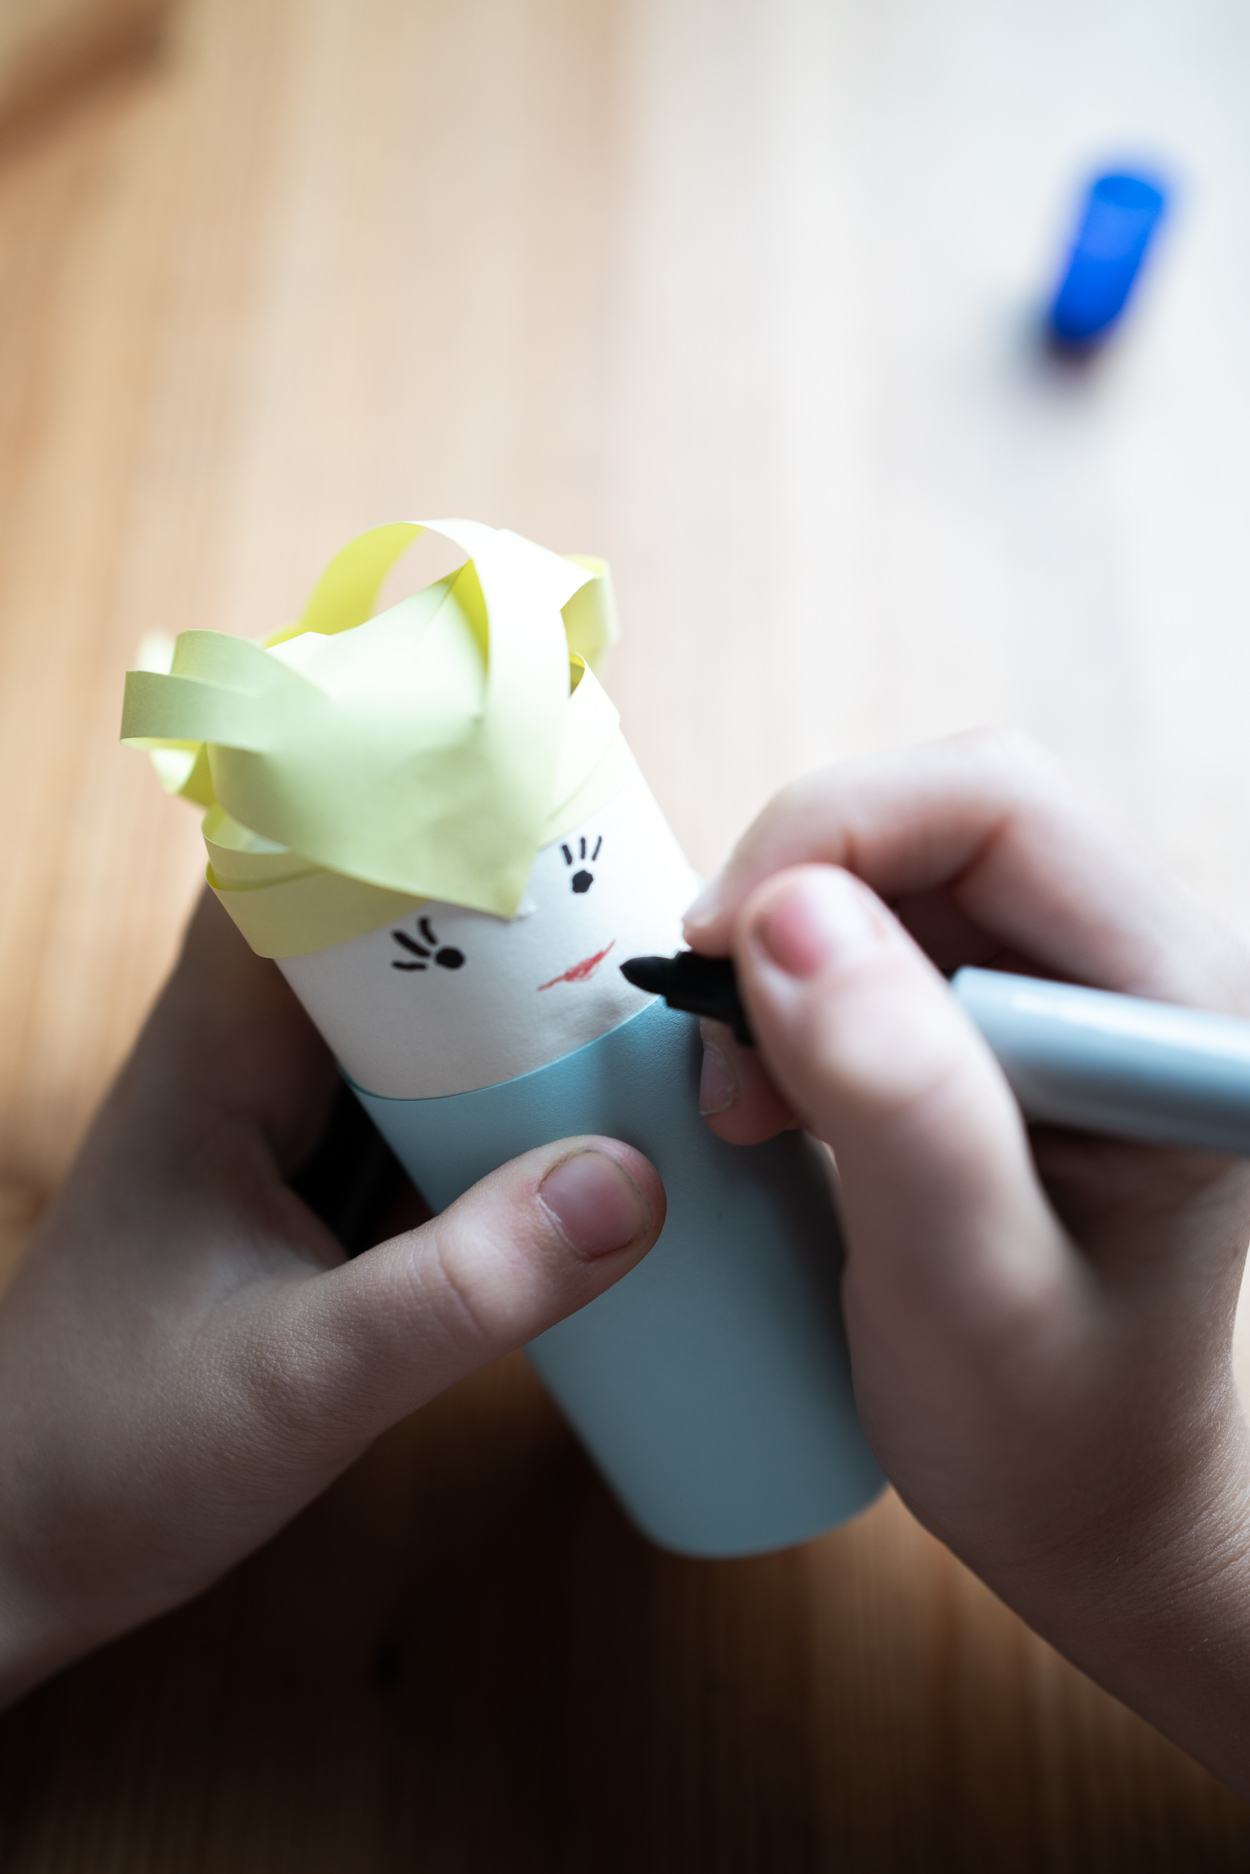
Draw a face with felt-tip pens.

Draw a face with felt-tip pens.

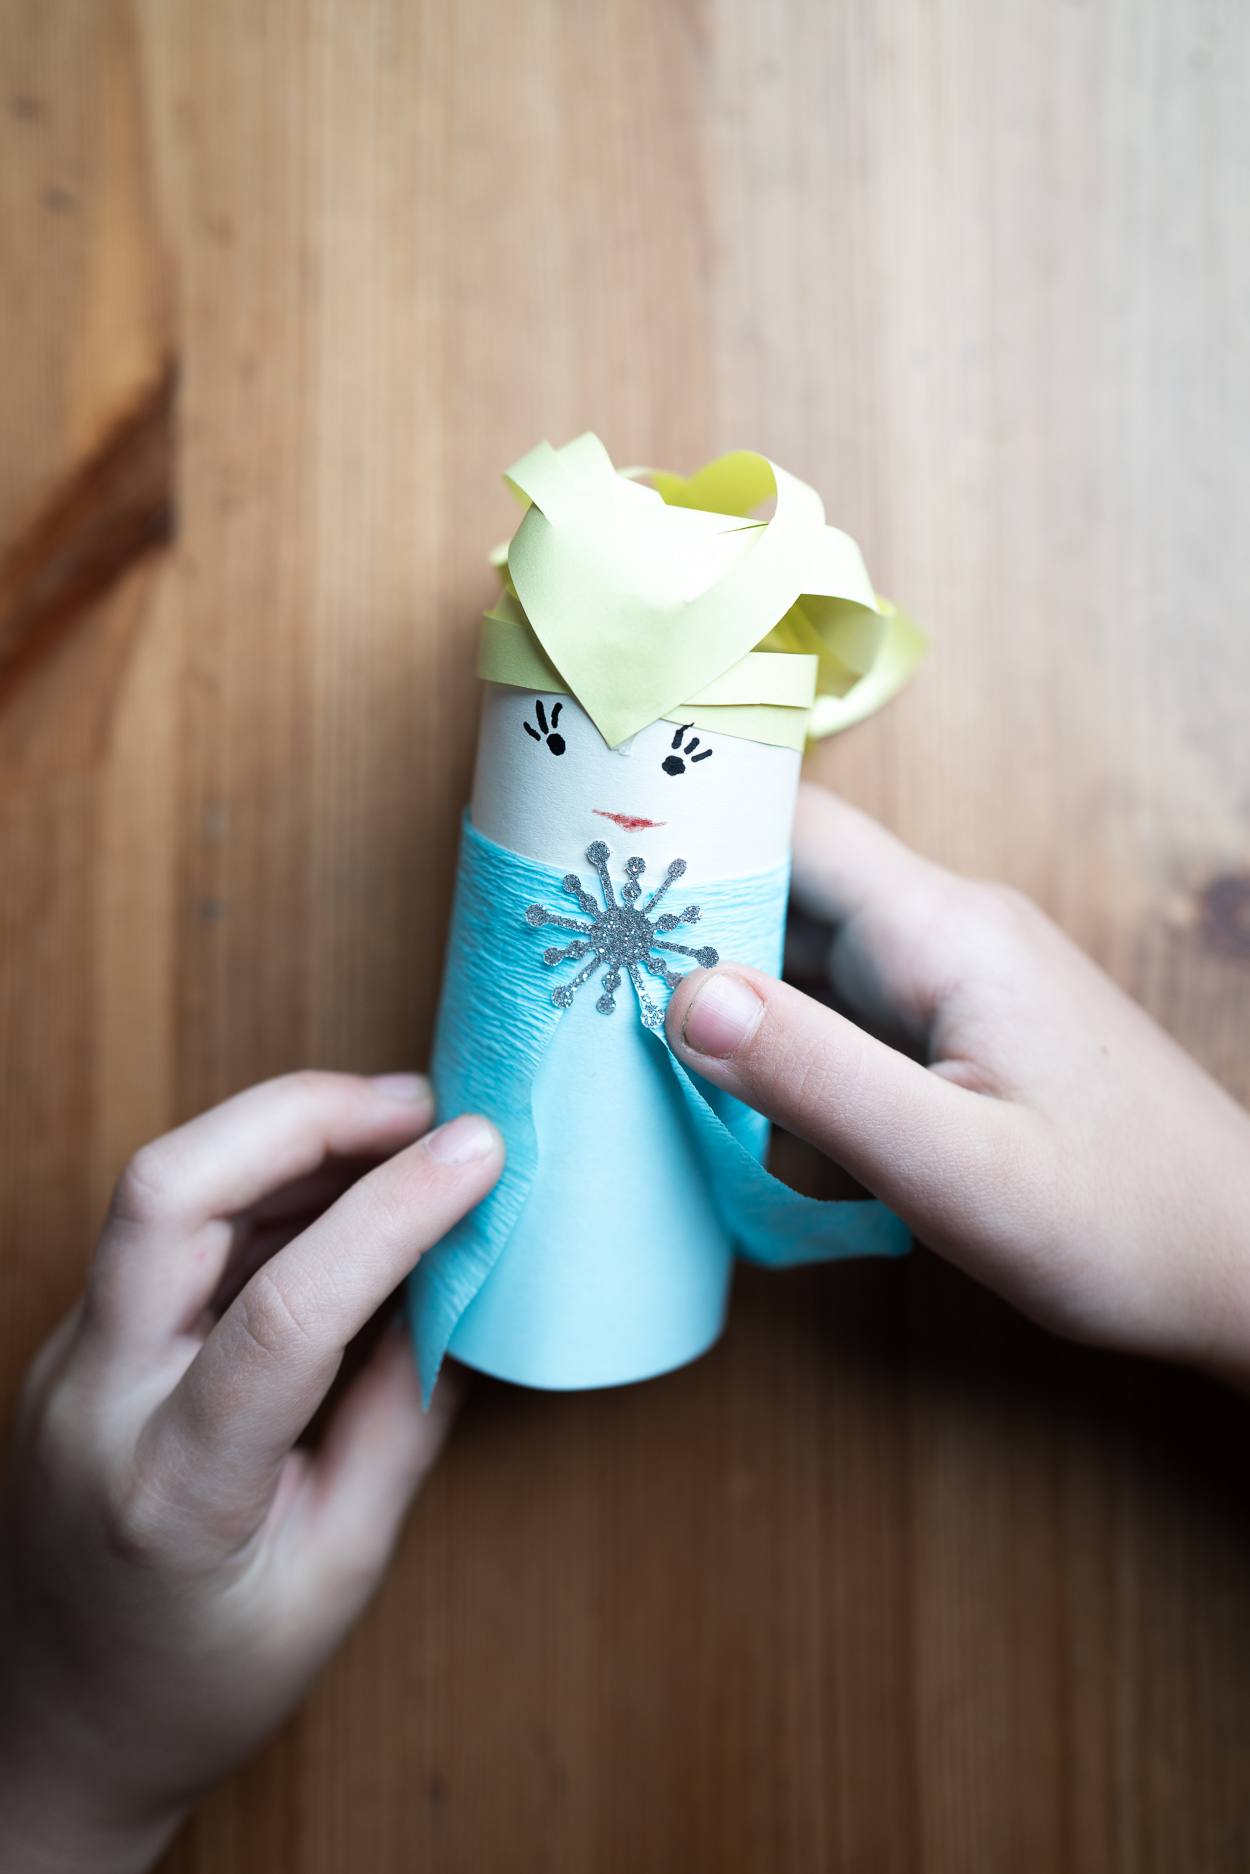
. Cut a rectangle from crepe paper to make a cloak, and from silver paper cut out a snowflake for decoration.

. Cut a rectangle from crepe paper to make a cloak, and from silver paper cut out a snowflake for decoration.

Glue the crepe paper only along the upper edge, and the lower one should be slightly folded back, glue the snowflake. Elsa is ready!

Glue the crepe paper only along the upper edge, and the lower one should be slightly folded back, glue the snowflake. Elsa is ready!