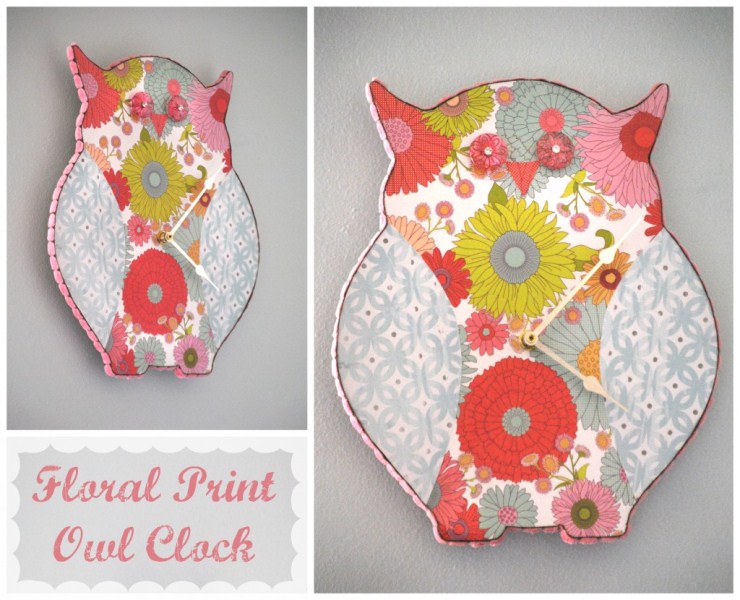
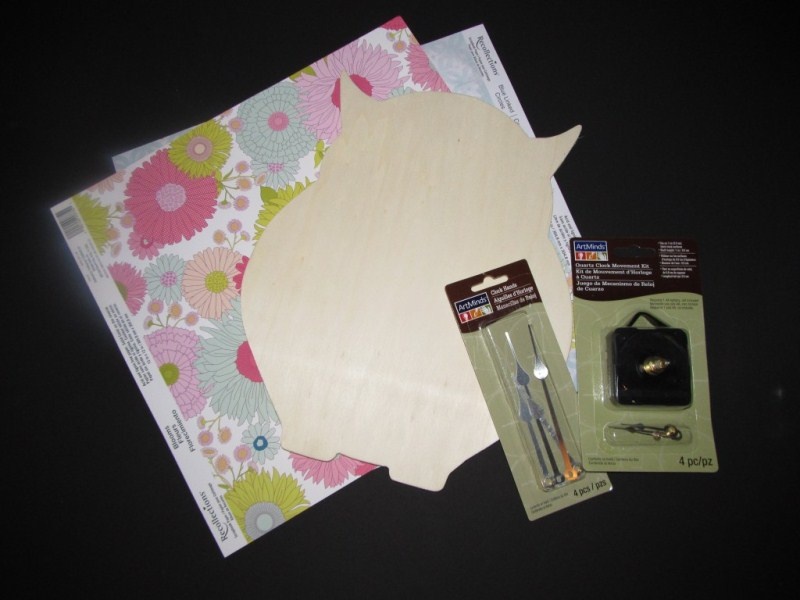
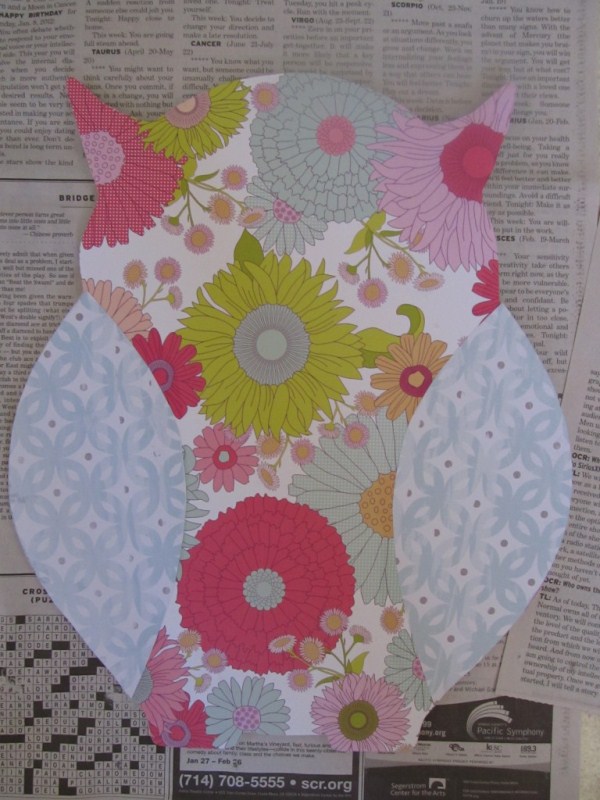
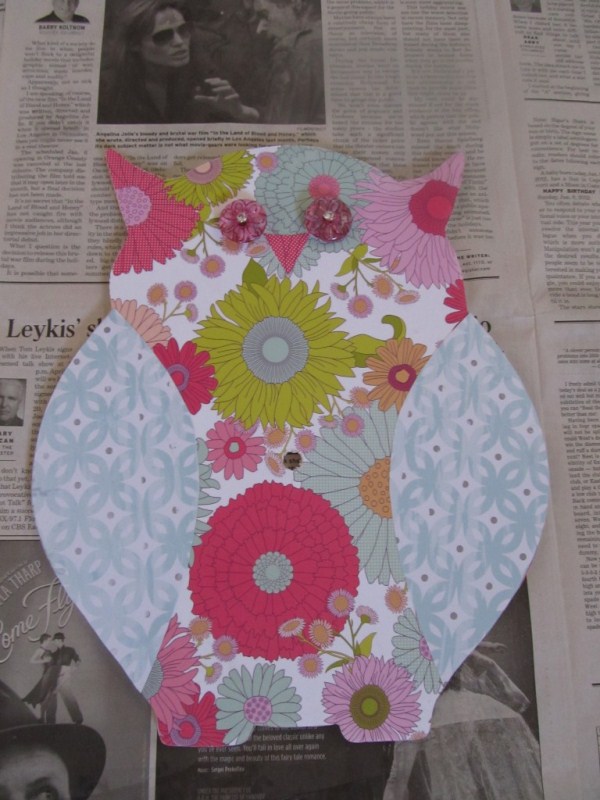
If you want to make a cool clock for your kid or just like owls, this how-to is for you. The supplies are wood cut out, 2 different but coordinating pieces of scrapbook paper, battery operated clock, larger clock hands, 2 buttons, a trim, a drill, scissors, a paint brush, a container, a newspaper, a piece of sand paper and Mod Podge. Flip the wooden cutout over and line the paper up with the cut out. Flip it back over and apply the mod podge to the surface of the cut out so that it is enough to cover it. Let it dry. Cut out the wings and repeat the same process listed up above. Measure the placement of your button backs and drill holes to insert the buttons into. Secure with hot glue from the back. Attach a trim if you wish. Don’t forget to insert the battery operated clock. Hang it where you like and enjoy!


