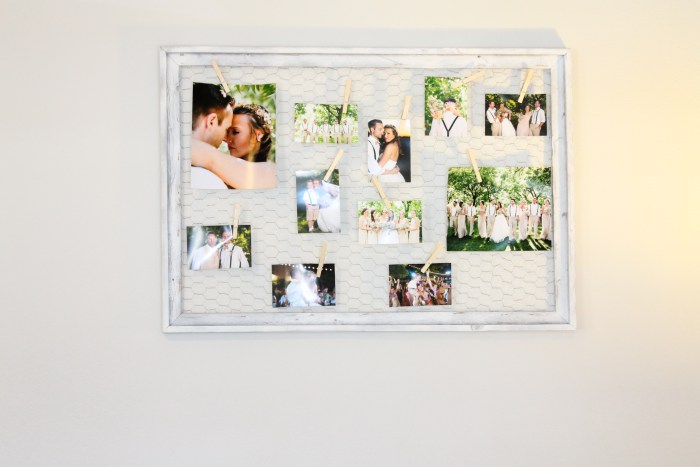
This is the easiest and most original photo display I’ve ever seen! To make one you’ll need chicken wire, a picture frame, a staple gun, clothes pins, wire cutters and pictures to display. The first thing is to measure your chicken wire and snip it with wire cutters to it fin in the frame. Leave...
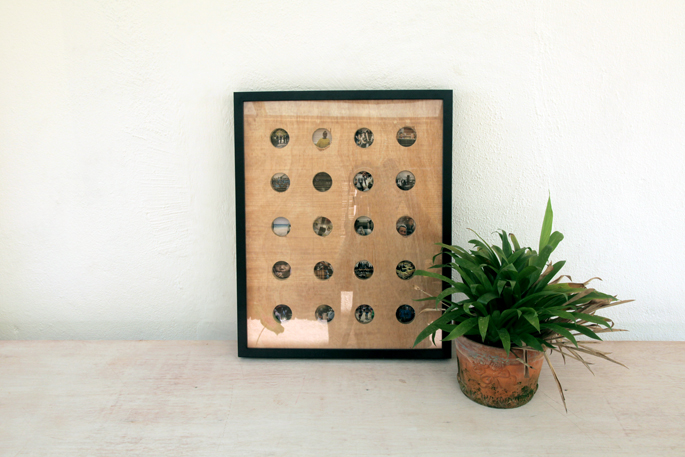
Have just come back from a cool holiday? Display your pics! Prepare a corded drill, a saw drill bit, plywood, tape measure and pencil, IKEA RIBBA frame, small screws, fine grit sandpaper, A3 sheet of printed photos. Take the backboard out of the frame, measure it, and cut the plywood to the same dimensions. Next,...

To create this simple floating frame find a vintage frame and then take measurements of your frame (for the insert pieces). Head to your local hardware store and ask them to cut you 2 pieces of glass to your specific measurements. Dust off/ clean the glass. Set one piece into the frame. Center your poster...
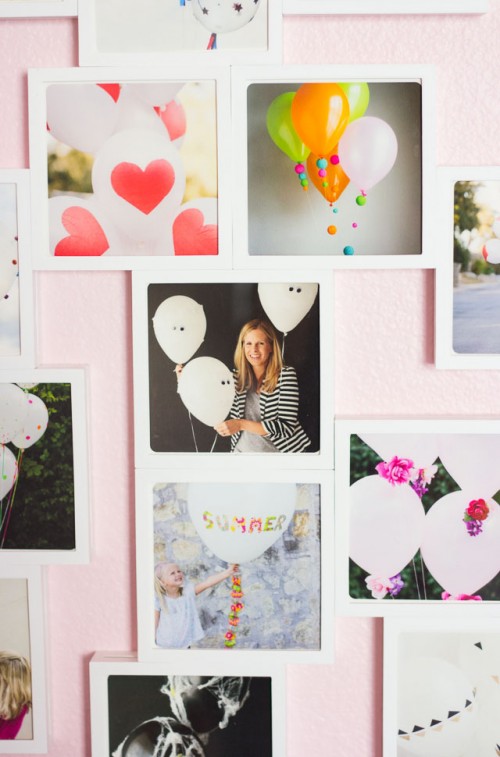
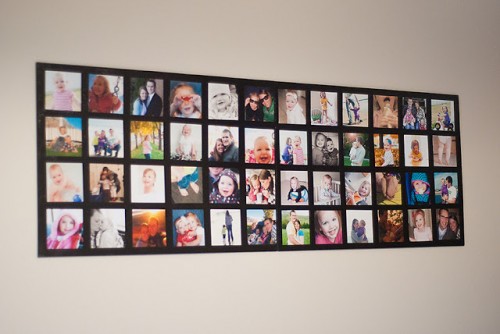
Photo walls are super actual because eveyrone want to enjoy the family pics. Today we are going to make a photo wall with Fotobit frames. You can select the number you need, as well as have your Instagram photos printed by Snapbox on their nice thick 4×4 art prints. Each Fotobit frame contains several components,...
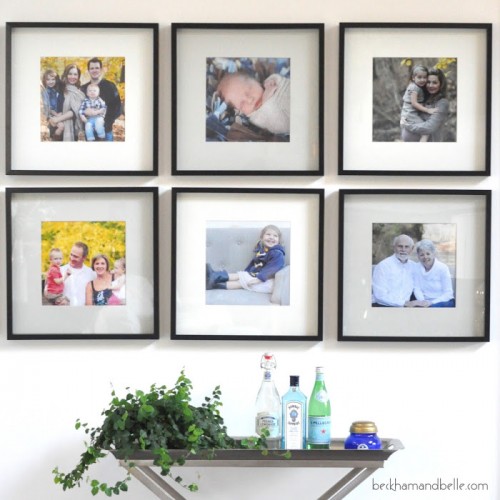
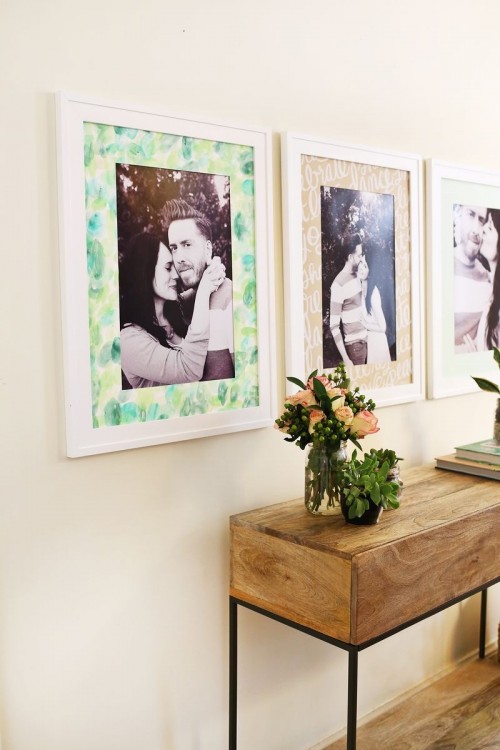
Do you love IKEA hacks as we do? We are always looking for interesting ones on the net, and today we’d like to share RIBBA picture frames hack from beckhamandbelle.com. Prepare paint of your choice, a photo mat, a small foam roller. Start by taking apart your frame. Blow any dust or particles off of the mat....
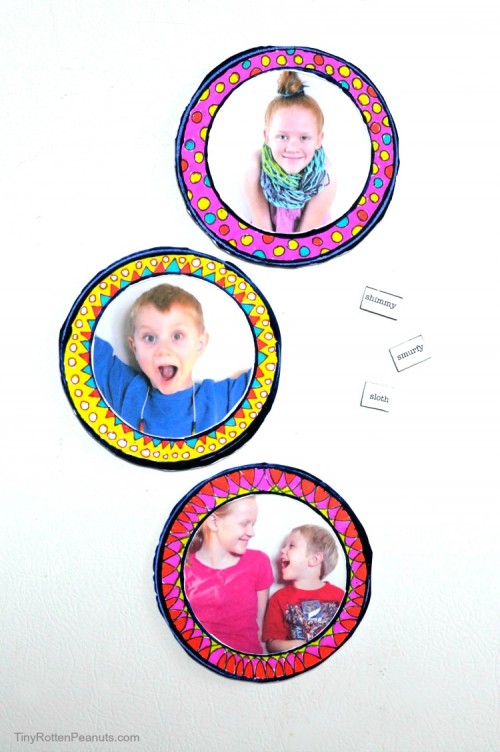
I’d like to share a super creative and fun idea to display your photos from TinyRottenPeanuts blog – these are magnetic frames for your fridge or magnetic board. The supplies are white card stock, acrylic paint, a brayer, permanent markers, a craft knife, scotch tape, a printer and small magnets. Roll out your acrylic paint...
Whether you are displaying photos of your family, or other special photos, this tutorial will help you make a plain black and white photo instantly more interesting, inviting and vibe-y. The supplies are mat board, patterned paper to cover mat, spray adhesive or rubber cement, an X-Acto knife, a metal ruler, a cutting mat and...
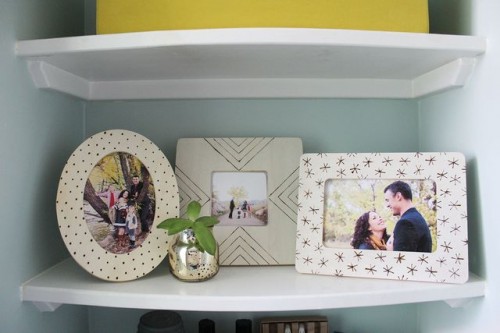
If you have a couple of photo frames and want to get something original, there’s a way! Prepare natural wood frames, a wood burning tool, pliers, a metal ruler and a pencil. To create a polka-dot effect, use the standard round attachment that comes with your wood burning kit. You can freehand your design or...
Photos are the best way to memorize something or someone, to live and feel the same again, and though you can say that decorating with photos is a little bit old-fashioned, believe me – that’s not so! Photos needn’t be put into frames like before – you can make super creative photo collages for any...
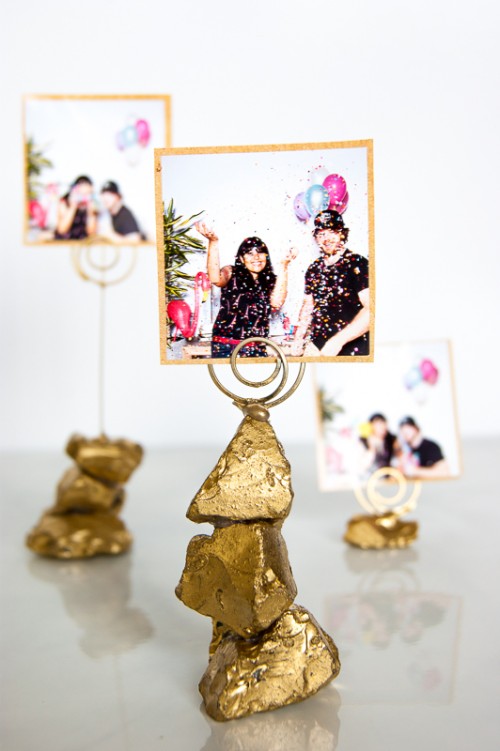
These photo holders are awesome to display your pics – so bright and eye-catching! To make them you’ll need glass rocks, metallic gold spray paint, spiral paper clips, bead landing headpins, and a glue gun. Before you glue your rocks, stack them to make sure they fit together well. Glue the top and bottom of...