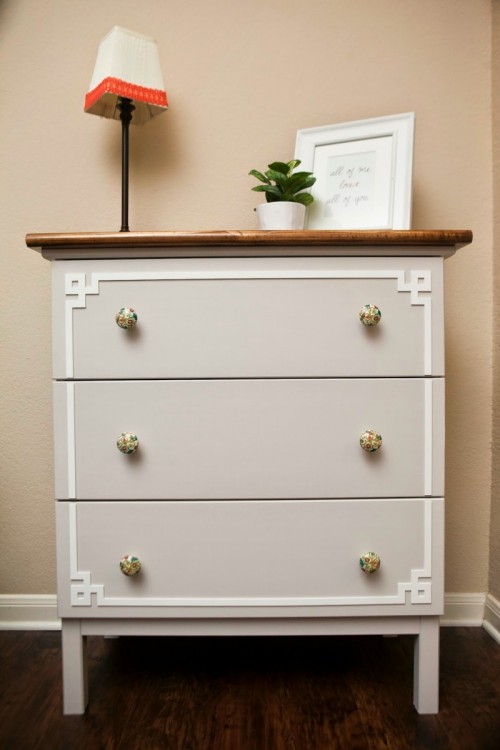
Remember we told you of IKEA Tarva dresser hacks? Here’s one more idea that wasn’t on the list. You’ll need Ikea Tarva dresser, a hammer + screwdriver, wood stain, paint, protective coating, a paintbrush, floor tarp, extra fine sandpaper, hardware for knobs. Set the drawers aside for now and get started painting the frame. Lay...

Hemnes is one more awesome piece from IKEA, and as always – it’s kind of a blank sheet of paper, perfect ready for your painting and creating. Look at your interior and decide what style you need, then take spray or usual paints, paintbrushes if needed, sandpaper and maybe new knobs or pulls. Sand the...
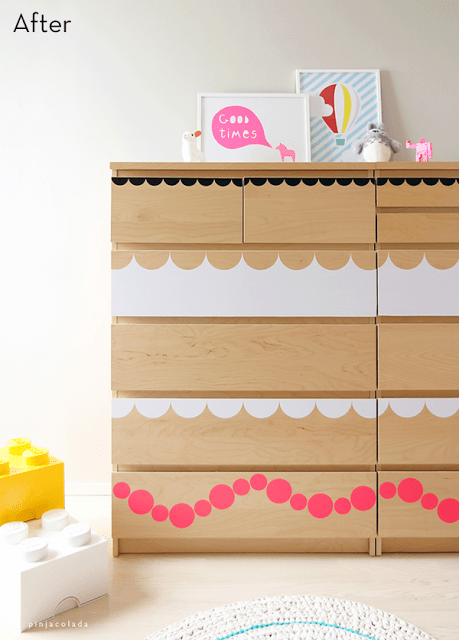
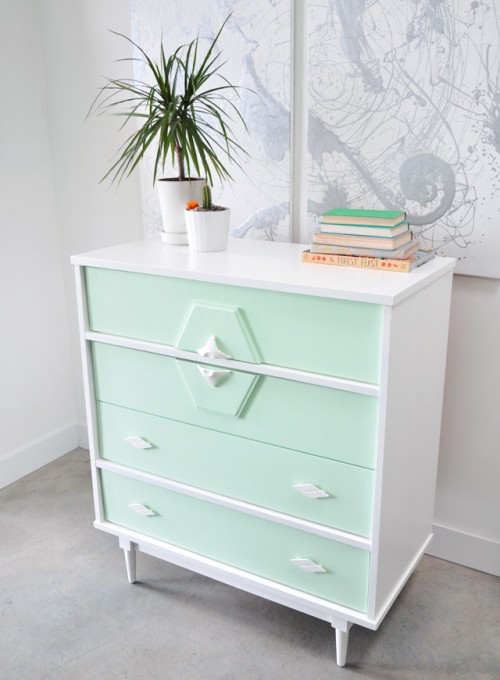
Malm dresser by IKEA really stimulates your imagination! A blank dresser can be renovated into something so personal and original that you won’t take your eyes off! Remember all the crafting techniques and get all materials to change your dresser into a super peculiar one. Paint it, take away some of the drawers, stencil, add...

IKEA is famous for simple, affordable and timeless items, which are perfect for developing your creativity: they just make you thinking of personalizing in some way. Such a dresser is like a blank sheet of paper, and you can turn it into a retro, modern, Scandinavian, glam, kids’ or any other piece. Choose colors and...

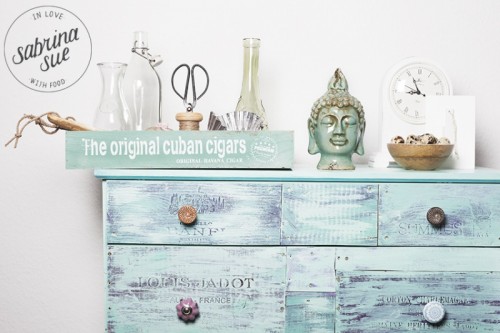
Shabby chic style is a very beautiful vintage-inspired one, it is getting more and more trendy. Today I’d like to inspire you with some shabby chic dressers and sideboards that will look just amazing in various spaces. You need to find a dresser or a sideboard – an old or new one that you like,...
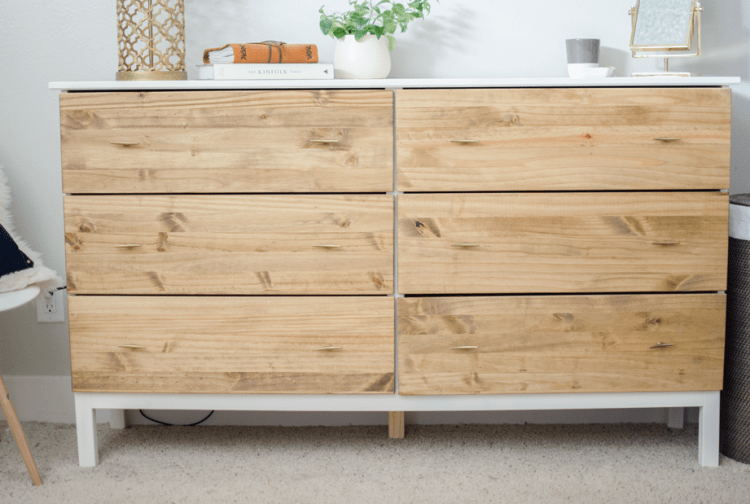
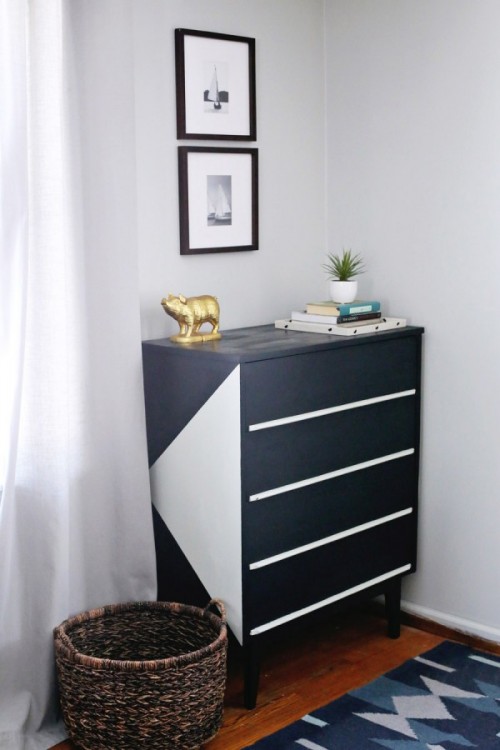
Here’s a new IKEA hack from Mybellabug blog, and today we are going to renovate an IKEA Tarva dresser. The supplies are Tarva 3-drawer chest, knobs, a pine top, overlays, paint, spray paint, stain. So first step is to take care of the knots in the wood: apply two lights coats of primer to everything...
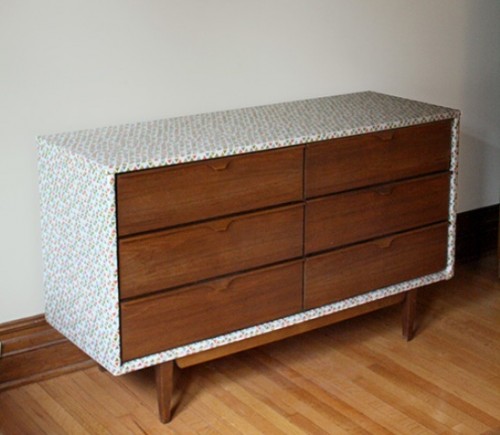
We see a lot of furniture makeovers and renovations but the one using fabric? So unexpected! Let’s make this eye-catcher! Take your old dresser, take the drawers out, wipe them down and spray inside the drawers and the dresser frame with a mix of water and white vinegar. Then use a furniture polish/conditioner on the...
Got an old dresser to renovate? Here’s an amazing idea from TheSweetestOccasion Blog! To get started, glue down a few areas that are pulling up and also use wood filler to smooth out a few areas that are really banged up. Light sand all the surfaces and then scrub the whole dresser down with kitchen...
Shabby chic furniture has its special charm, so let’s add a bit of beauty and chic to your interior with this dresser. Prepare a dresser, 6-8 wooden wine boxes, screws for attaching the wine box panels, 2 different paint colors, clear coat to fix the color, dresser knobs or handles, a jigsaw for cutting the...
How can you upcycle a dresser? Easily! You’ll need an old dresser, primer, paint of the color you like, sanding paper and spray paint for the hardware. Take an old dresser, and after a quick sanding and minor patching, apply 3 coats of primer. Always take the time to apply several thin coats and let...