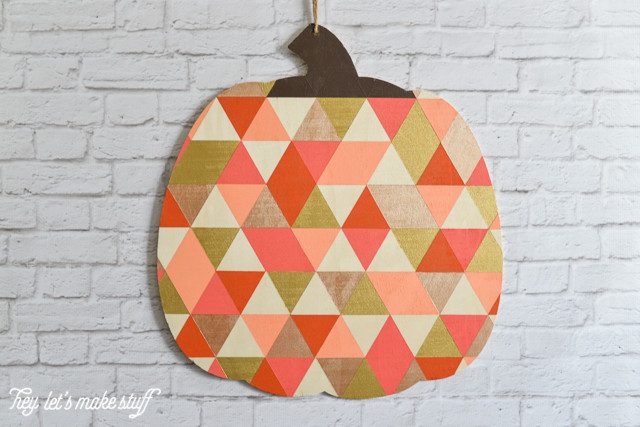
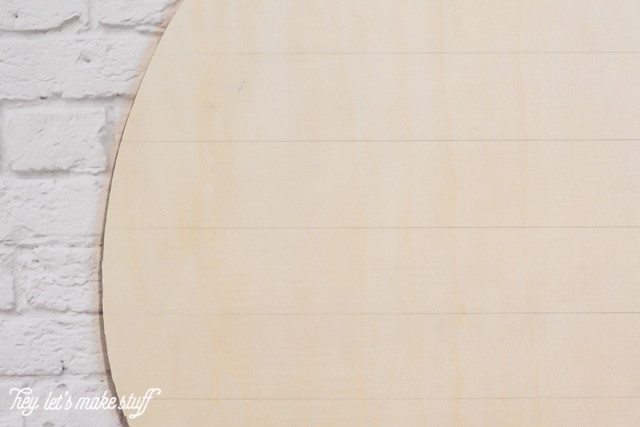
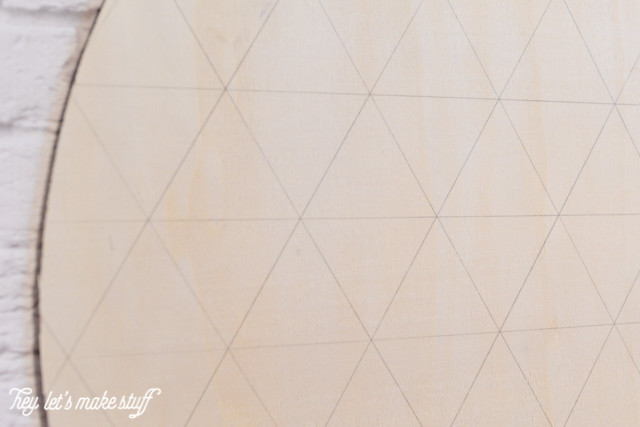
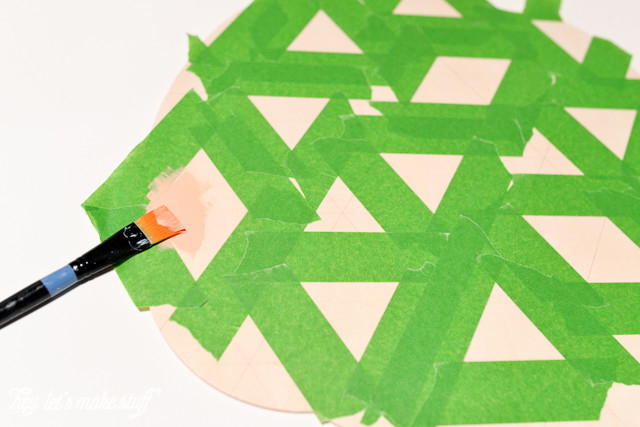
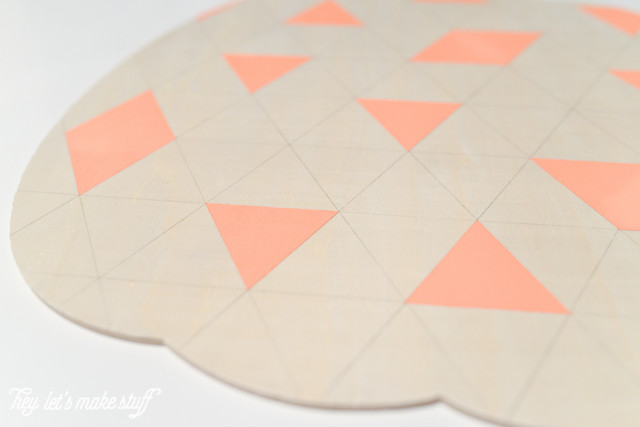
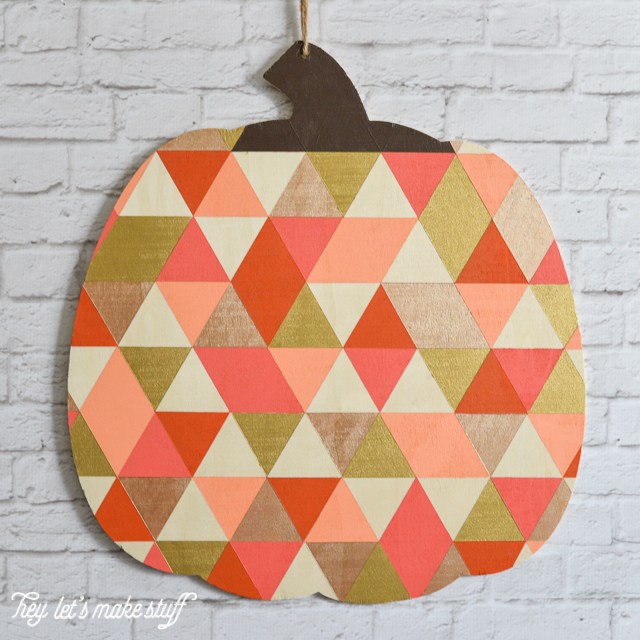
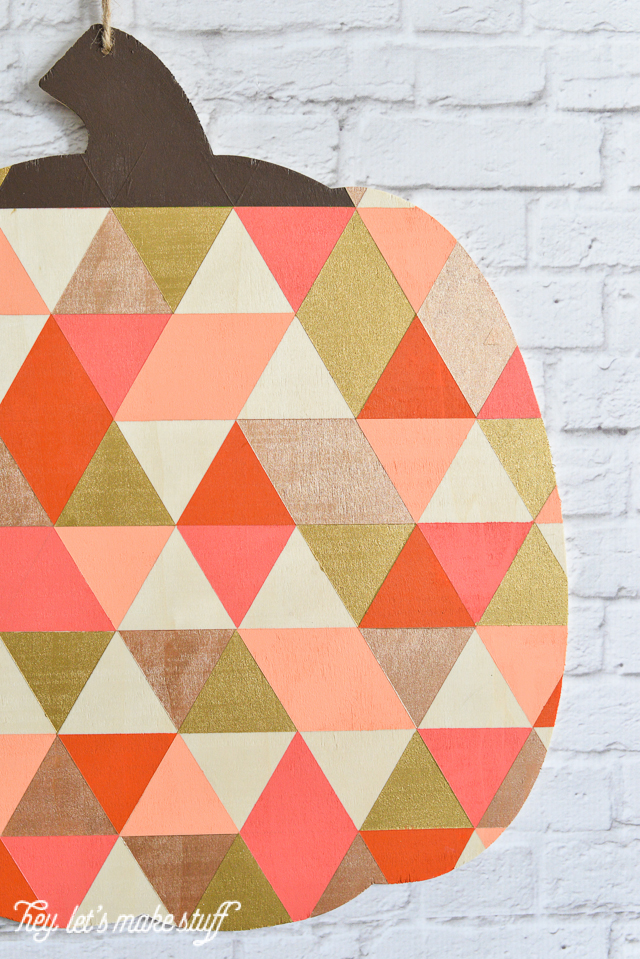
The pumpkin season is on, and it will continue for several months more, so a cool pumpkin art is right what you need. To make this one prepare a wooden pumpkin, a ruler with 60° line, a pencil, frog tape, craft paint, a paint brush. Using a pencil, draw horizontal lines across your pumpkin (or whatever you’re triangle-ing). Using the ruler, put the line marked “60°” on one of the lines you already drew. You’ll see that the right side of the ruler (or left side, depending on how you lay the ruler down) creates another edge of the triangle. Draw one line using the ruler, and then draw parallel lines that are also 2″ apart. Keep reading the tutorial at heyletsmakestuff.com.
