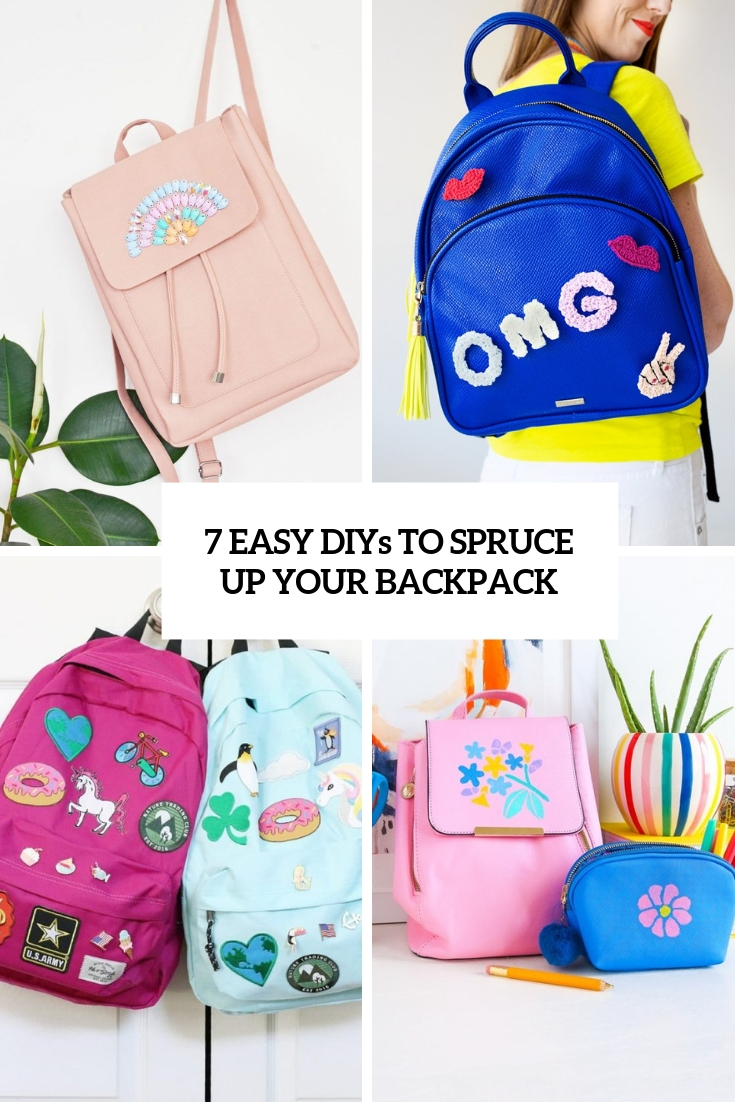
It’s almost back to school time and it means that lots of kids and adults are going to go back to studying. Backpacks are symbolic for this time: carrying things for studies in them is very comfy, so not only kids but also older people will take them. If your backpack is plain and boring or old and outdated, it’s high time to renovate it to make it bolder and brighter for the new school year. Here are some DIYs to do that.
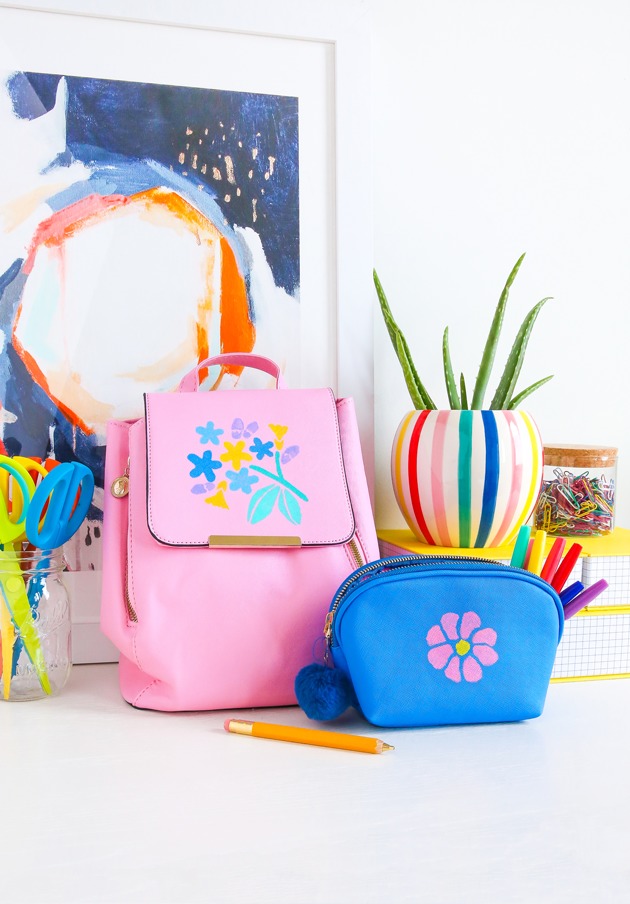
Even though not everyone is going back to school this fall, it’s still an amazing time of the year. Treating yourself to new supplies, fresh pens and notebooks?! What a dream! It’s also the time for the most important part, a new backpack! To set yourself apart from others, add a custom floral pattern. It really only takes a few minutes and makes your bag totally unique. For a bonus– a stencil for a matching pencil case to help keep your pens and pencils all in one place!
DIY colorful stenciled backpack (via thecraftedlife.com).
It’s easy to create a customized backpack with a Cricut and permanent vinyl. This one displays an important message, reminding children to be kind to each other. If the backpack you’re using is the same clear vinyl as here, you might want to place the letters directly onto the backpack. On this specific material, the transfer tape left some sticky residue behind.
DIY customized vinyl backpack for kids (via lydioutloud.com).
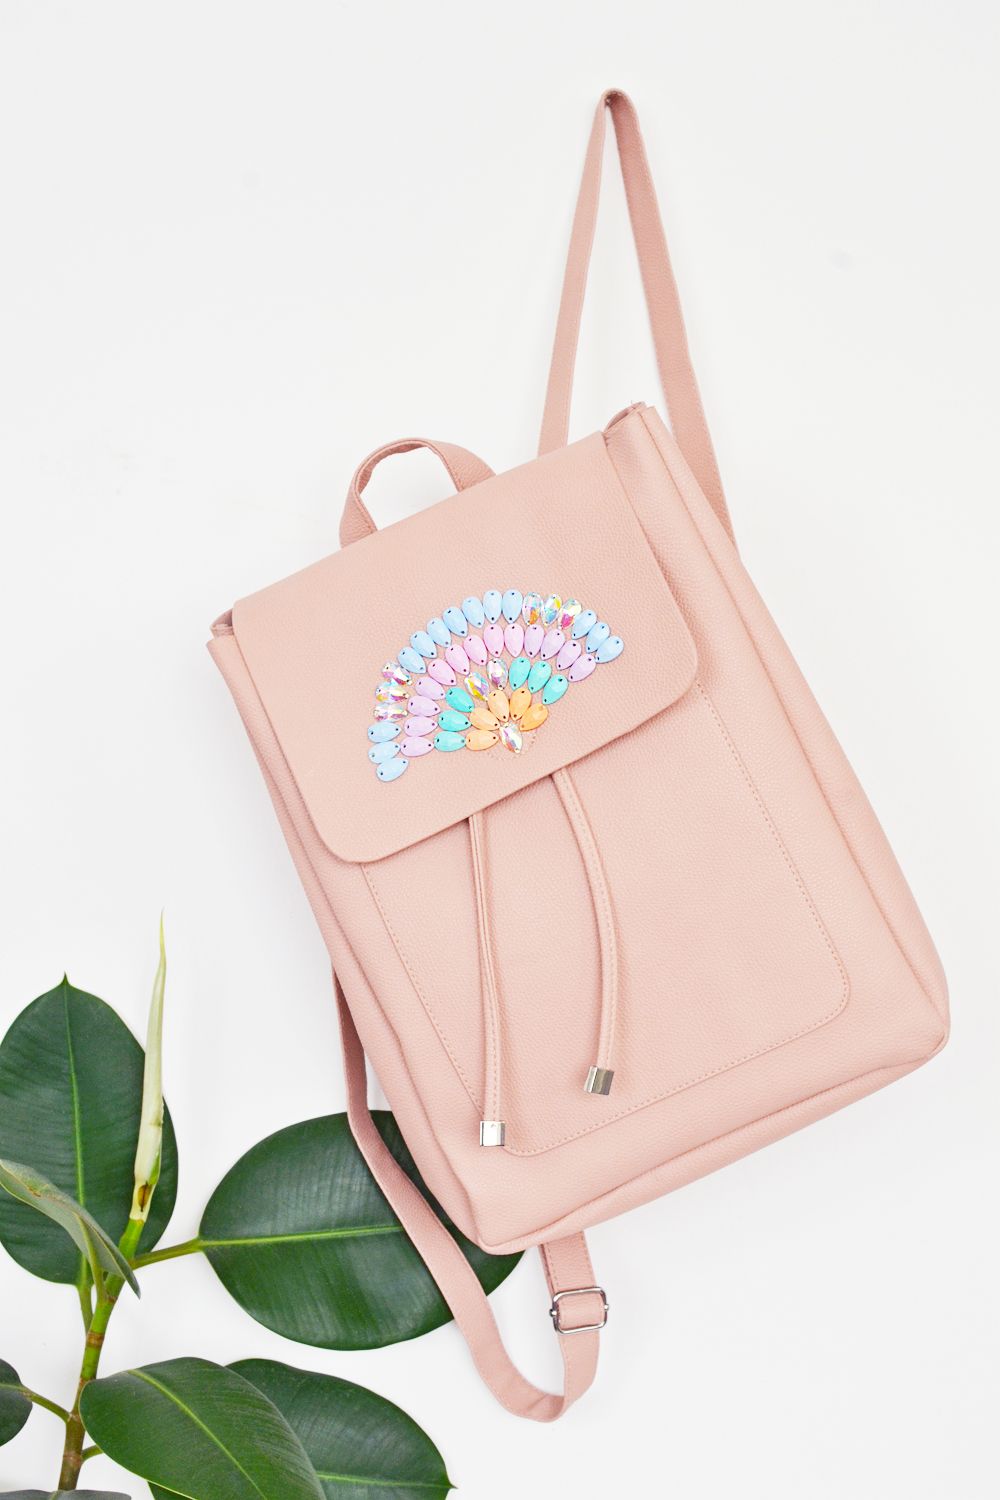
As we prepare for fall, backpacks have become very common so much that you may not want to be the next person sporting that same bag. You know they all come bear with a buckle or two. Good news is that we can definitely try something with it. In fact, this is a good chance for any of us to get our creative juices flowing. There a million things you could possibly try such as cover it with lace, use some studs or pearls as embellishments or even paint. Here’s a tutorial to make a pastel backpack and accent it with rainbow crystals, get inspired!
DIY pastel backpack with rainbow crystals (via www.diys.com).
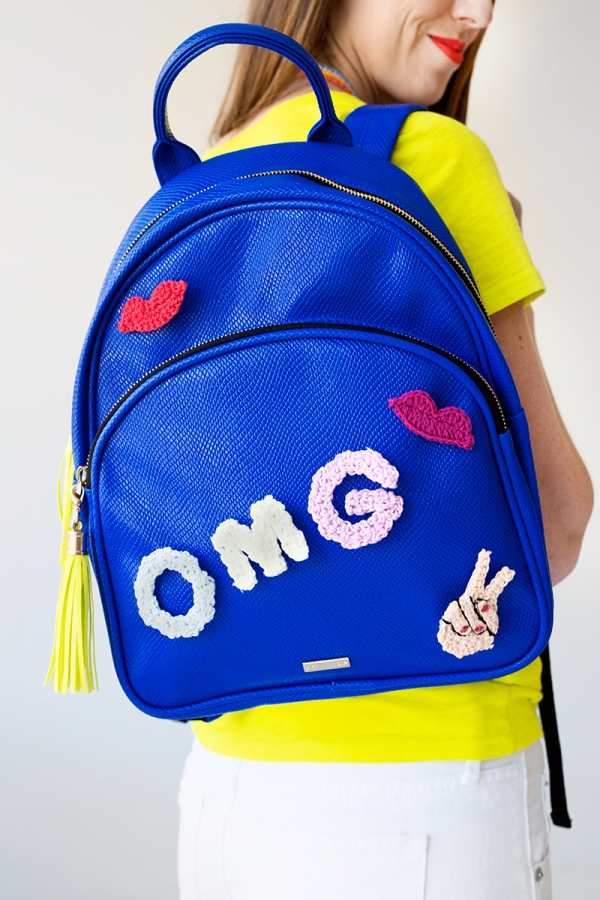
This bright backpack is spruced up with crochet elements that make it really unique and bold. To make the flair you’ll need an understanding of several basic crochet stitches. If these projects have inspired you non-crocheters so much that you want to learn to crochet, there are a ton of awesome tutorials on YouTube to follow along with. But for those of you who already know the basics, can make these pieces easily. Take a look!
DIY colorful backpack upgraded with crochet details (via studiodiy.com).
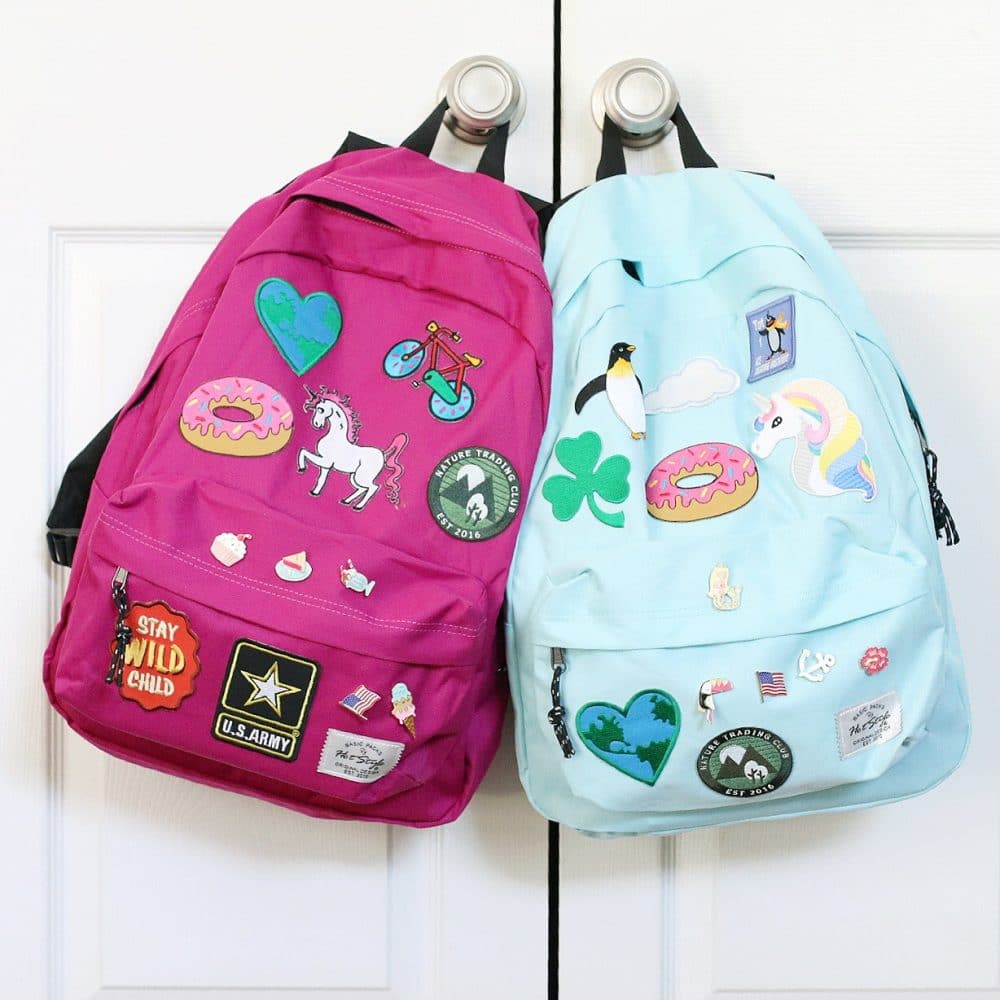
This is a simple backpack update using a glue gun. Patches and pins were all we needed to make these plain bags fancy and special. I love that there is still plenty of room to add patches or pins that we find or come across over the upcoming year and the girls love that they are so customized to what they love. These decorations only took about 10 minutes to make and were pretty budget friendly too! The only advice is to control yourself in the pins and patches department, lol. For real you could go so crazy with the cuteness available in both categories!
DIY backpacks spruce dup with pitches, patches and glue (via www.thesweetersideofmommyhood.com).
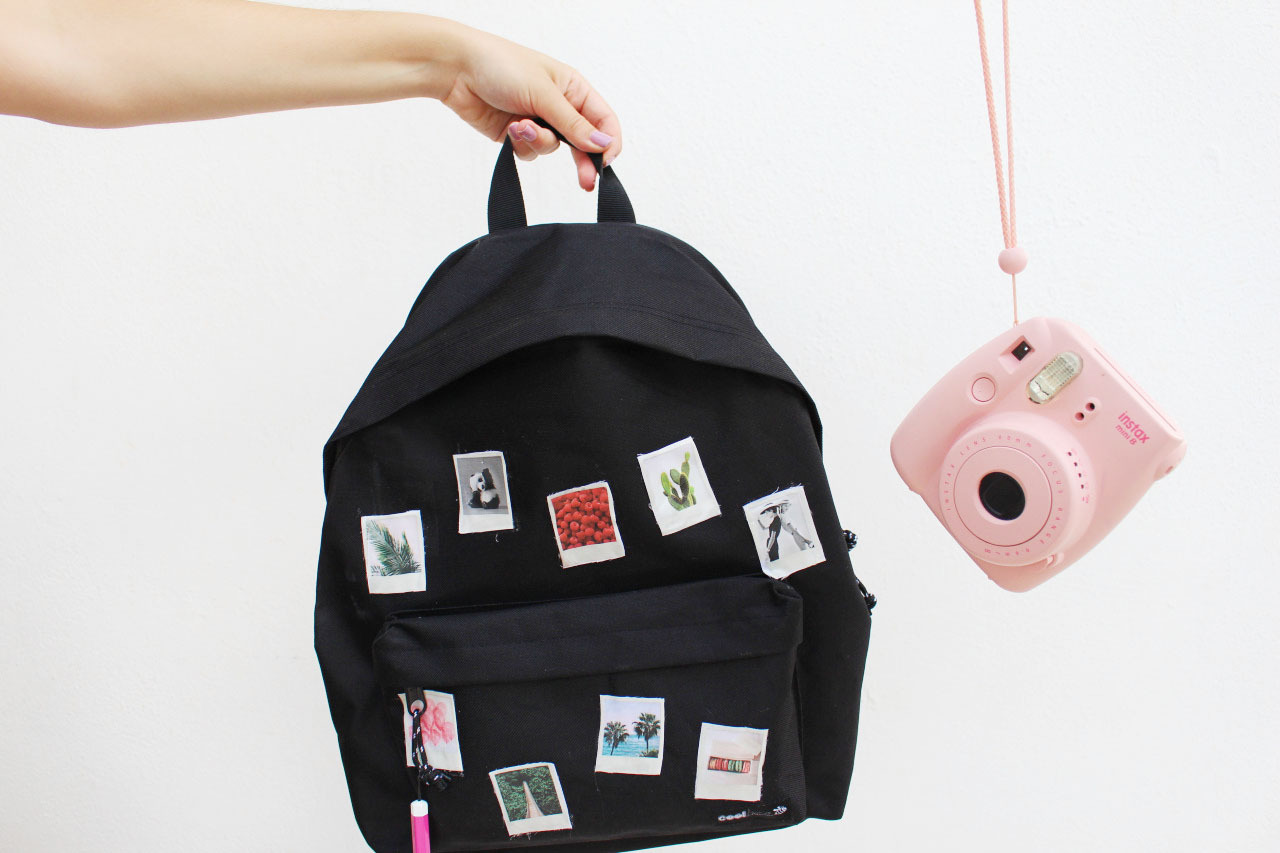
It’s back to school season! So here is a super easy and affordable and adorable DIY to help you stay unique this year. Take your memories or your inspirational photos with you at school all year round. Be creative and have fun!
DIY Polaroid decorated backpack (via todiyblog.tumblr.com).
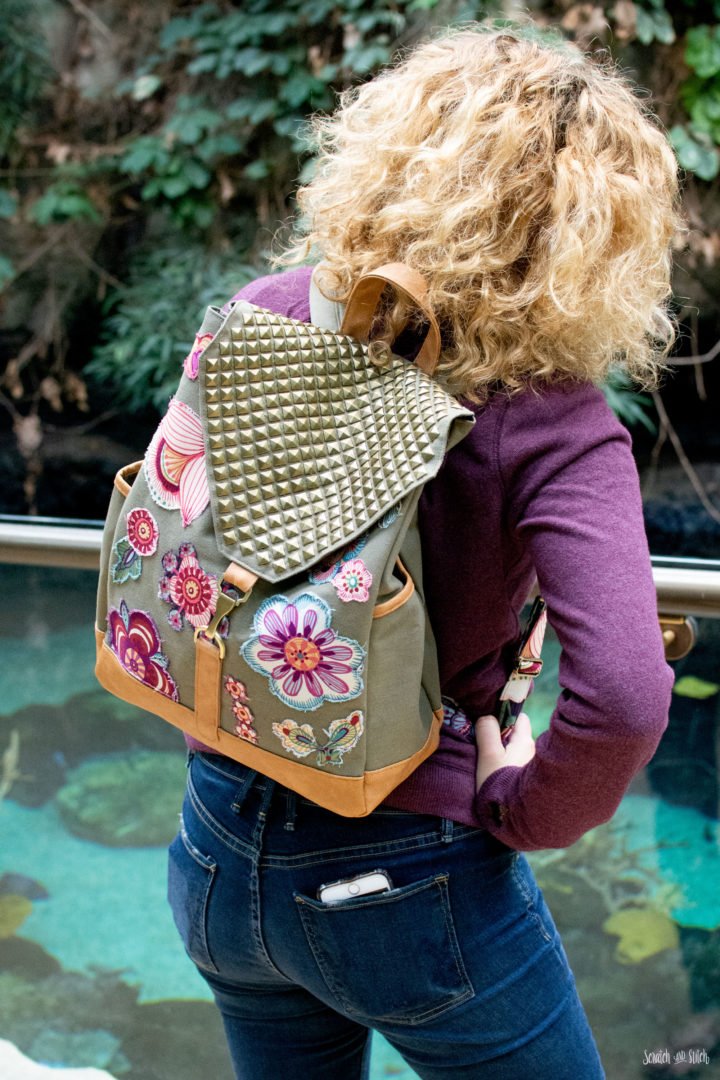
Make your own upcycled backpack! Use an old backpack you have, a thrifted bag, or get a free bag through a promotion. The patches on the backpack refashion were intentionally made to look ragged. The author achieved this by using fabric scraps, iron-on adhesive, and stitching. The final upcycled bag is such a great upgrade from the original backpack.
DIY bright floral and std backpack refashion (via scratchandstitch.com).
