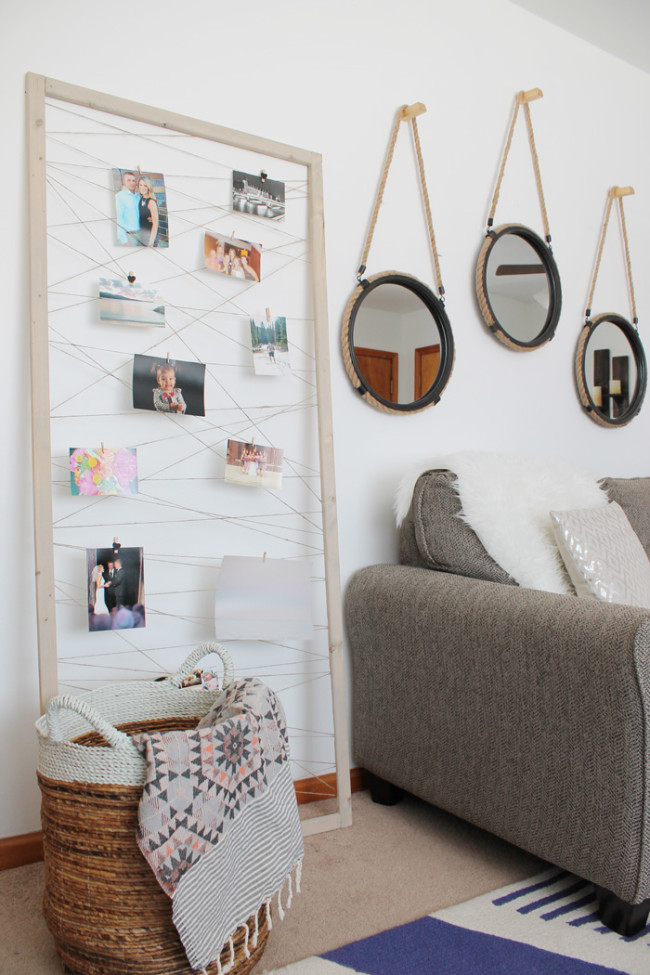
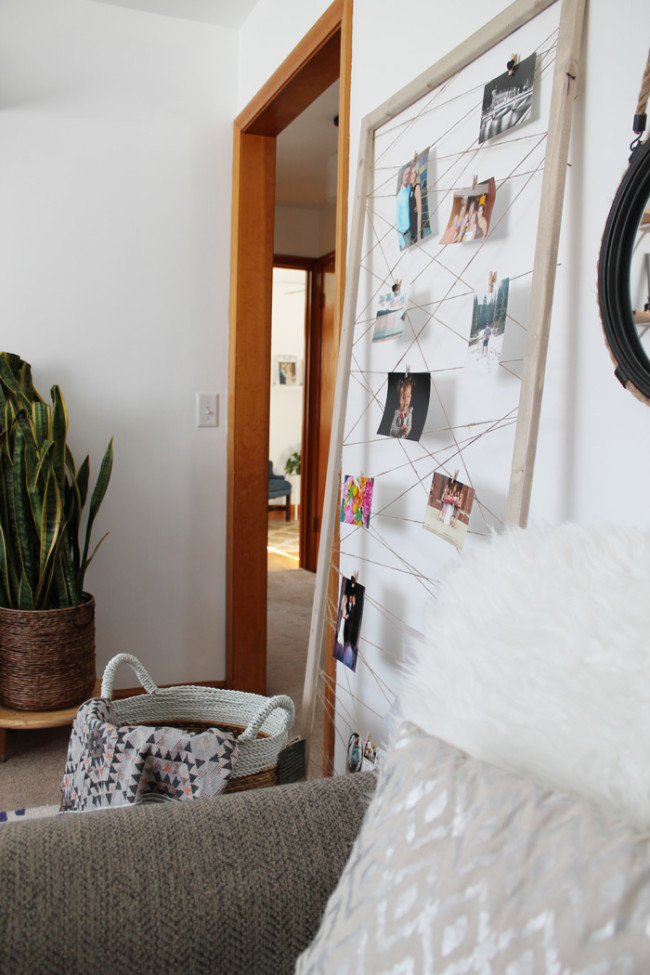
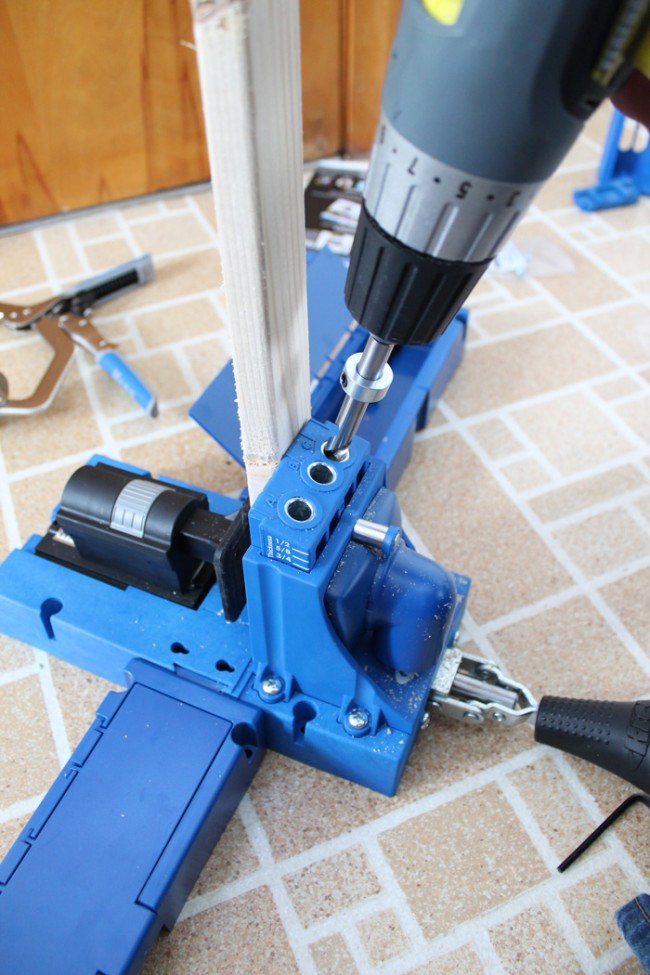
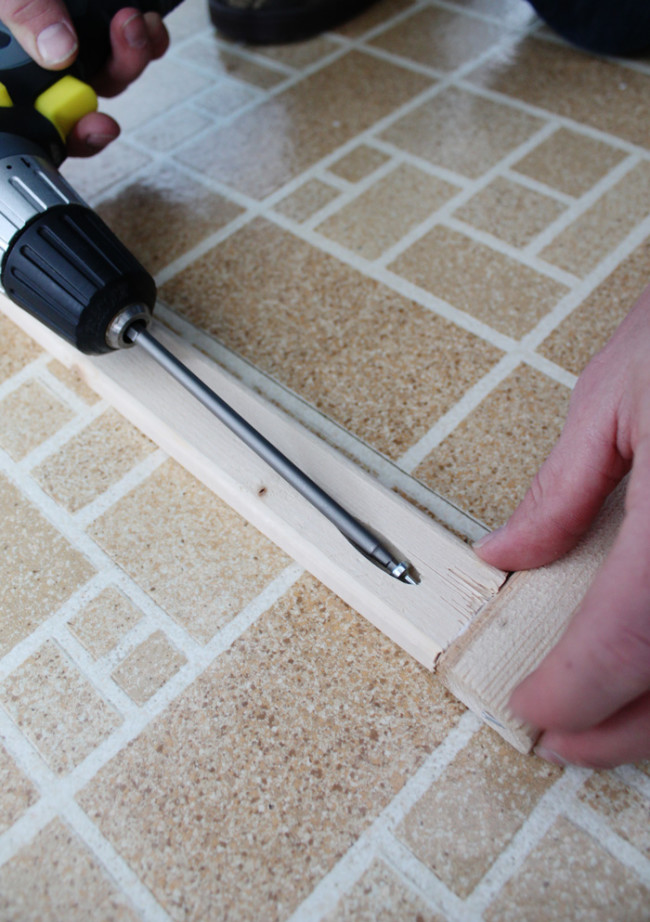
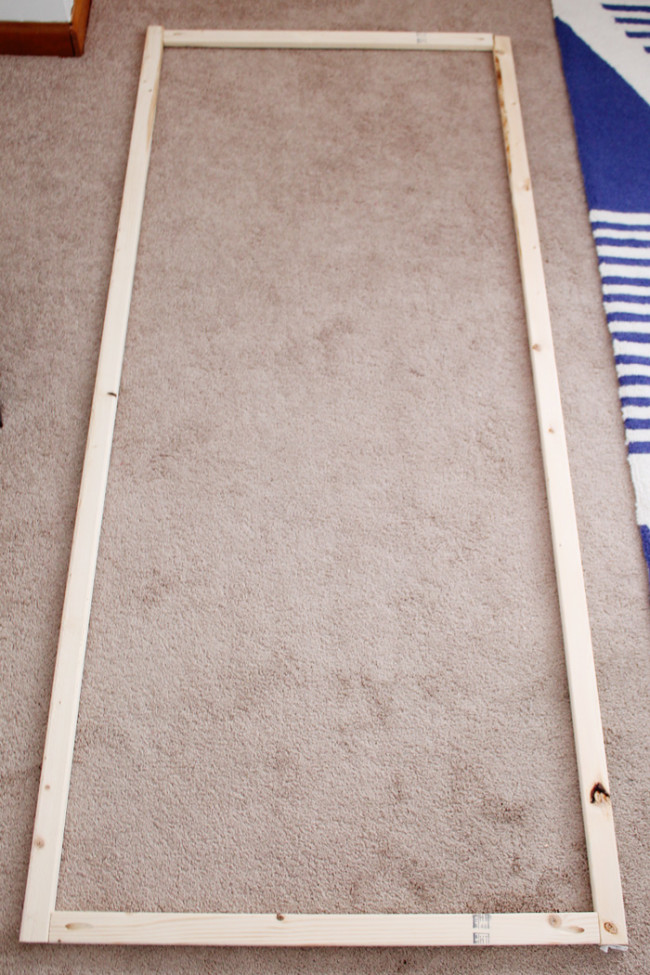
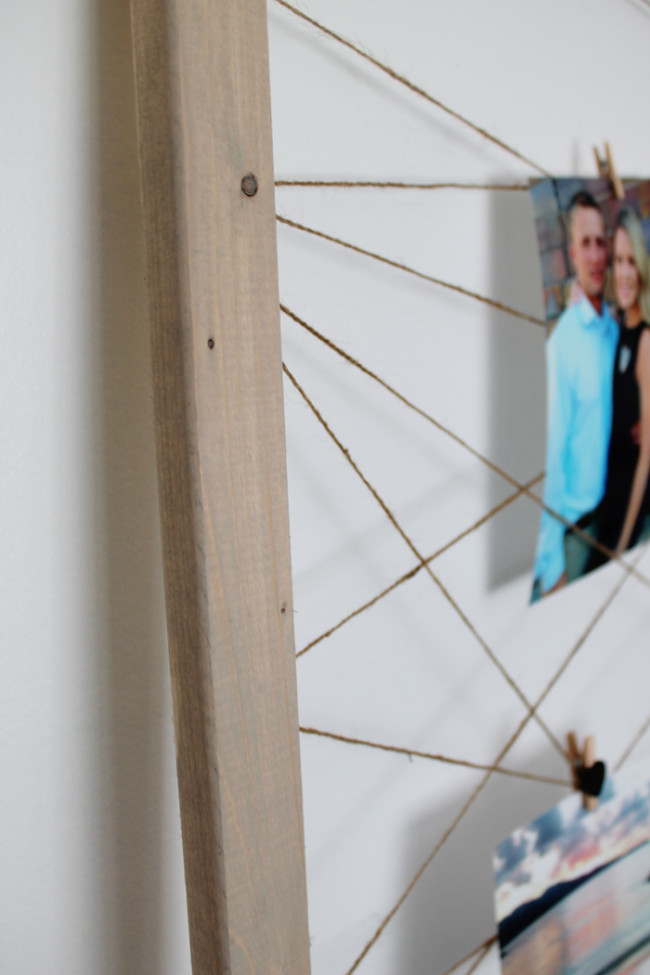
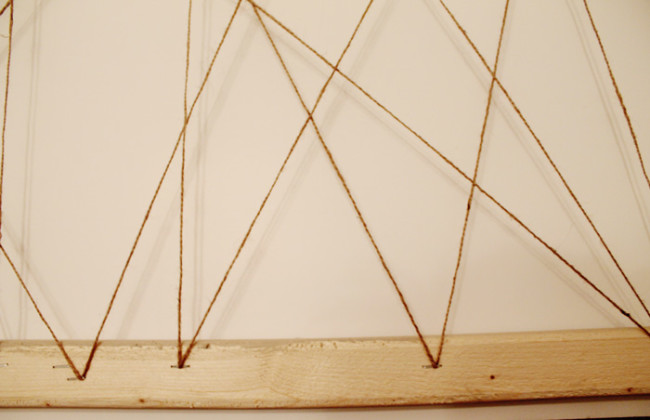
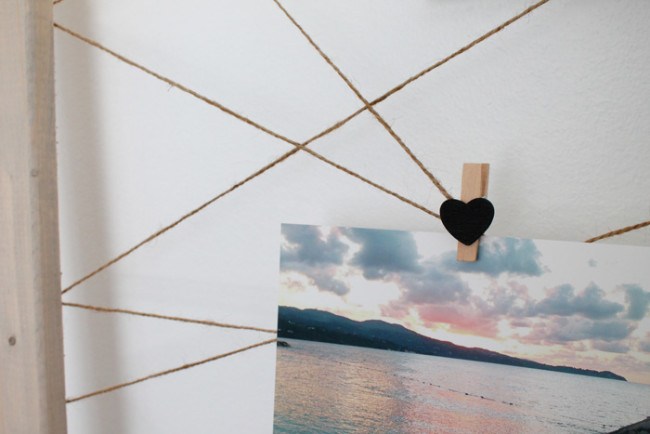
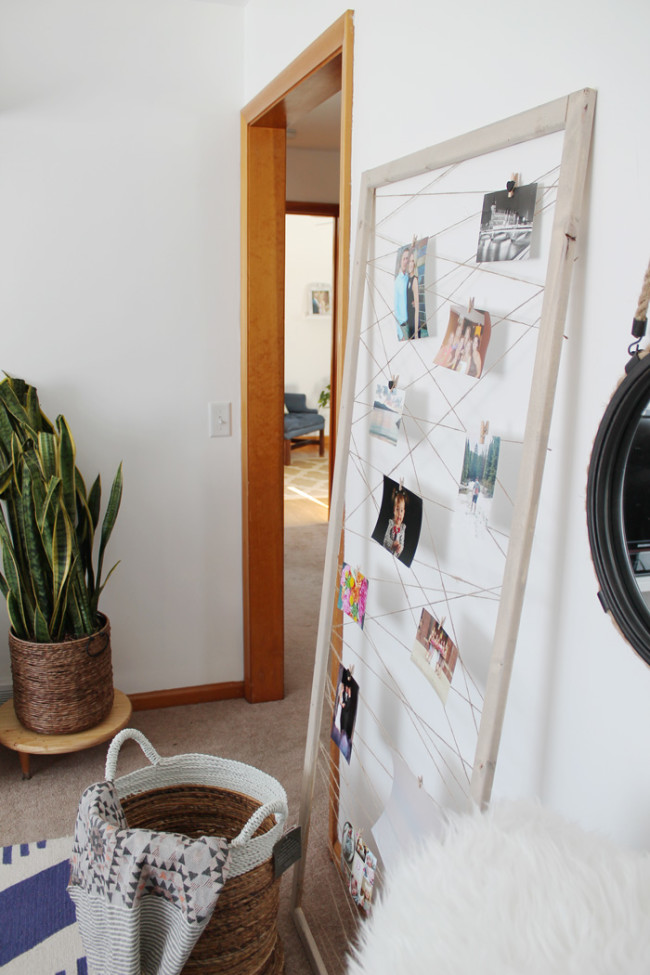
This cool photo display won’t take you much time to make, you’ll need 2 – 1 x 1 x 94″ pine wood boards, twine, a staple gun, wood glue, kreg jig, optional, clothespins. Take your 2 boards and cut them into 2 sizes: 27″ and 68″. Once you have your 4 boards, it’s time to connect them to form the frame. If you do not have a kreg jig you can still make it, you will just need to glue the boards together, clamping them in place until dry. Use the kreg jig to make 4 holes, 1 on each end of the 2 27″ boards. Then drill a screw into the holes you made connecting the larger boards to the smaller. Keep reading the tutorial in the source.
