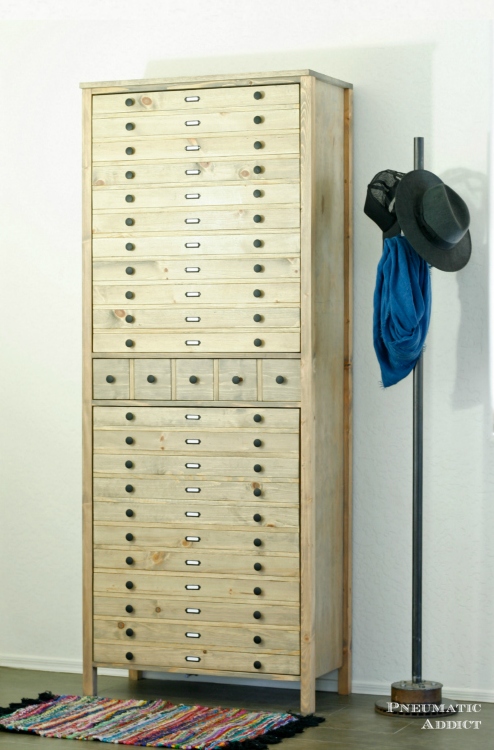
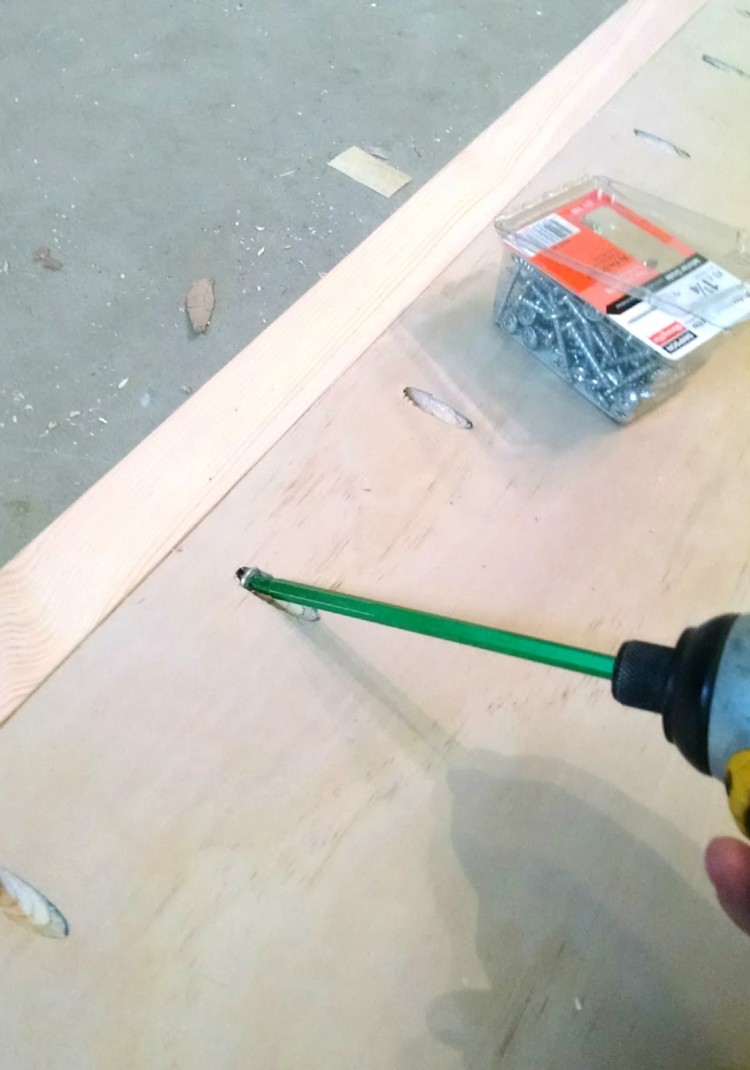
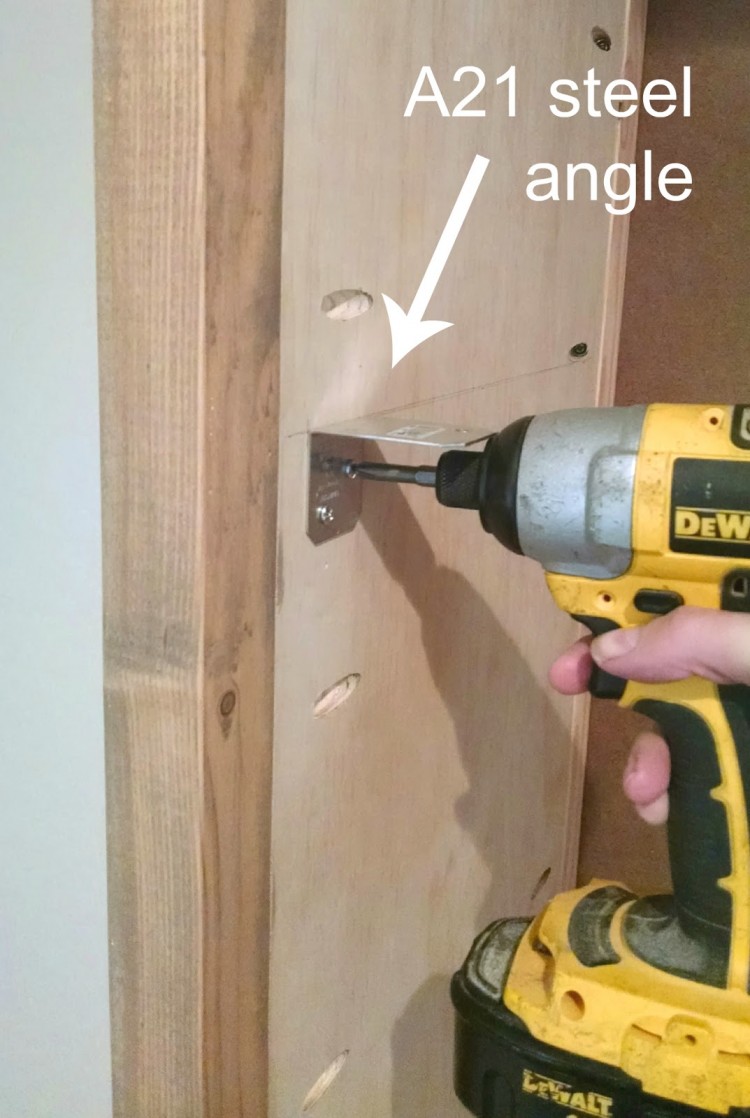
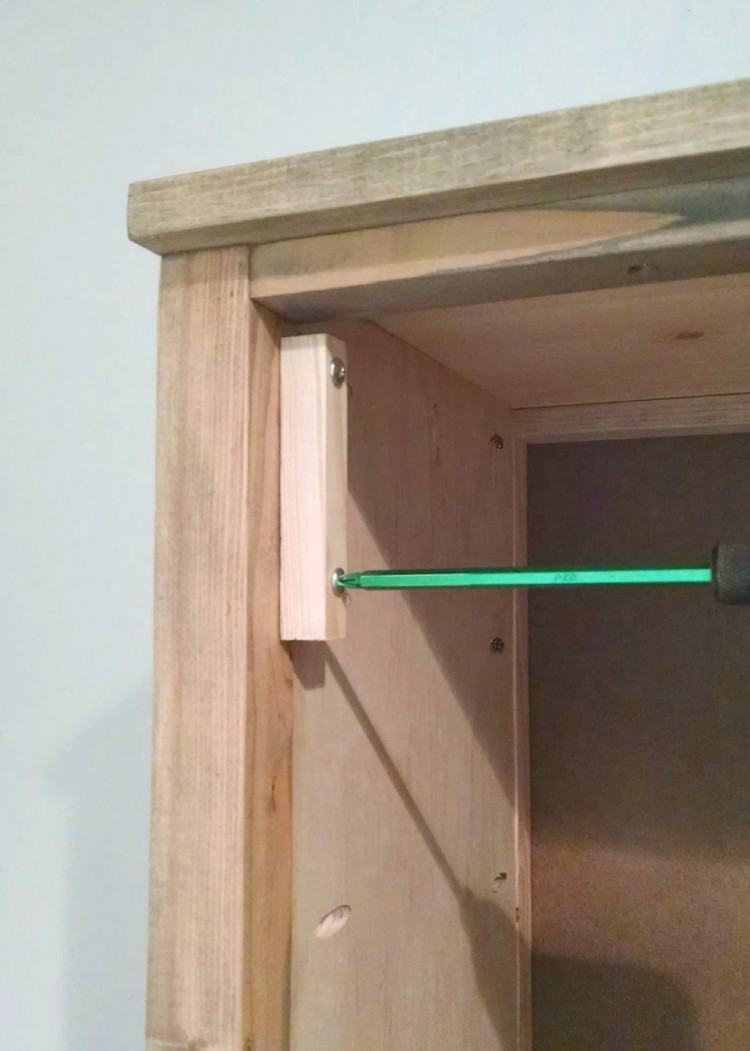
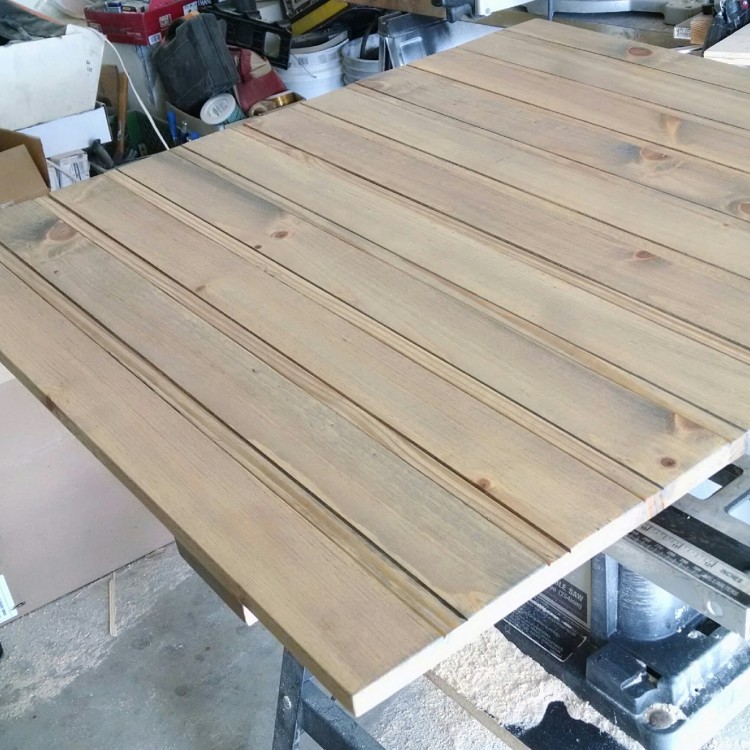
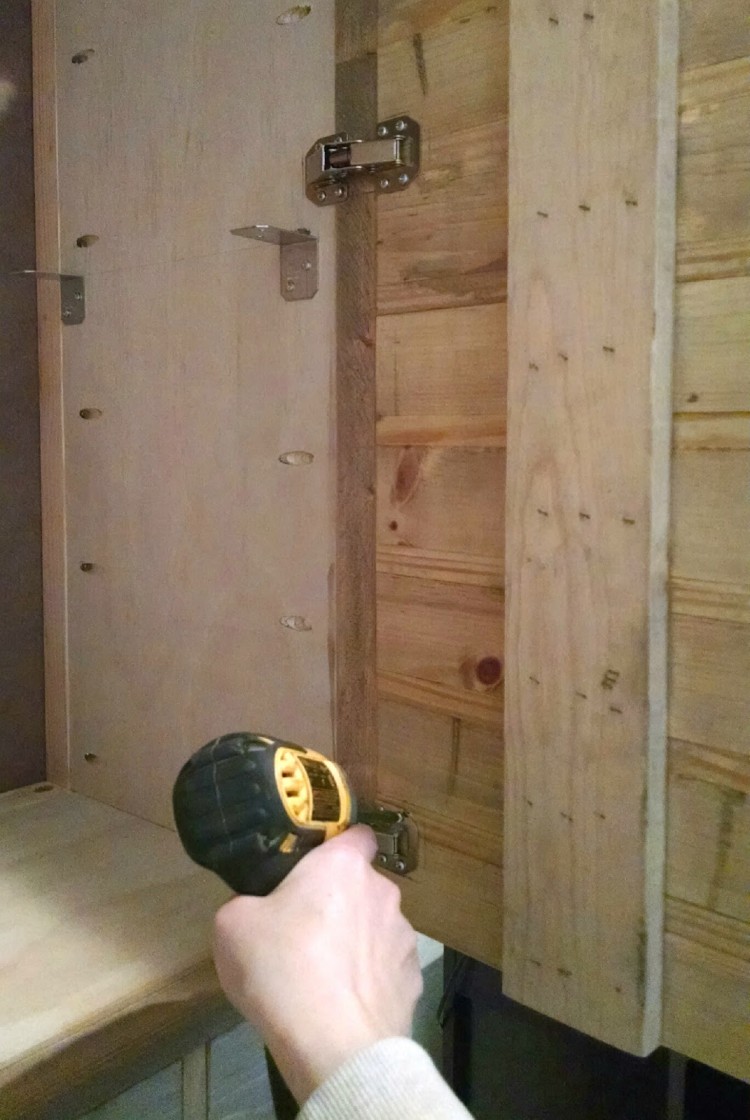
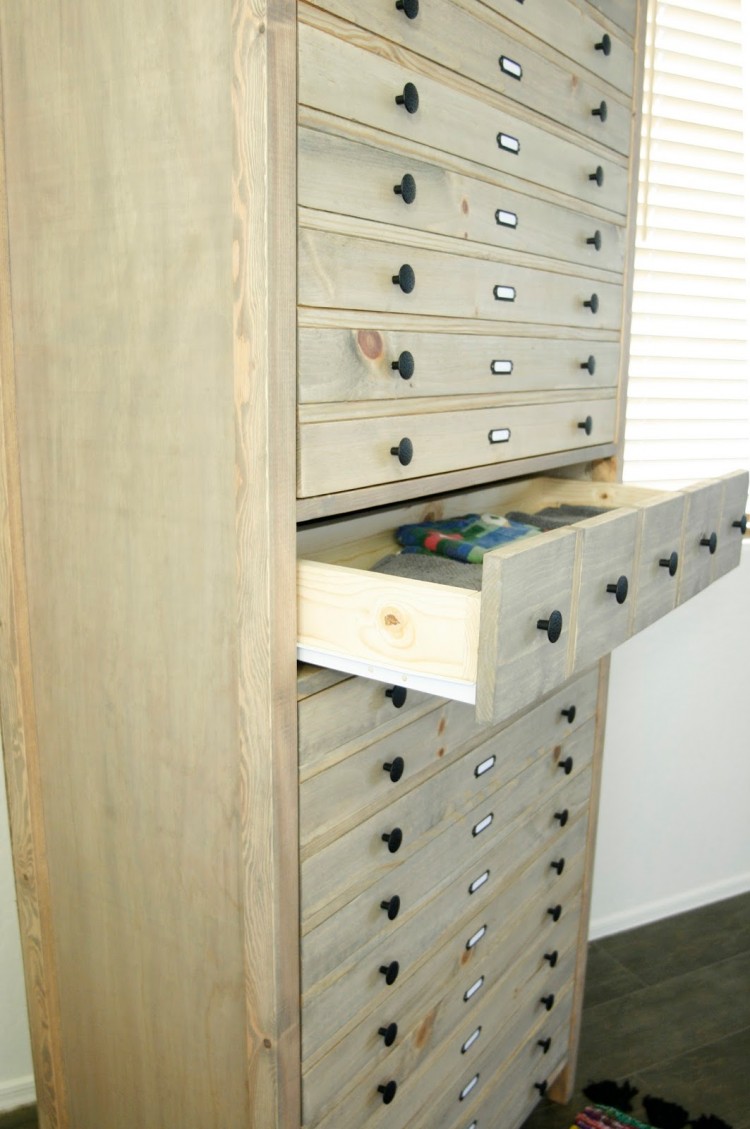
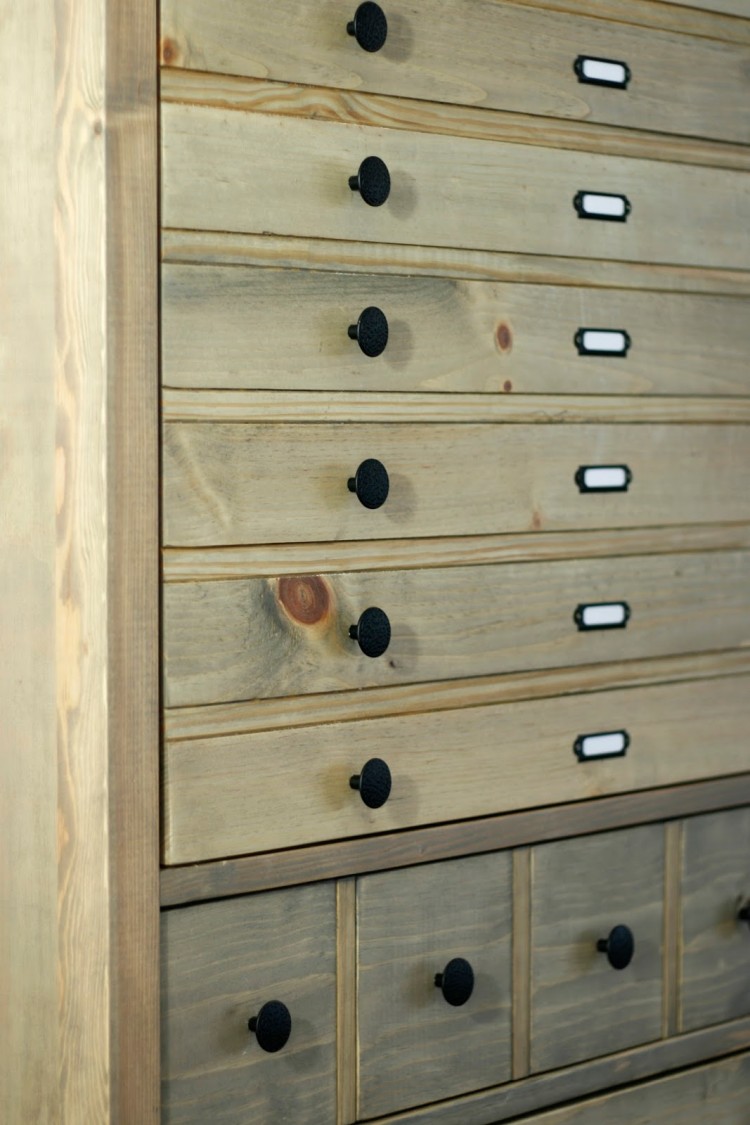
If you admire vintage furniture, you’ll love to make this tall printer cabinet, which can be a closet or an armoire. Read here the supply and cutting list and start crafting. From the 2 x 2’s, cut four, 83-1/4″ lengths. Drill 3/4″ pocket holes around the top and sides of each 12-3/4 x 79-1/4″ x 3/4″ plywood panel. Align each panel flush between two legs and attach with *1-1/4″ wafer head screws. To avoid splitting, use wood screws with self-tapping tips. Drill two pocket holes on either end of each 1 x 2 rail. The rails connect the plywood panels together. The bottom of the lowest rails should be 4″ from the bottom of each leg, and the top rails should be flush with the top of the legs. The reast of the tutorial is here.
