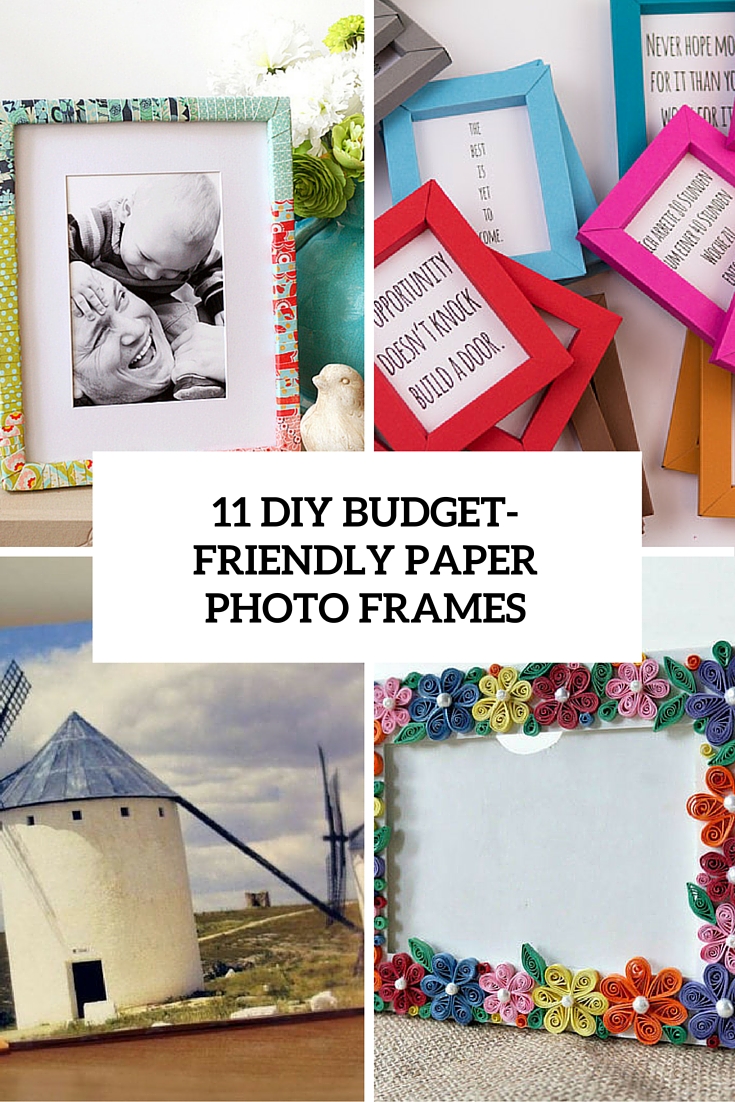
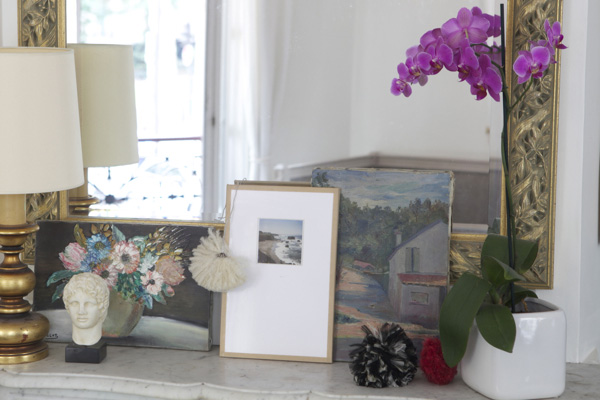
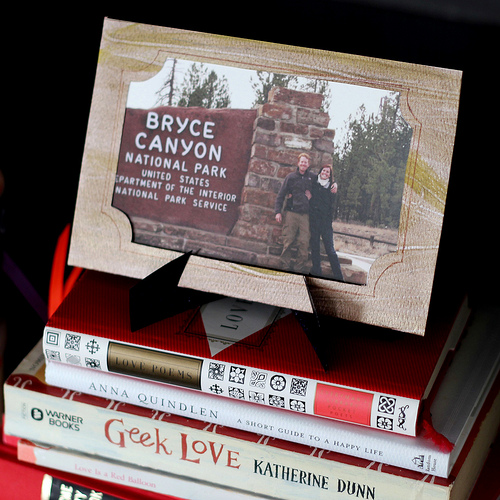
There’s no home without personal photos that show the happiest and funniest moments of our lives or some people that we miss. Displaying pictures has become an art long ago and today we can find gallery walls, various collages and other creative ideas to hang pictures but still picture frames are the most popular cause they are the most traditional and can be easily made.
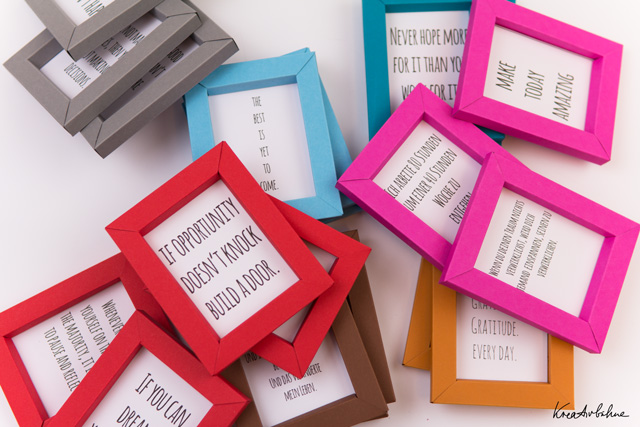
There are various types of photo frames, they can be made from almost anything and can be given any shape and texture you can imagine. Today I’d like to share some creative ideas for making paper picture frames, which is very easy, budget-friendly and fun.
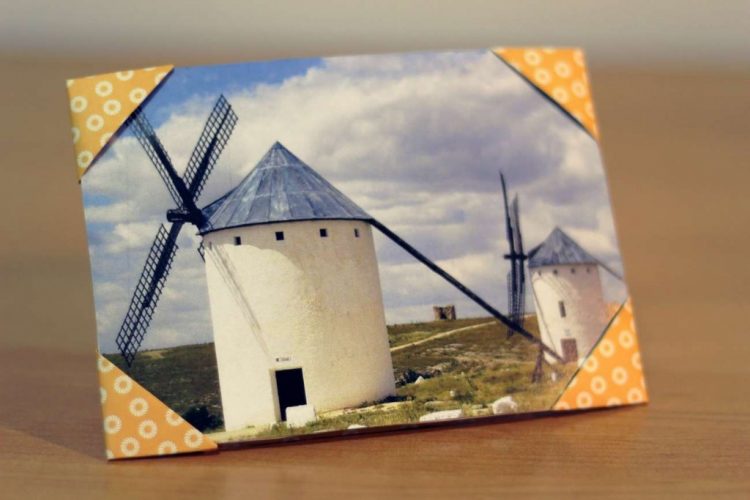
The easiest way to make a paper photo frame is cutting it out from paper and using cardboard is a matting. Cut a piece of cardboard slightly bigger than your photo (this will be the base). Stick your photo on top of the cardboard. Measure and cut paper into an open envelope shape. Fold the paper and insert your photo to turn it into a frame.
Another pretty easy idea is wrapping the existing frame with some paper of your choice – just take a wooden or plastic frame, cut the paper into strips and wrap the frame.
If you are ready to spend some time for crafting, make an original woven paper frame. You can use any paper you like, but old newspaper is preferable because it’s a nice way of recycling. Attach the twisted paper strips to the frame and start weaving as you like. After you finish weaving, you can paint the photo frame in your favorite colors.
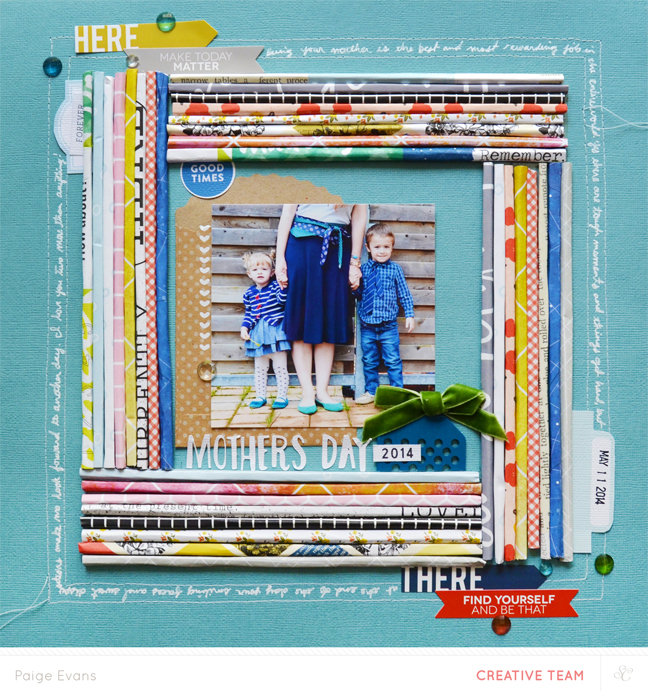
One more cool idea is a paper quilling photo frame but this is a rather hard technique, so you need to know it or just give it a try and maybe you’ll love the idea. if you have a vintage book you can turn it into a frame attaching the photo to it. Draw pencil marks where the edges of the tubes are, remove the paper tubes, then place super sticky adhesive around the photo. Add the paper tubes. Sew two lines with white thread around the frame about 1/4″ apart. Add stickers and printed labels on the top left and bottom right corners of the frame as well as jewels and a printed word. Stamp the date with black ink on the bottom right corner.
Get more creative tutorials below and start crafting!
