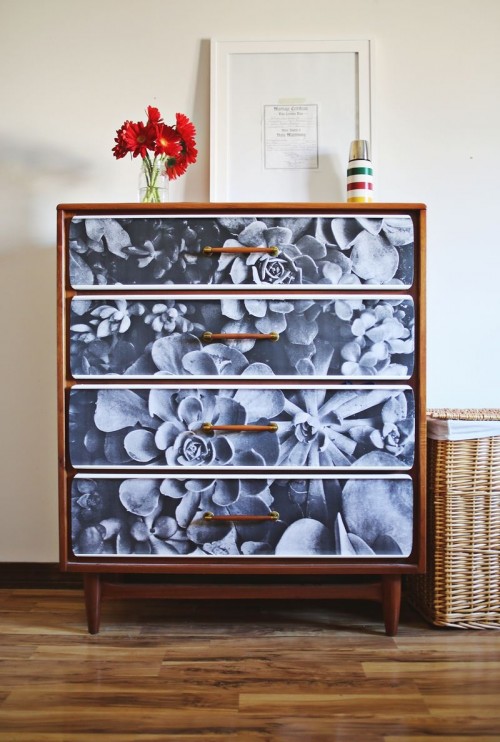
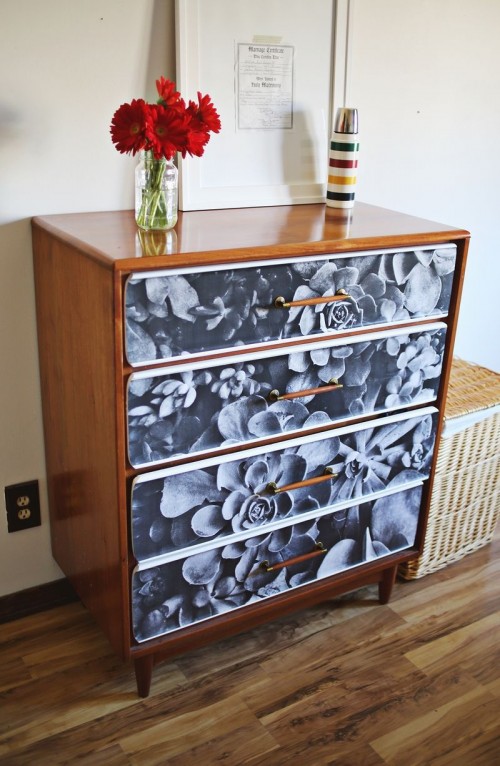
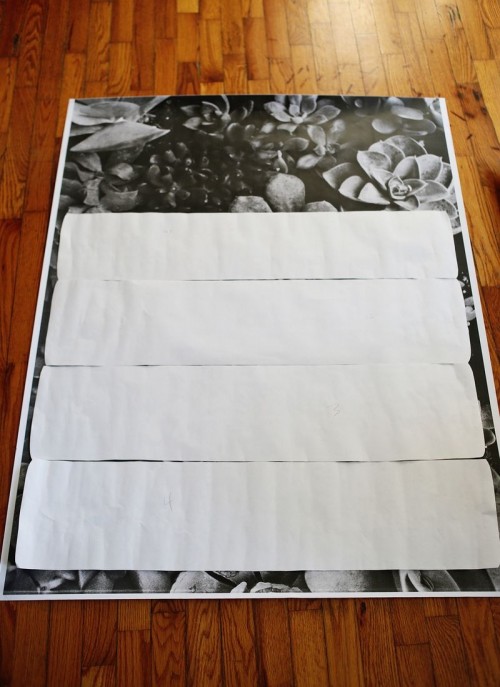
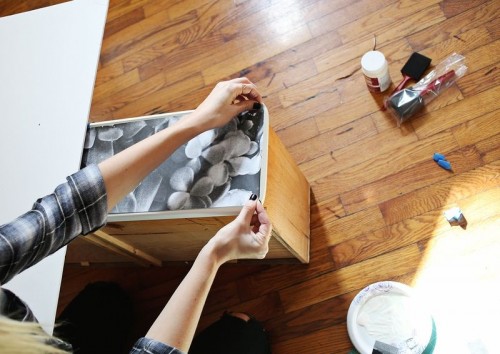
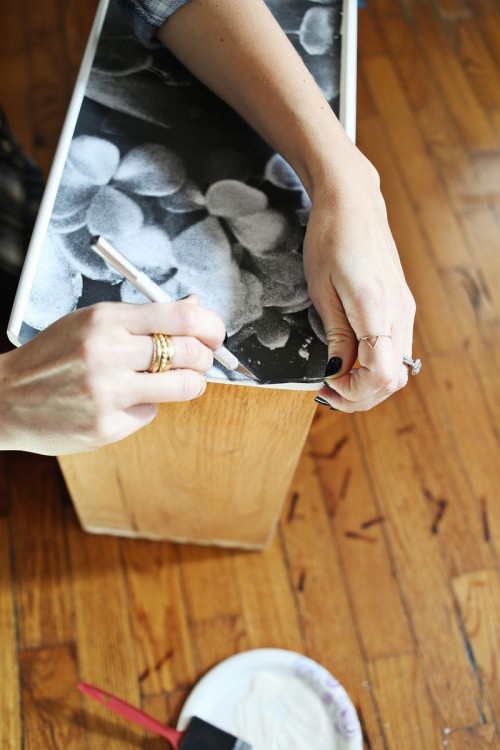
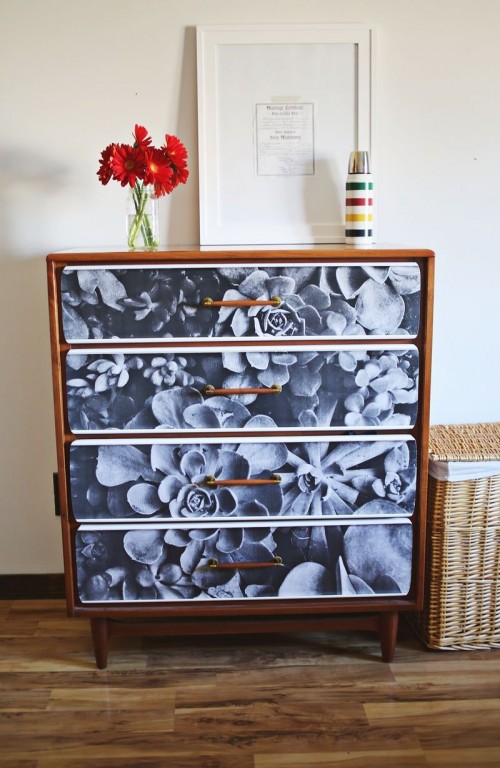
If you have some old furniture and want to refresh it, there’s a great crafty idea. The supplies are a blue print copy of a photo you love, scrap paper, Royal Coat Decoupage Finish, foam brushes and an X-Acto knife. First, create a pattern for your furniture piece onto scrap paper. Use this pattern to cut your blue print photo. Remove any hardware from the drawers beforehand. Next, lay your photo onto the surface of the drawer and use a few pieces of painter’s tape to secure the photo in place. Use a foam board or cardboard to divide the paper in the center and fold half of your photo onto the board. Paint a thin layer of the decoupage finish onto the backside of the photo. Continue reading the tutorial here.
