Pallets are an amazing material for crafting: besides being budget-friendly, they are also easy to repurpose into almost anything, from a table to a bed. But today we aren’t going to share any of these two, today we’ve prepared a bunch of pallet shelves and racks to make. Let’s get started!
This rustic-looking shelving is built up of several pallets, they are attached to each other but you may just them on each other or adjust them to the wall.
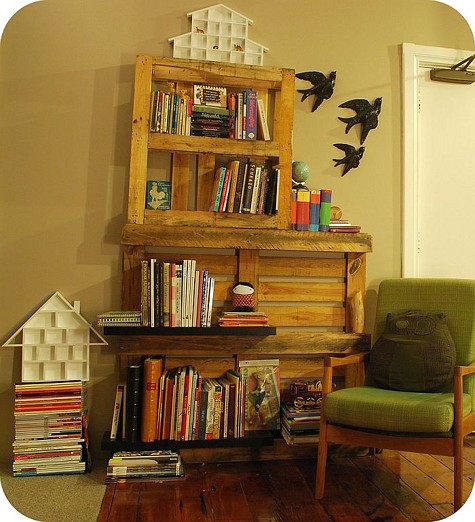
DIY shelf of two pallets (via www.designsponge.com)
The second tutorial tells about a cool bookshelf, which was made of pallet wood – just disassemble the pallets to get enough wood and then build a new piece of this wood giving it a size and shape that you want. Here the free plans are attached, so read the details.
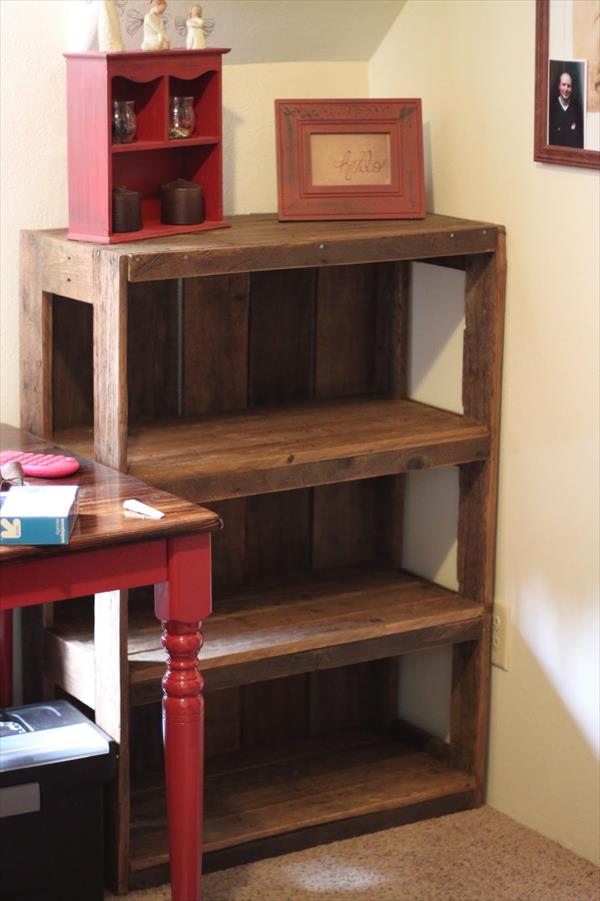
DIY bookshelf of stripped pallet wood (via madewithlovetcbf)
These comfy shelves are also made of pallet wood, take your time cutting, sanding and staining the planks. It’s really worth it! They are suitable for anything from magazines to wine bottles.
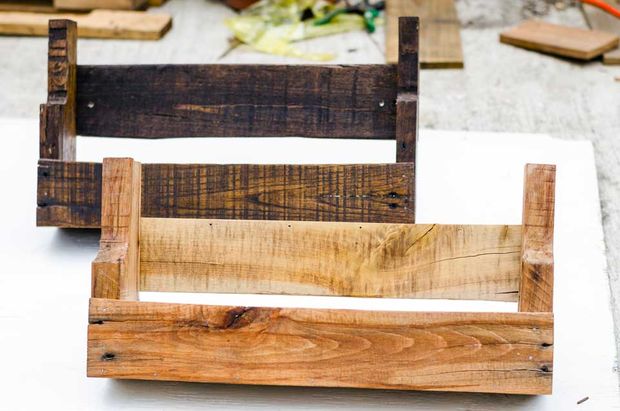
DIY rustic pallet wood shelves (via www.instructables.com)
Need some shelves for kids’ books? Grab some pallets and cut them removing the center plank. Then sand and stain and attach to the wall, voila!
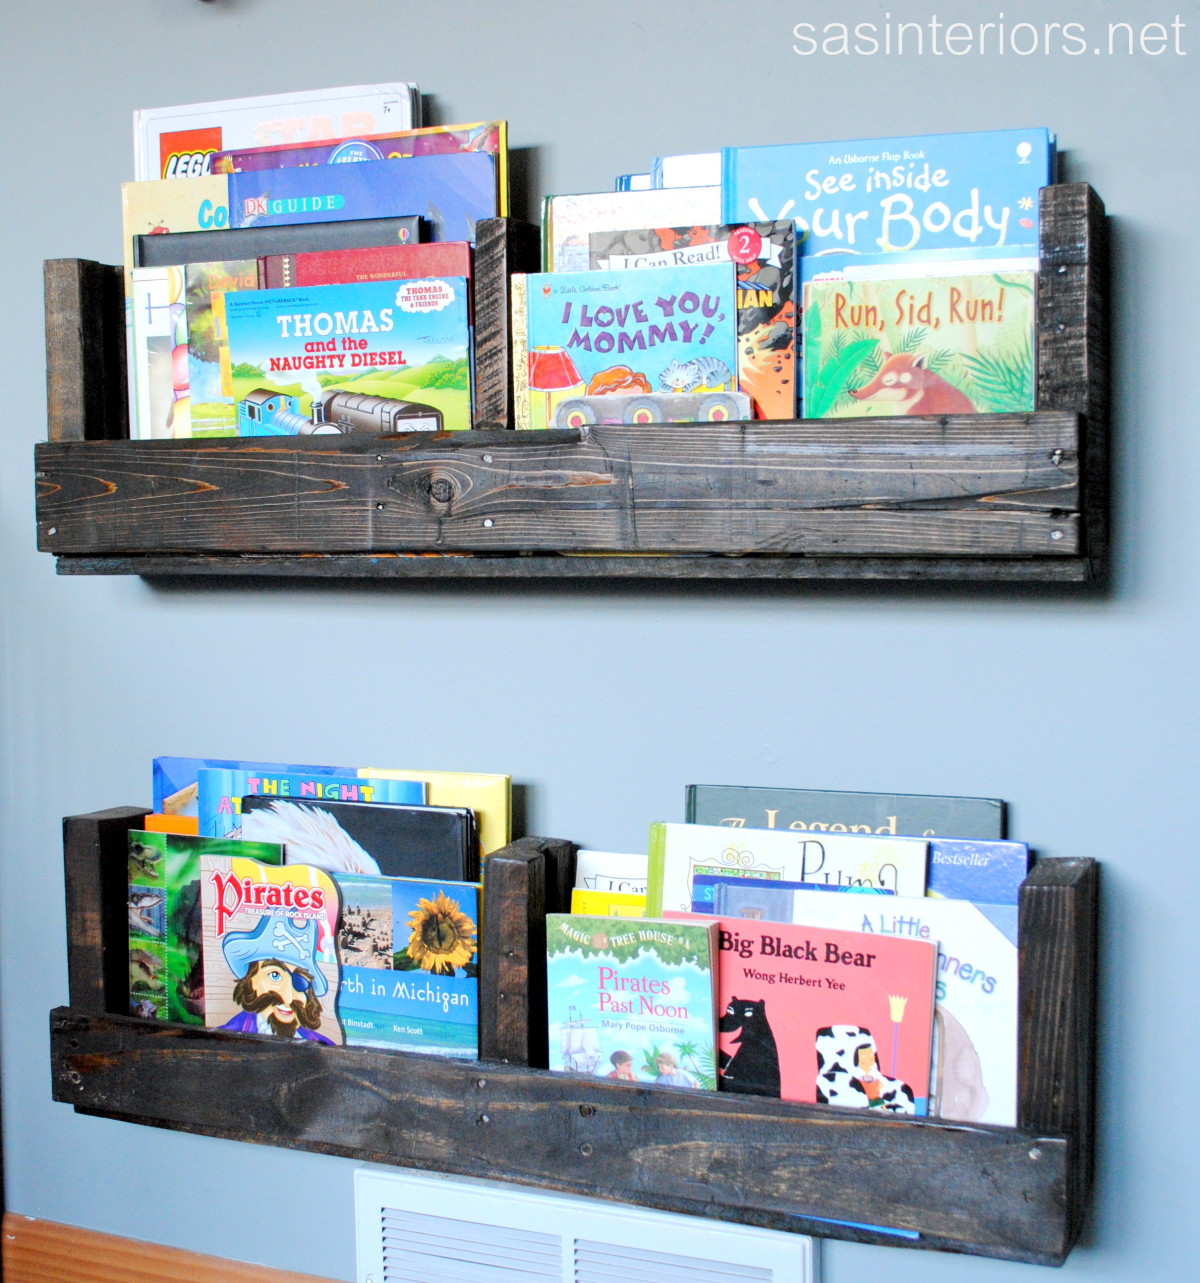
DIY dark stained kids' bookshelf from pallets (via www.homestoriesatoz.com)
Like wine? Prepare a pallet and cut all three runners of your pallet to the desired height, leaving as many top deck boards on as you want.
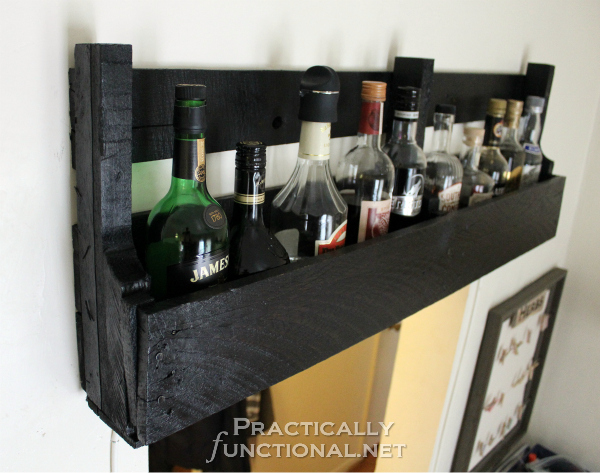
DIY dark stained rustic wine rack (via www.practicallyfunctional.com)
One more idea for a rustic vintage-looking wine rack is to take the bottom of the pallet and make a cut across the 3 beams. Take an extra board off of the pallet and add it to the back of the wine rack. Go through and secure each attachment with wood screws. Sand and stain, voila!
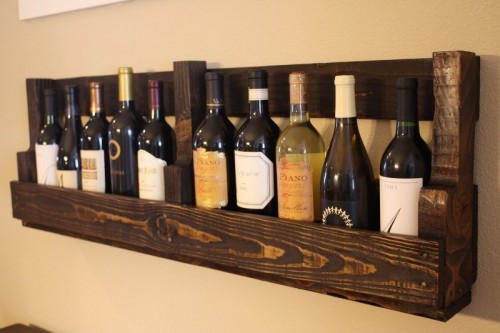
DIY vintage-looking wine rack of pallets (via www.shelterness.com)
Pallets may be also used to create kitchen shelving and racks. For example, this tiered spice rack is made using the wood from stripped pallets. Strip, sand and remove the nails from the planks, then cut and attach them the way you like using nails.

DIY spice rack of stripped pallet wood (via www.shelterness.com)
In this tutorial a whole new wooden pallet was attached to the wall, and then some shelves and magnetic holders were attached to it to make a comfy wall kitchen storage unit.
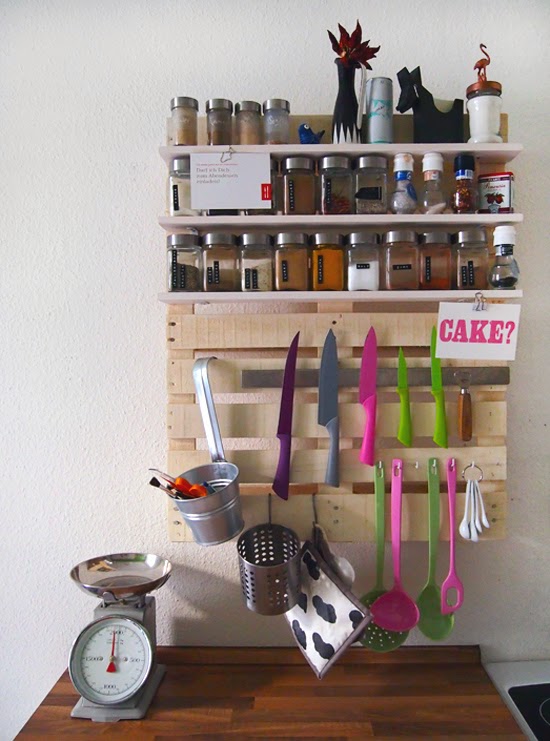
DIY pallet kitchen unit with shelves and holders (via vorstellungvonschoen.blogspot.ru)
This knife holder was also made of a pallet piece, and magnets were inserted from the other side, so the holder looks very natural, as if the knives are holding themselves.
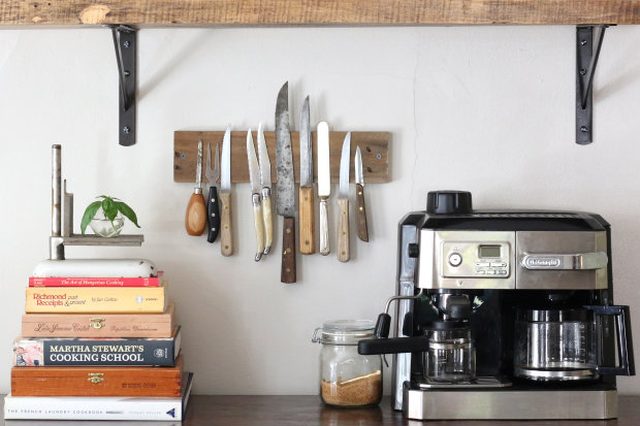
DIY magnet knife holder form pallet wood (via www.ehow.com)
Need a clothes rack? Sand and paint the pallet the way you like, then attach to the wall and add some hooks and maybe shelves to it, you are done! Here the piece is painted bold, each plank has a different color but you can paint however you like.
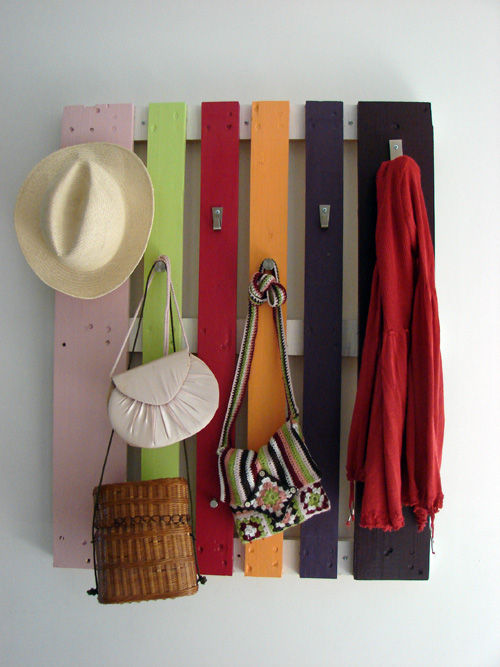
DIY wooden pallet coat rack (via www.shelterness.com)
Now for display shelves. Cut the pallet and strip it a bit adding planks where you need to have a shelf. Sand, stain and voila!
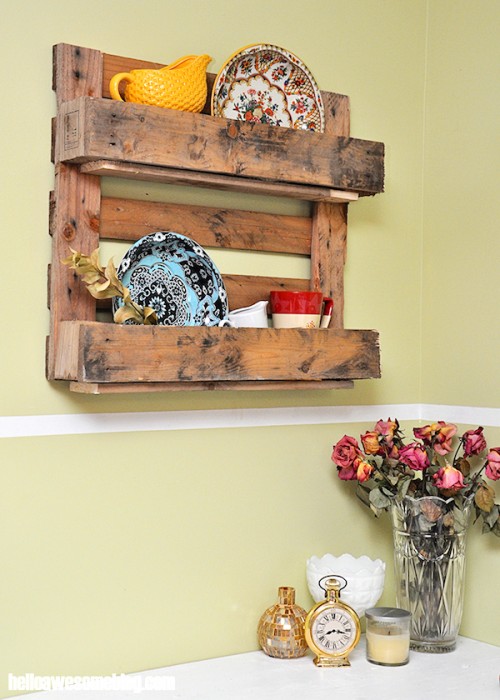
DIY decorative pallet shelf (via www.shelterness.com)
The last two tutorials are based on the same idea: just take a pallet, attach the pieces of the pallet as you like: no finish is needed because it would kill that shabby chic rustic look. Now hang it to the wall using hooks or nails and put your belongings there!

DIY shabby chic display shelf from a pallet (via www.shelterness.com)
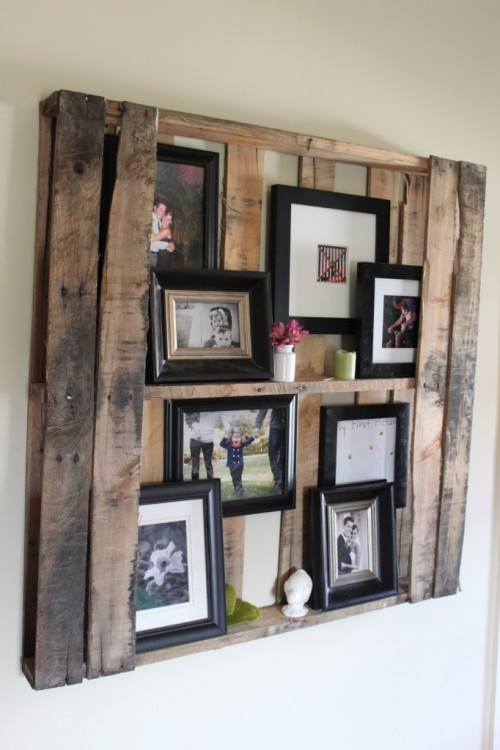
DIY pallet floating shelf (via www.shelterness.com)
