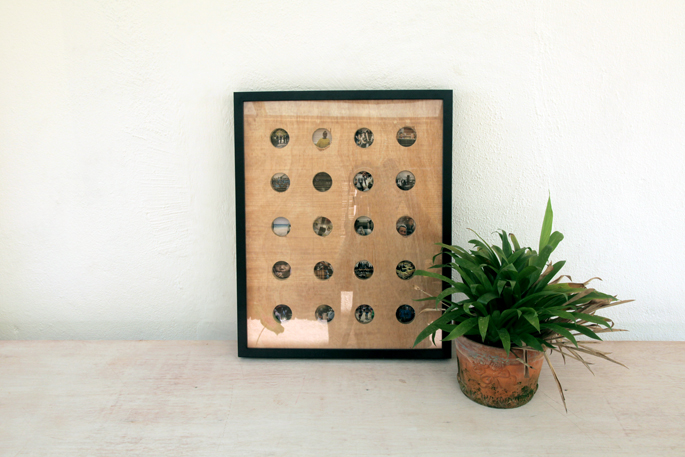
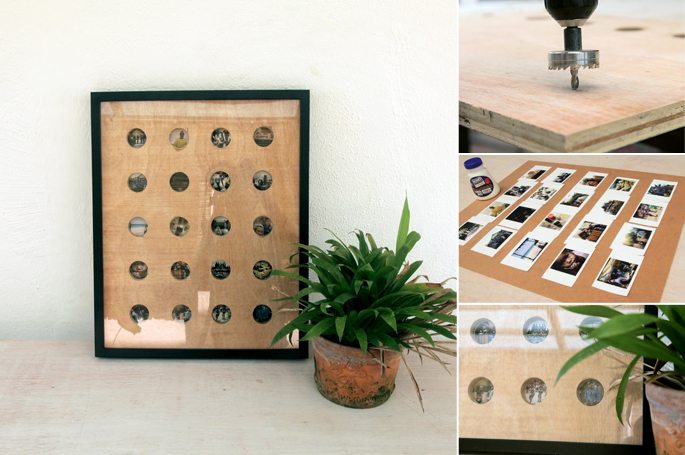
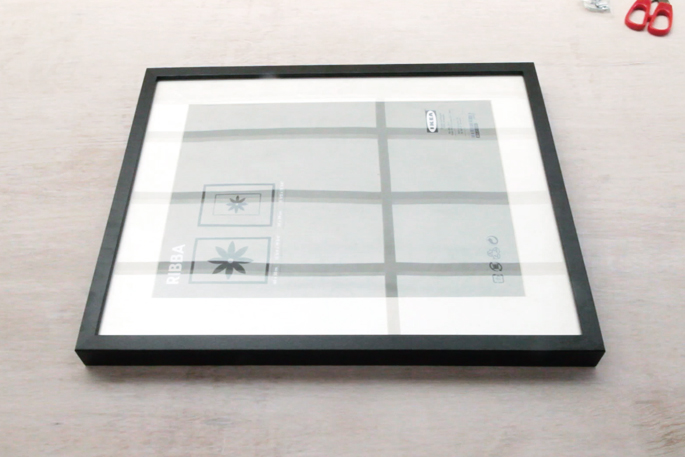
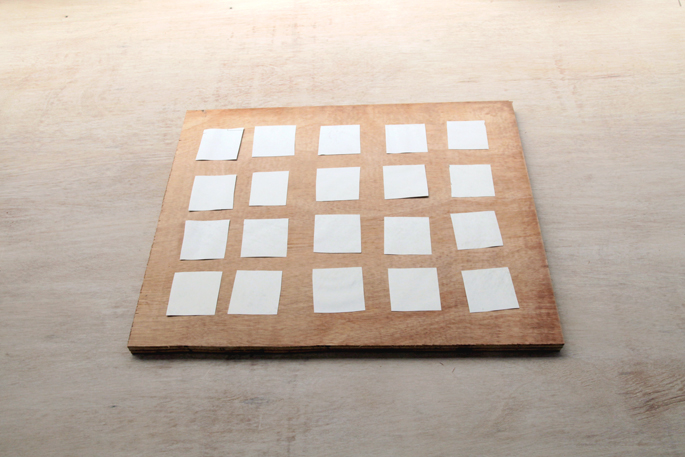
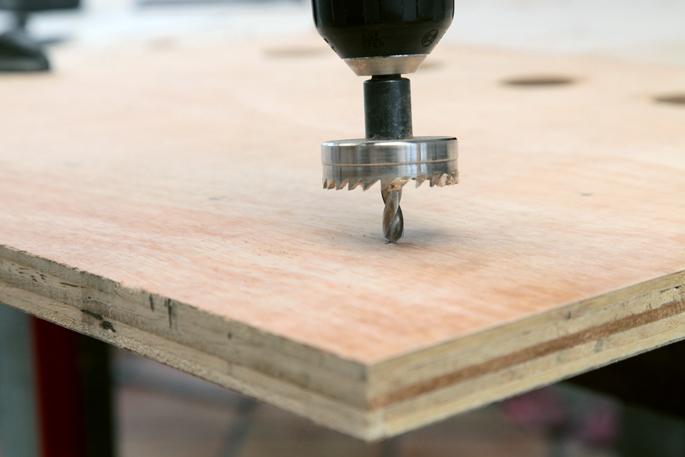
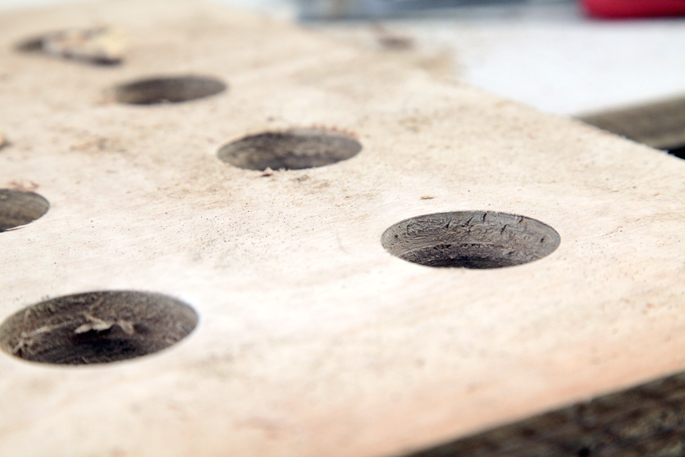
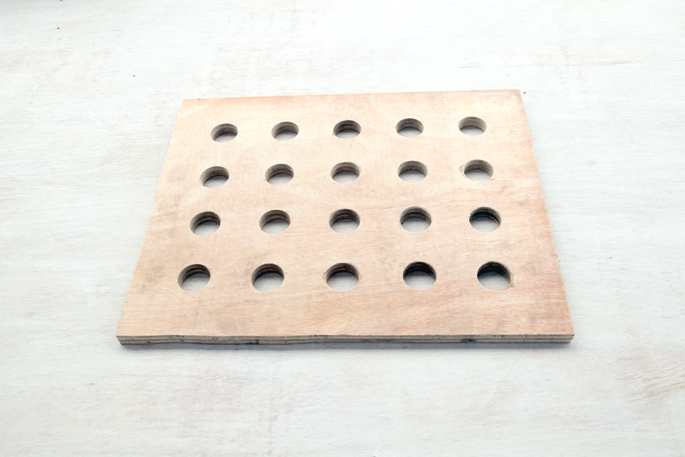
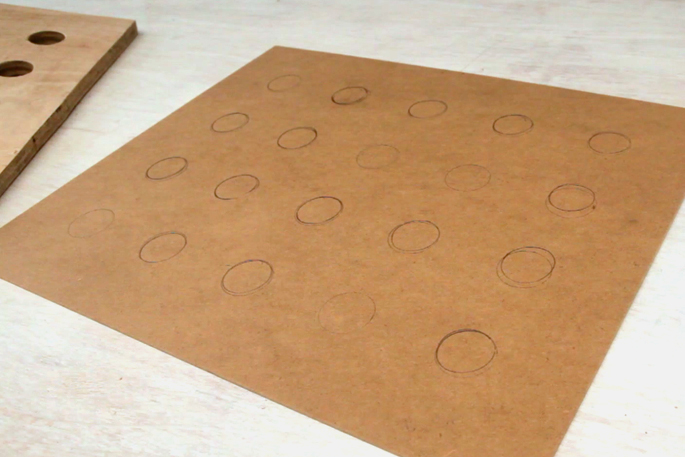
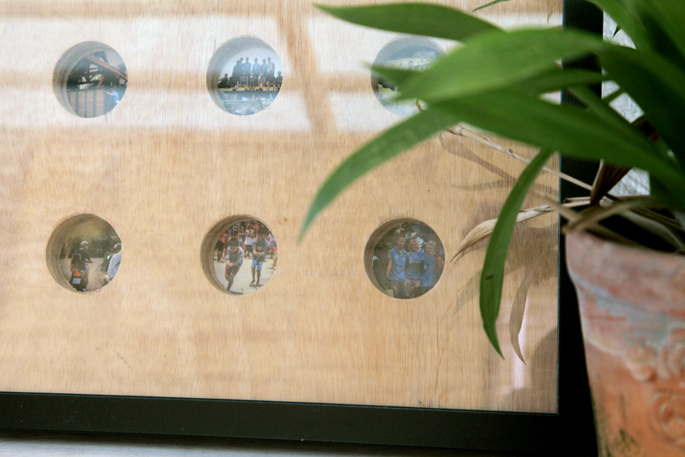
Have just come back from a cool holiday? Display your pics! Prepare a corded drill, a saw drill bit, plywood, tape measure and pencil, IKEA RIBBA frame, small screws, fine grit sandpaper, A3 sheet of printed photos. Take the backboard out of the frame, measure it, and cut the plywood to the same dimensions. Next, cut sheets of paper to the size of the photos you will be using. This is to create the general layout of the grid. You want to create an equal margin on all sides. Once you have these marked out you can divide the space between the lines by the number of photos you have. Keep reading the tutorial in the source.
